Getting Started
Create an account on the Coherence platform
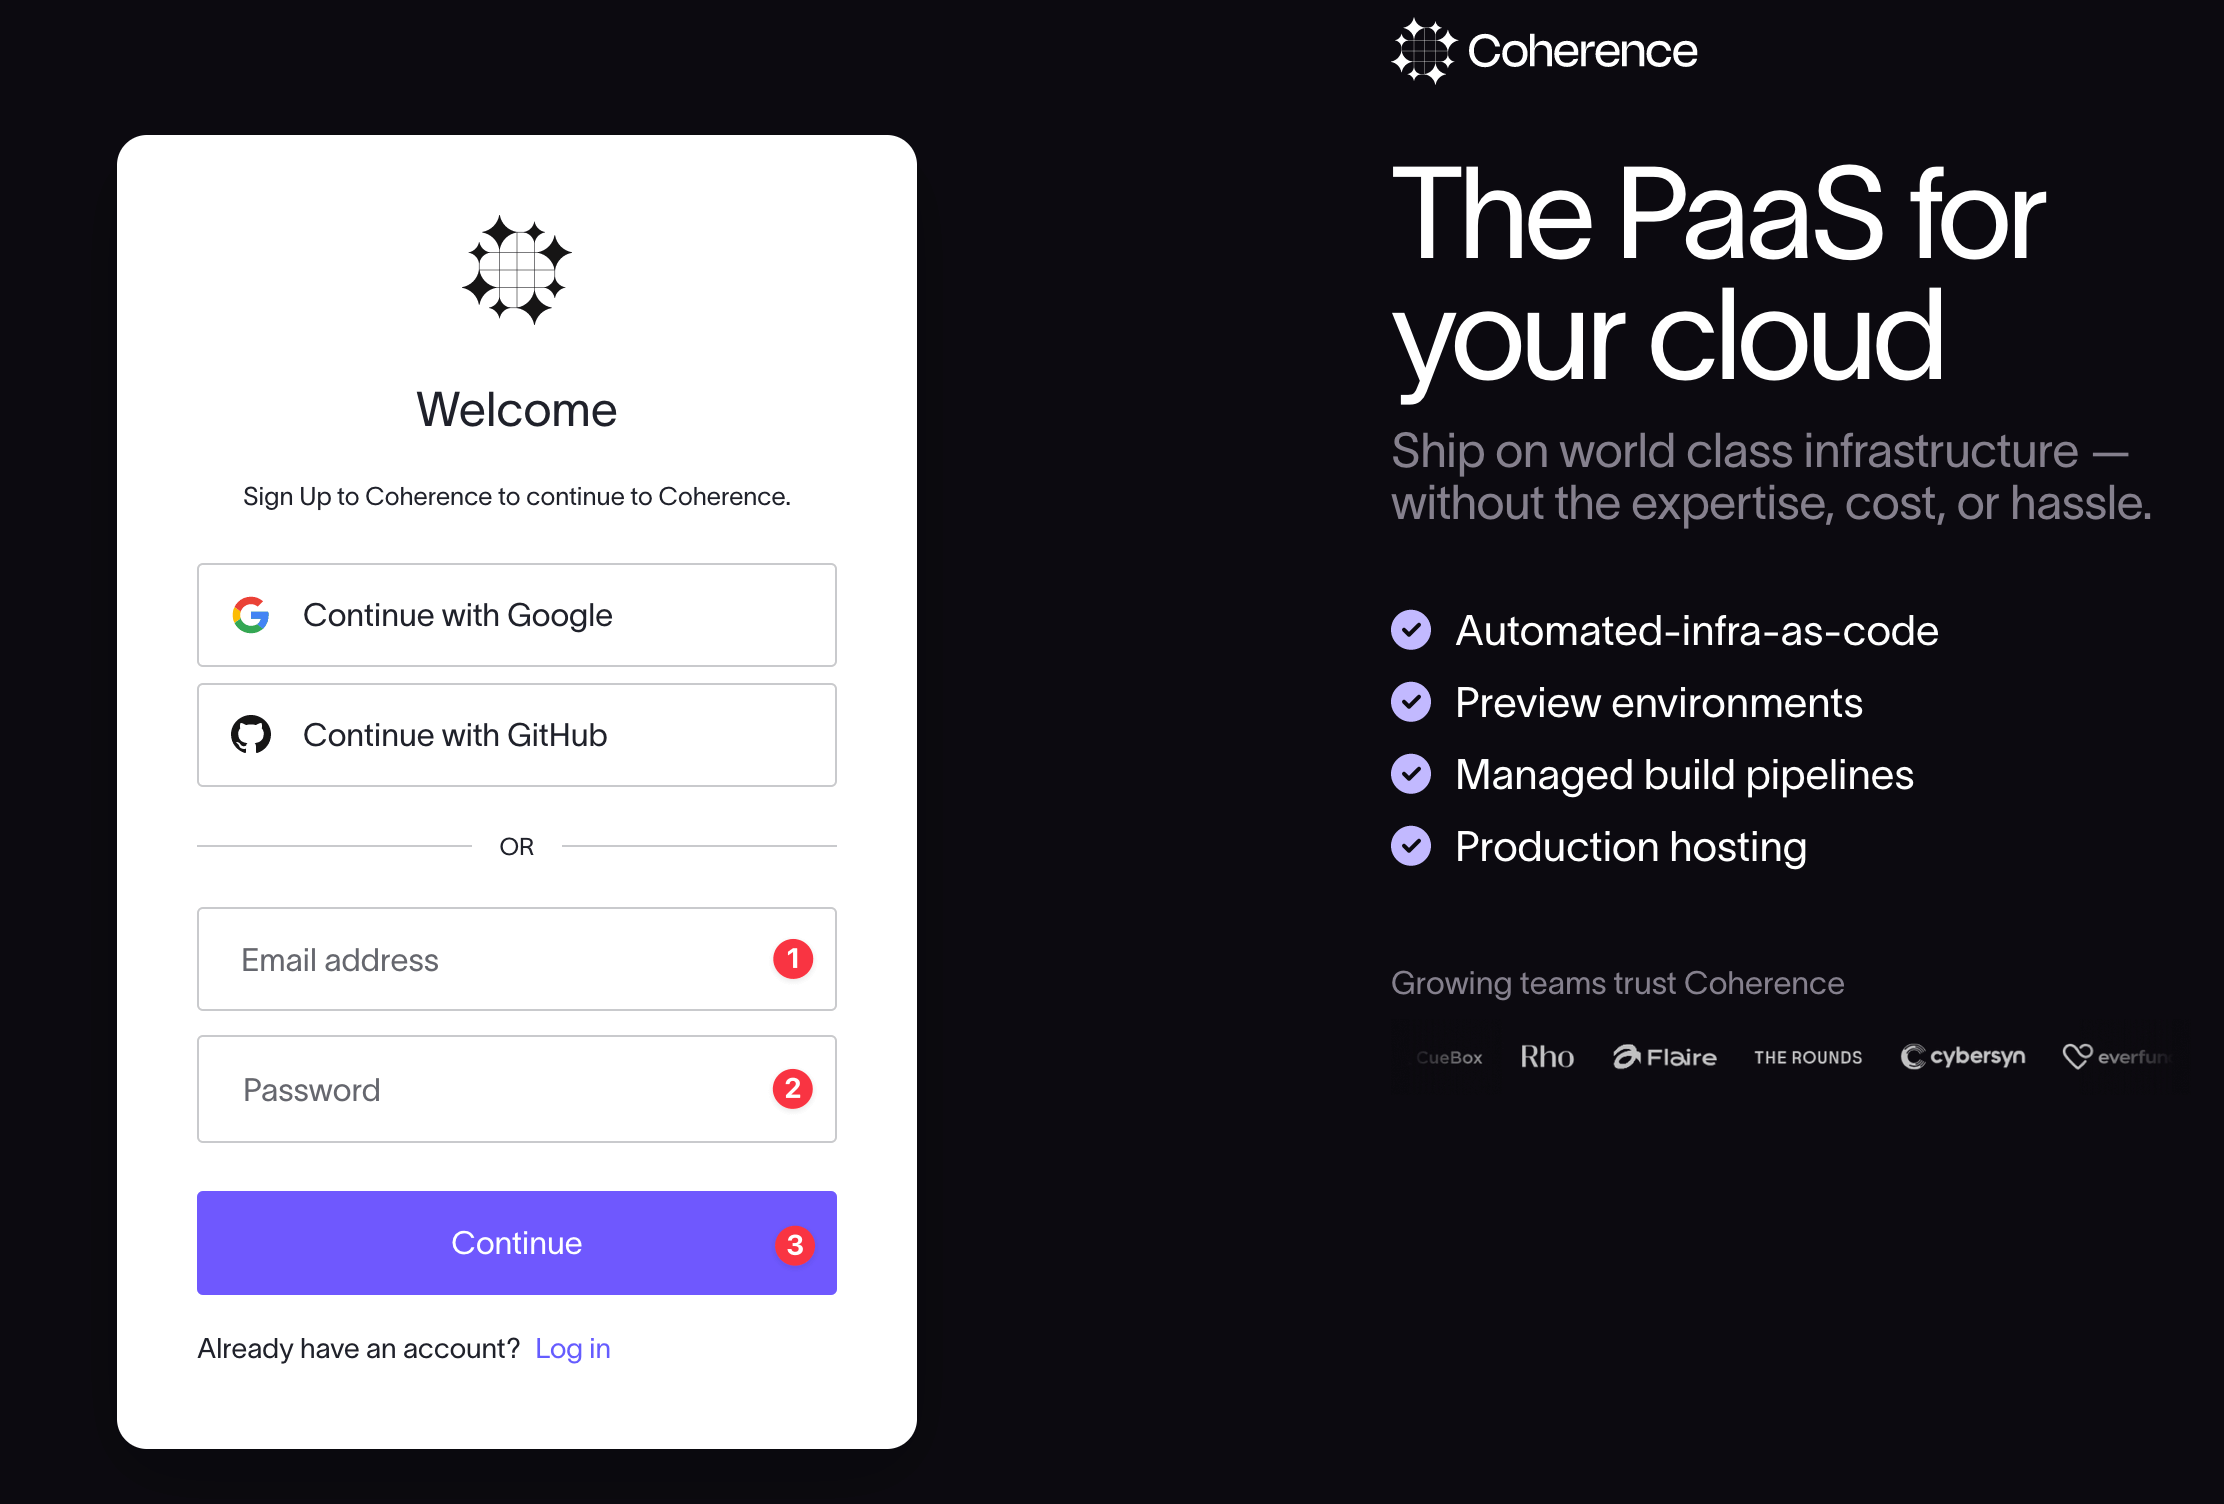
You can sign up to the Coherence platform using Google, GitHub, or an email and password.
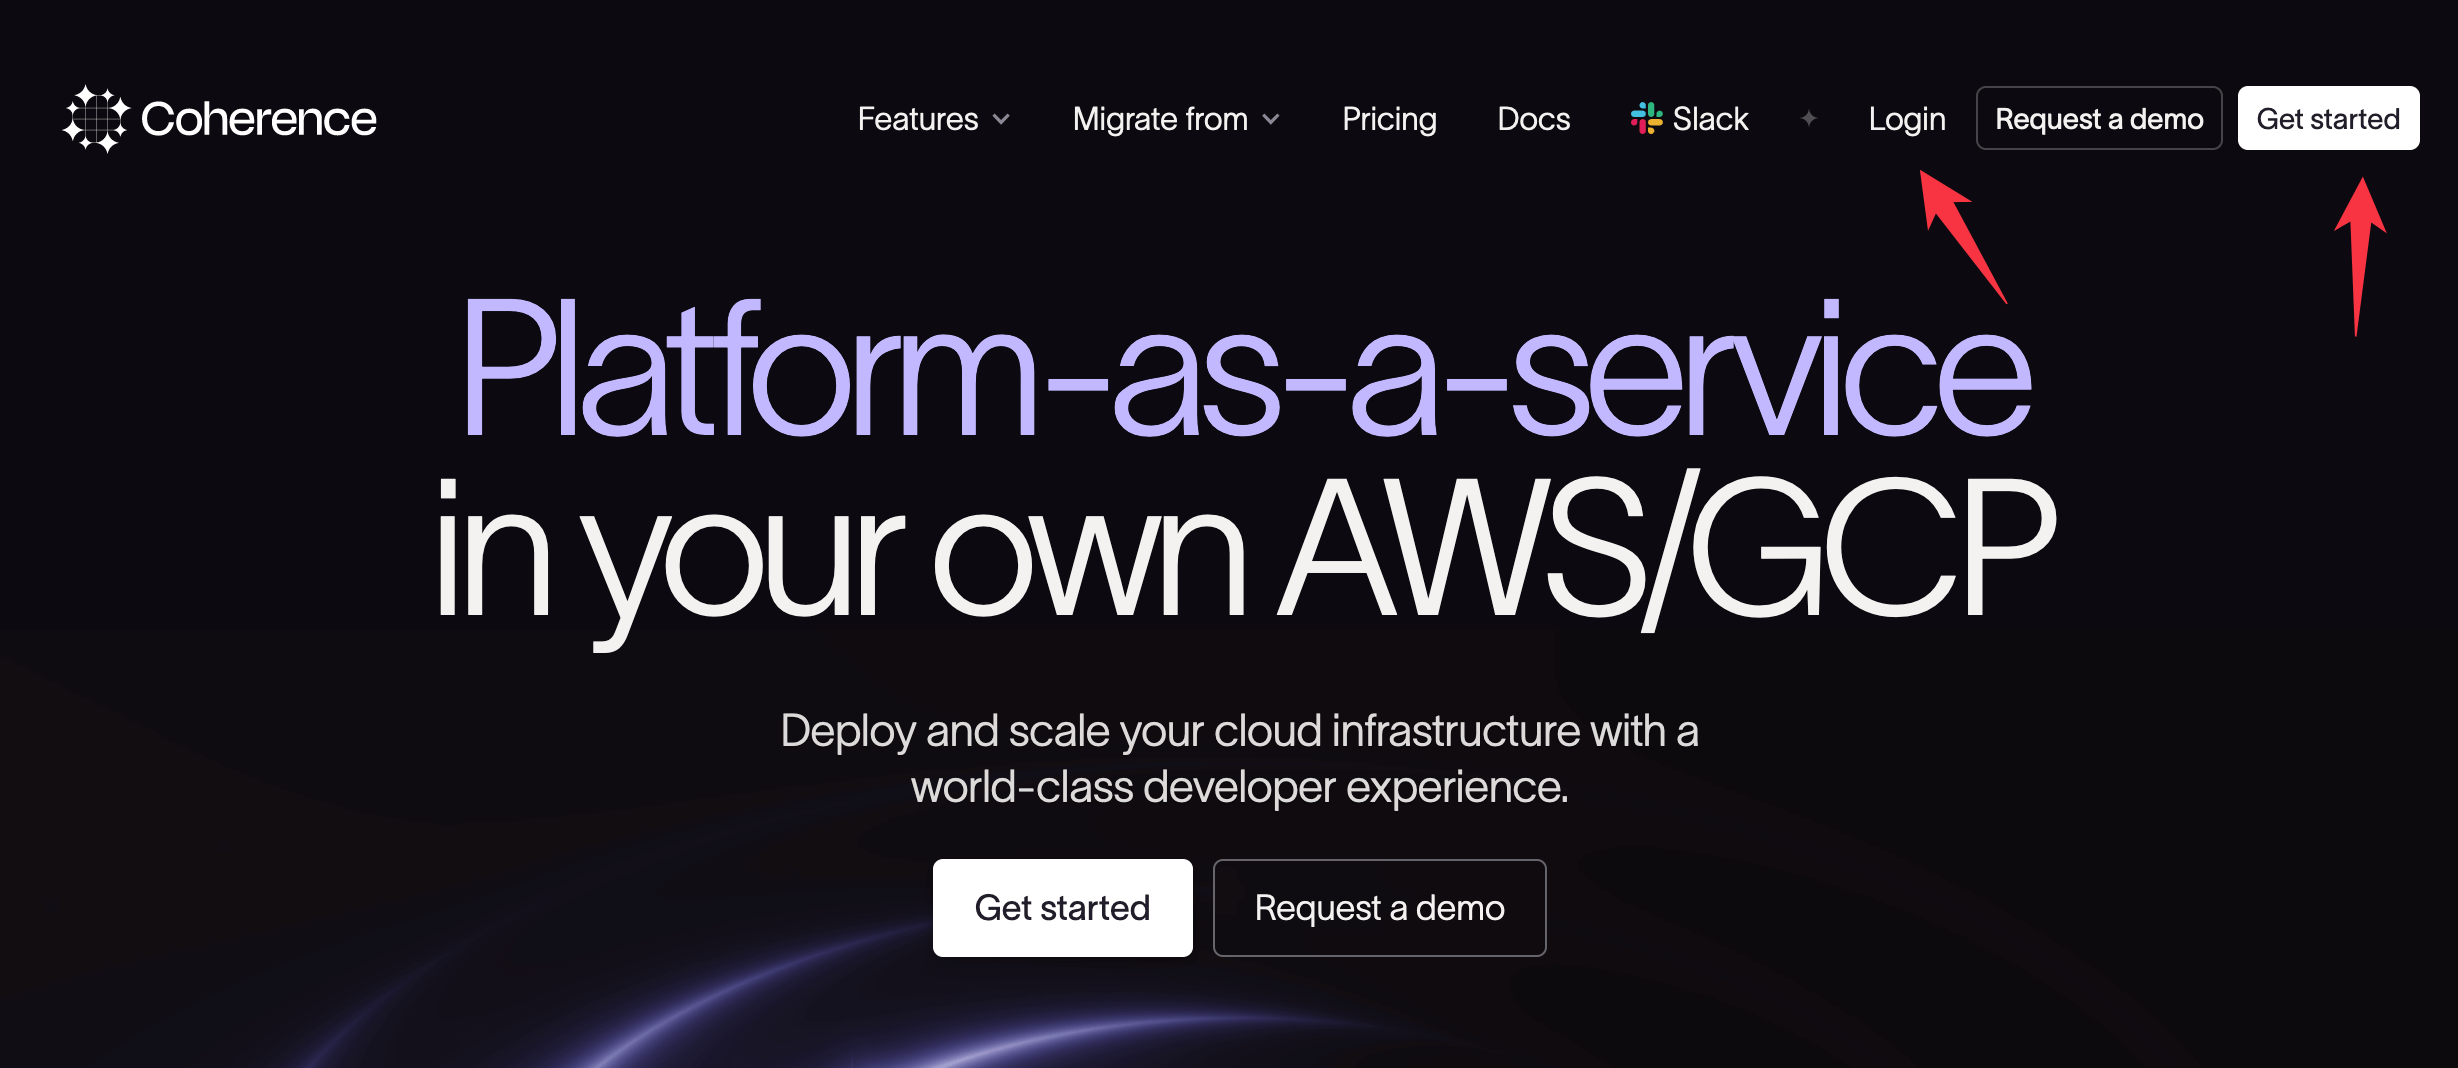
Navigate to the Coherence console and click Login or Get started.
On the login screen, click Sign up.
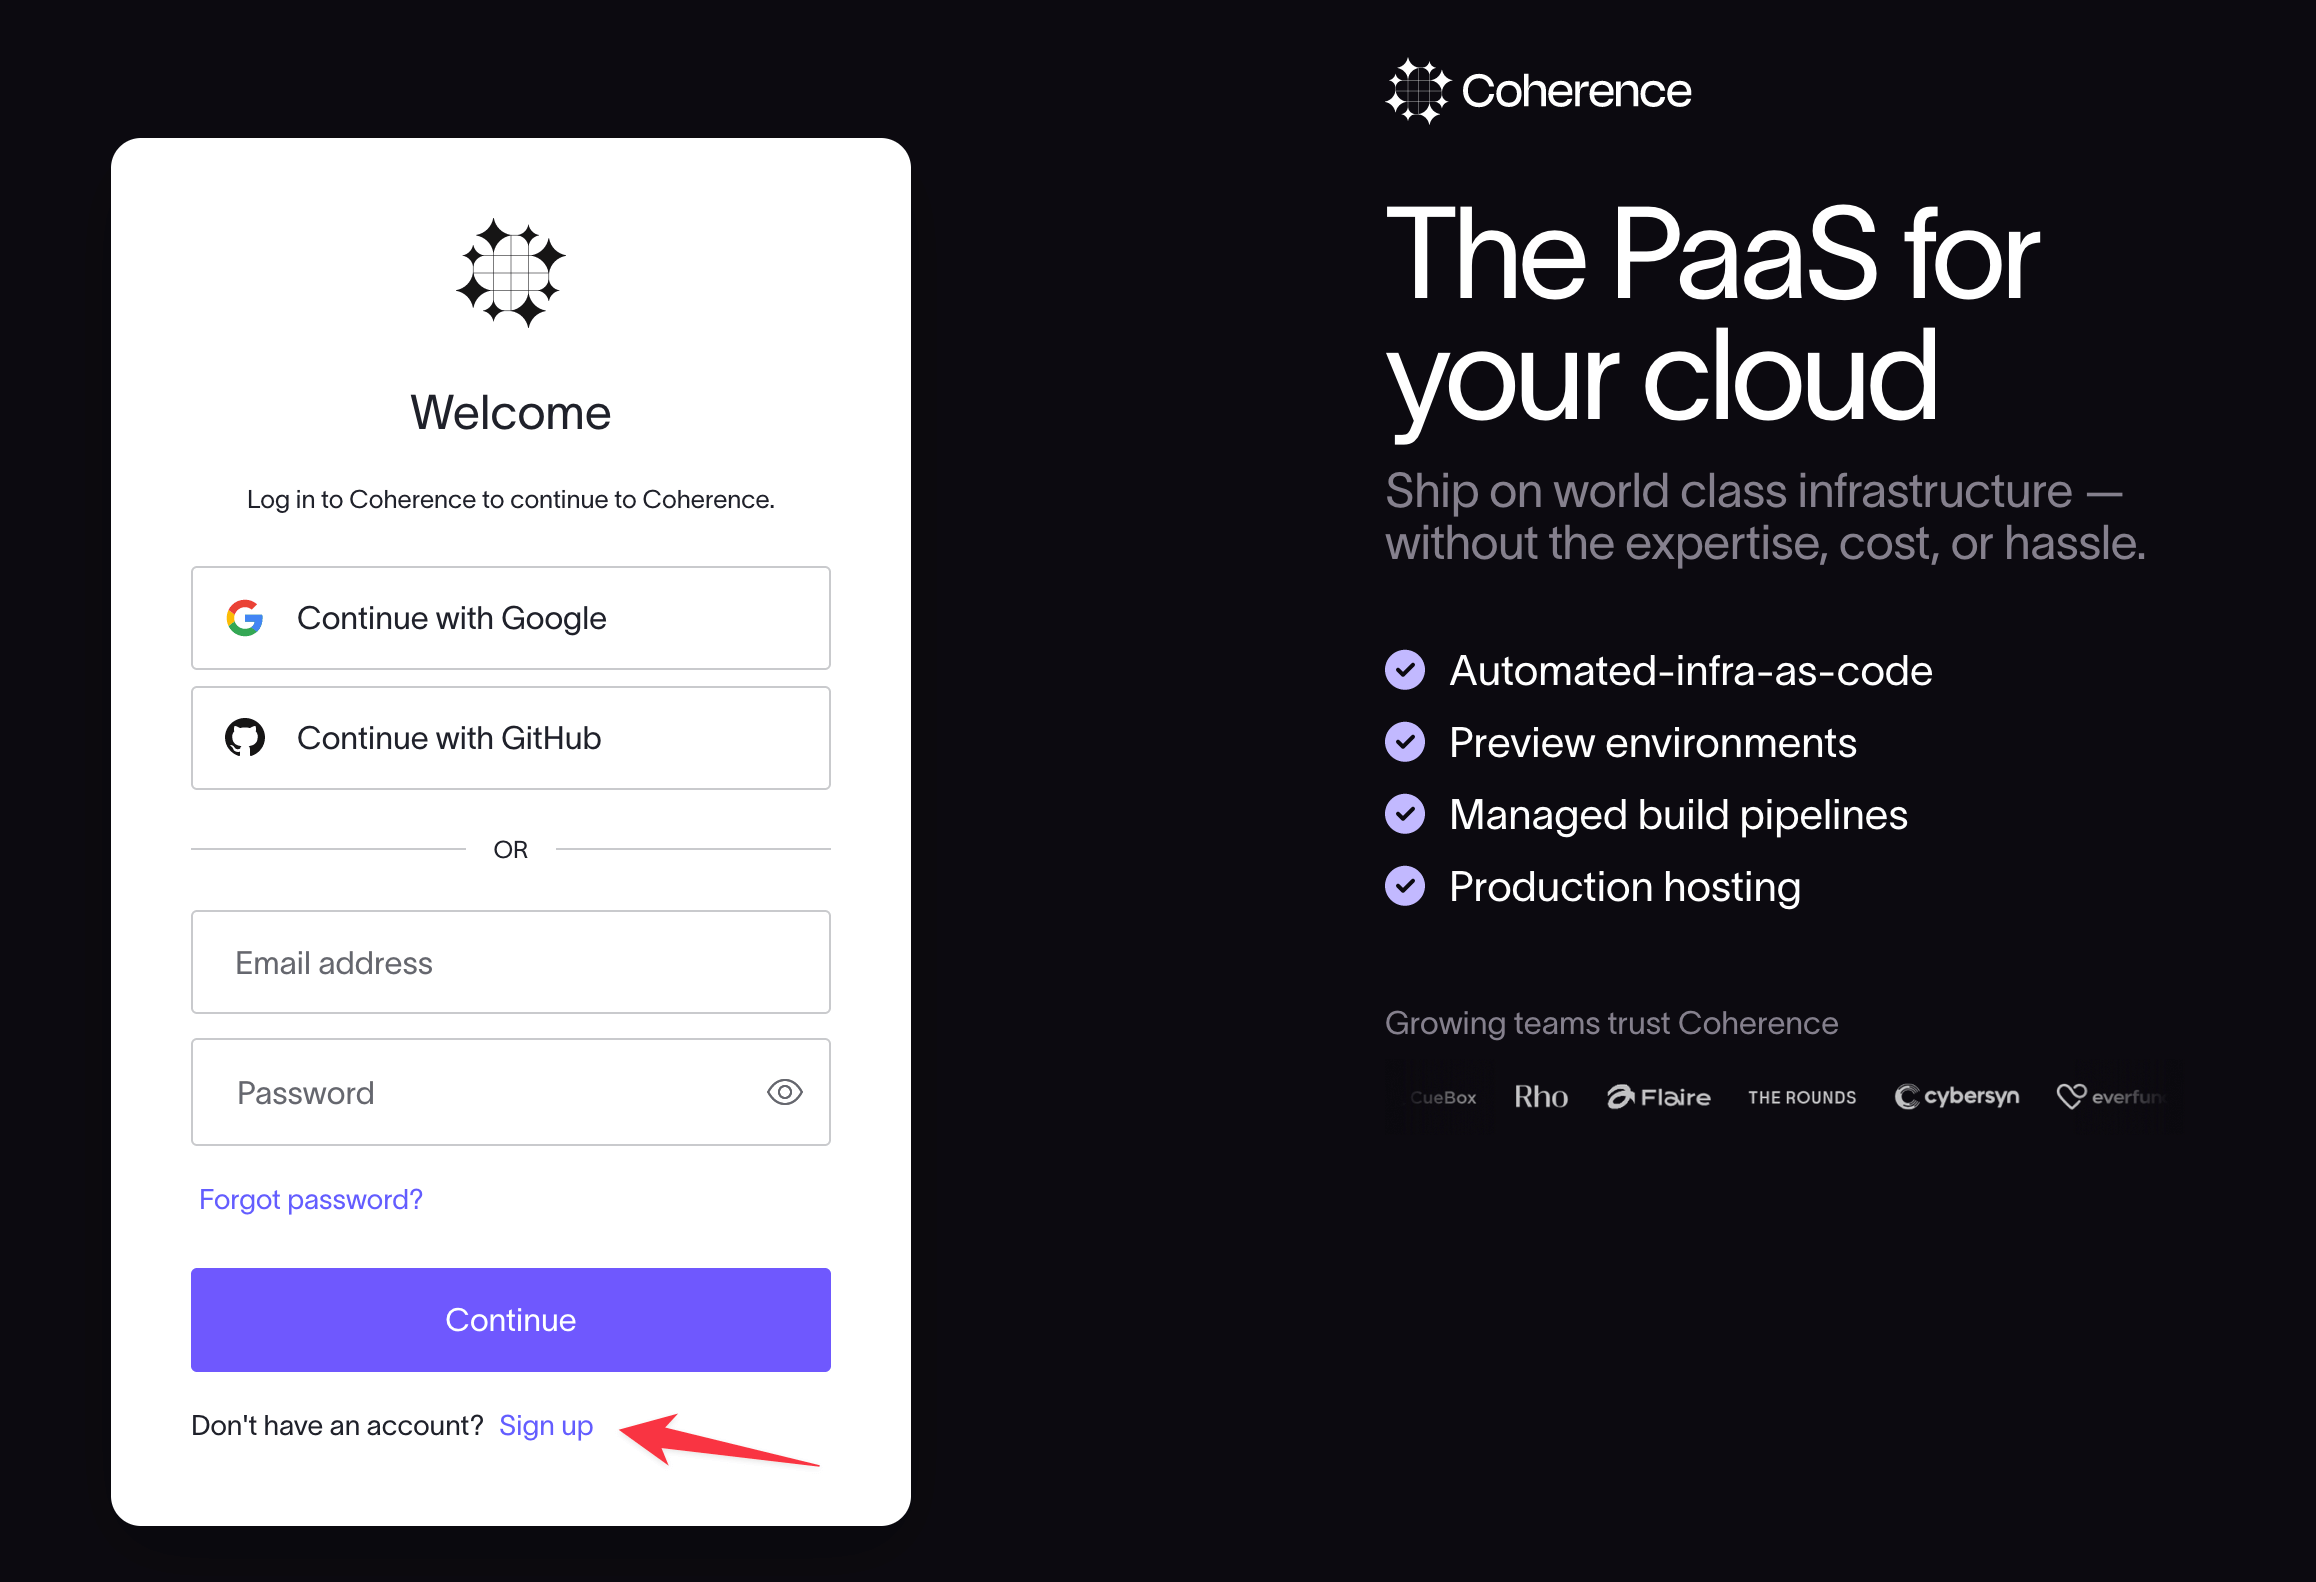
Select the sign-up method you would like to use.
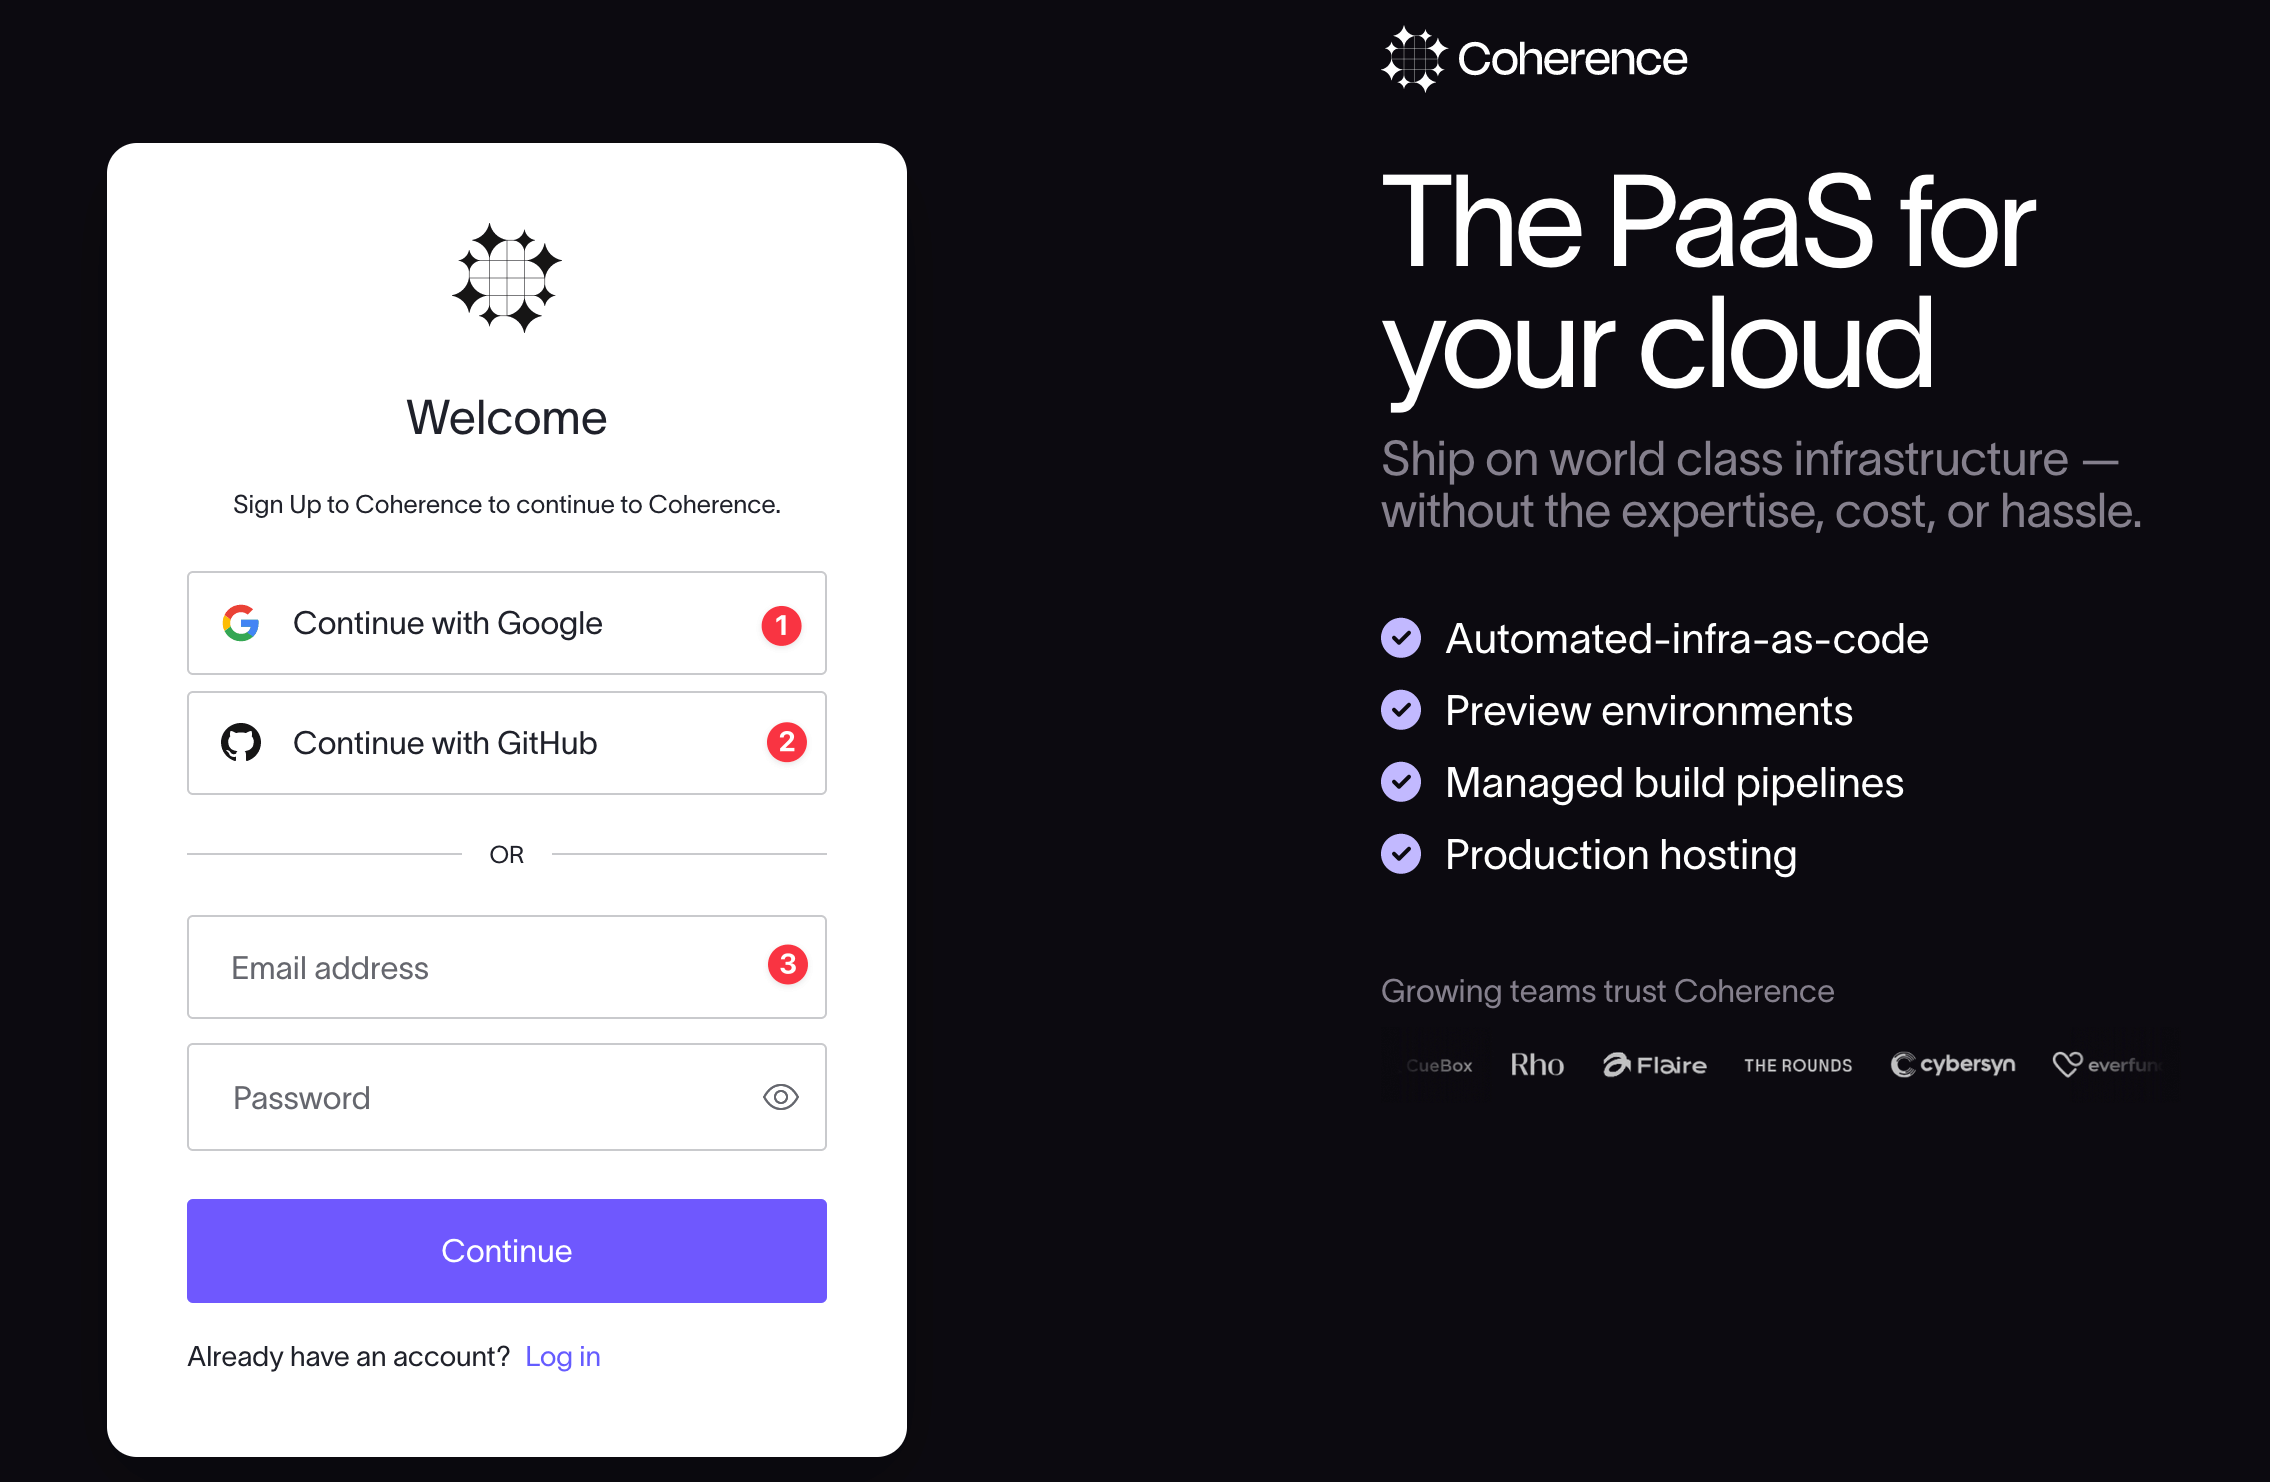
Sign up with Google
To sign up using a Google account, select Continue with Google.
If you are signed in to a Google account in the current browser, select the account to associate with your Coherence account from the list.
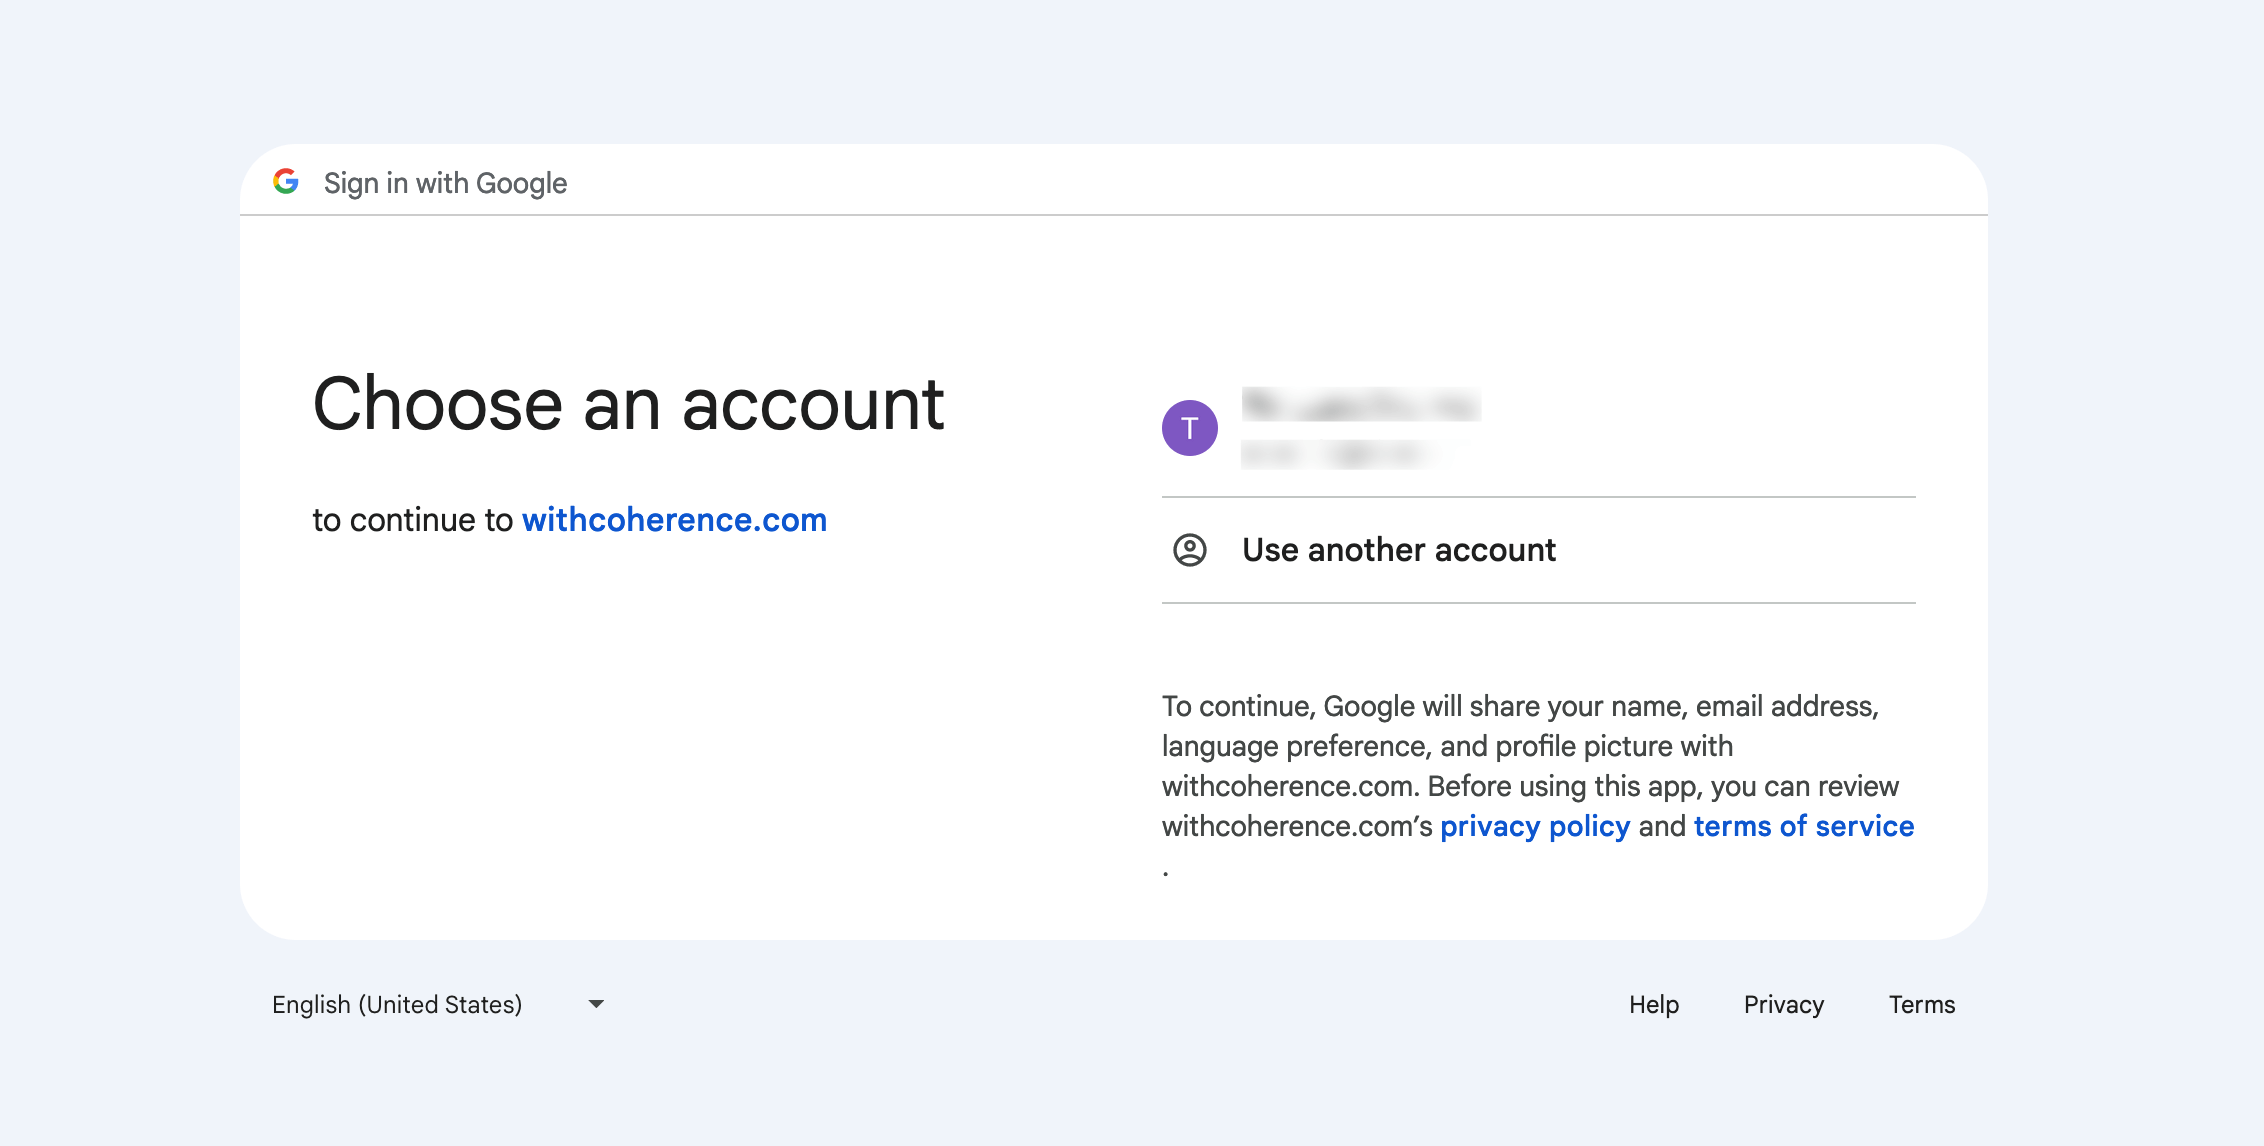
If you are not logged in to a Google account in the current browser, you will be redirected to the Google login page.
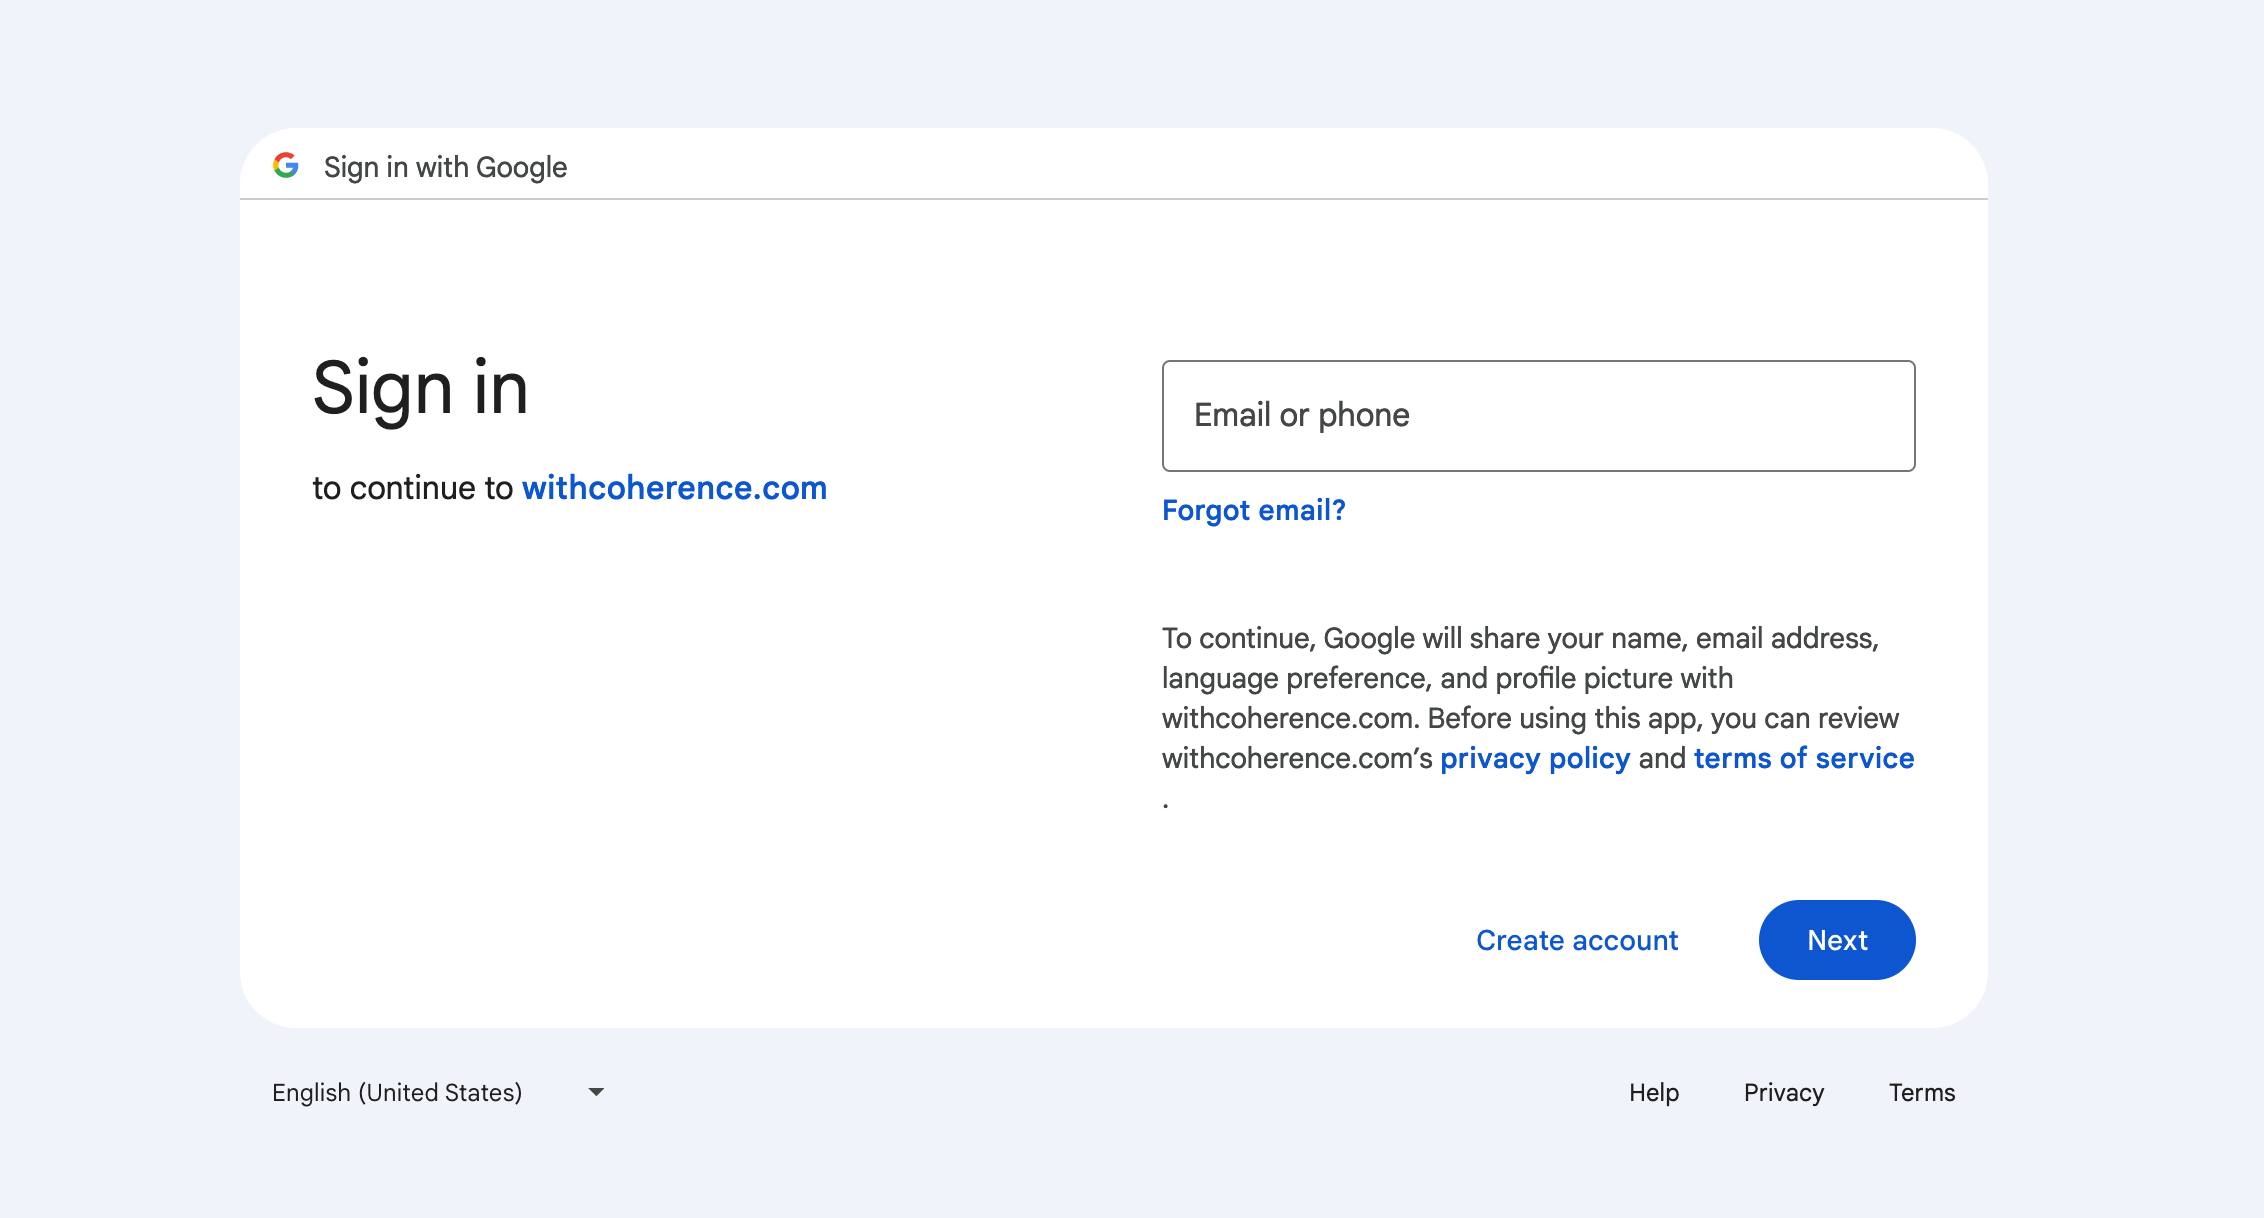
Enter the Google email address you want to associate with the Coherence platform and click Next. Enter the password for your Google account and click Next.
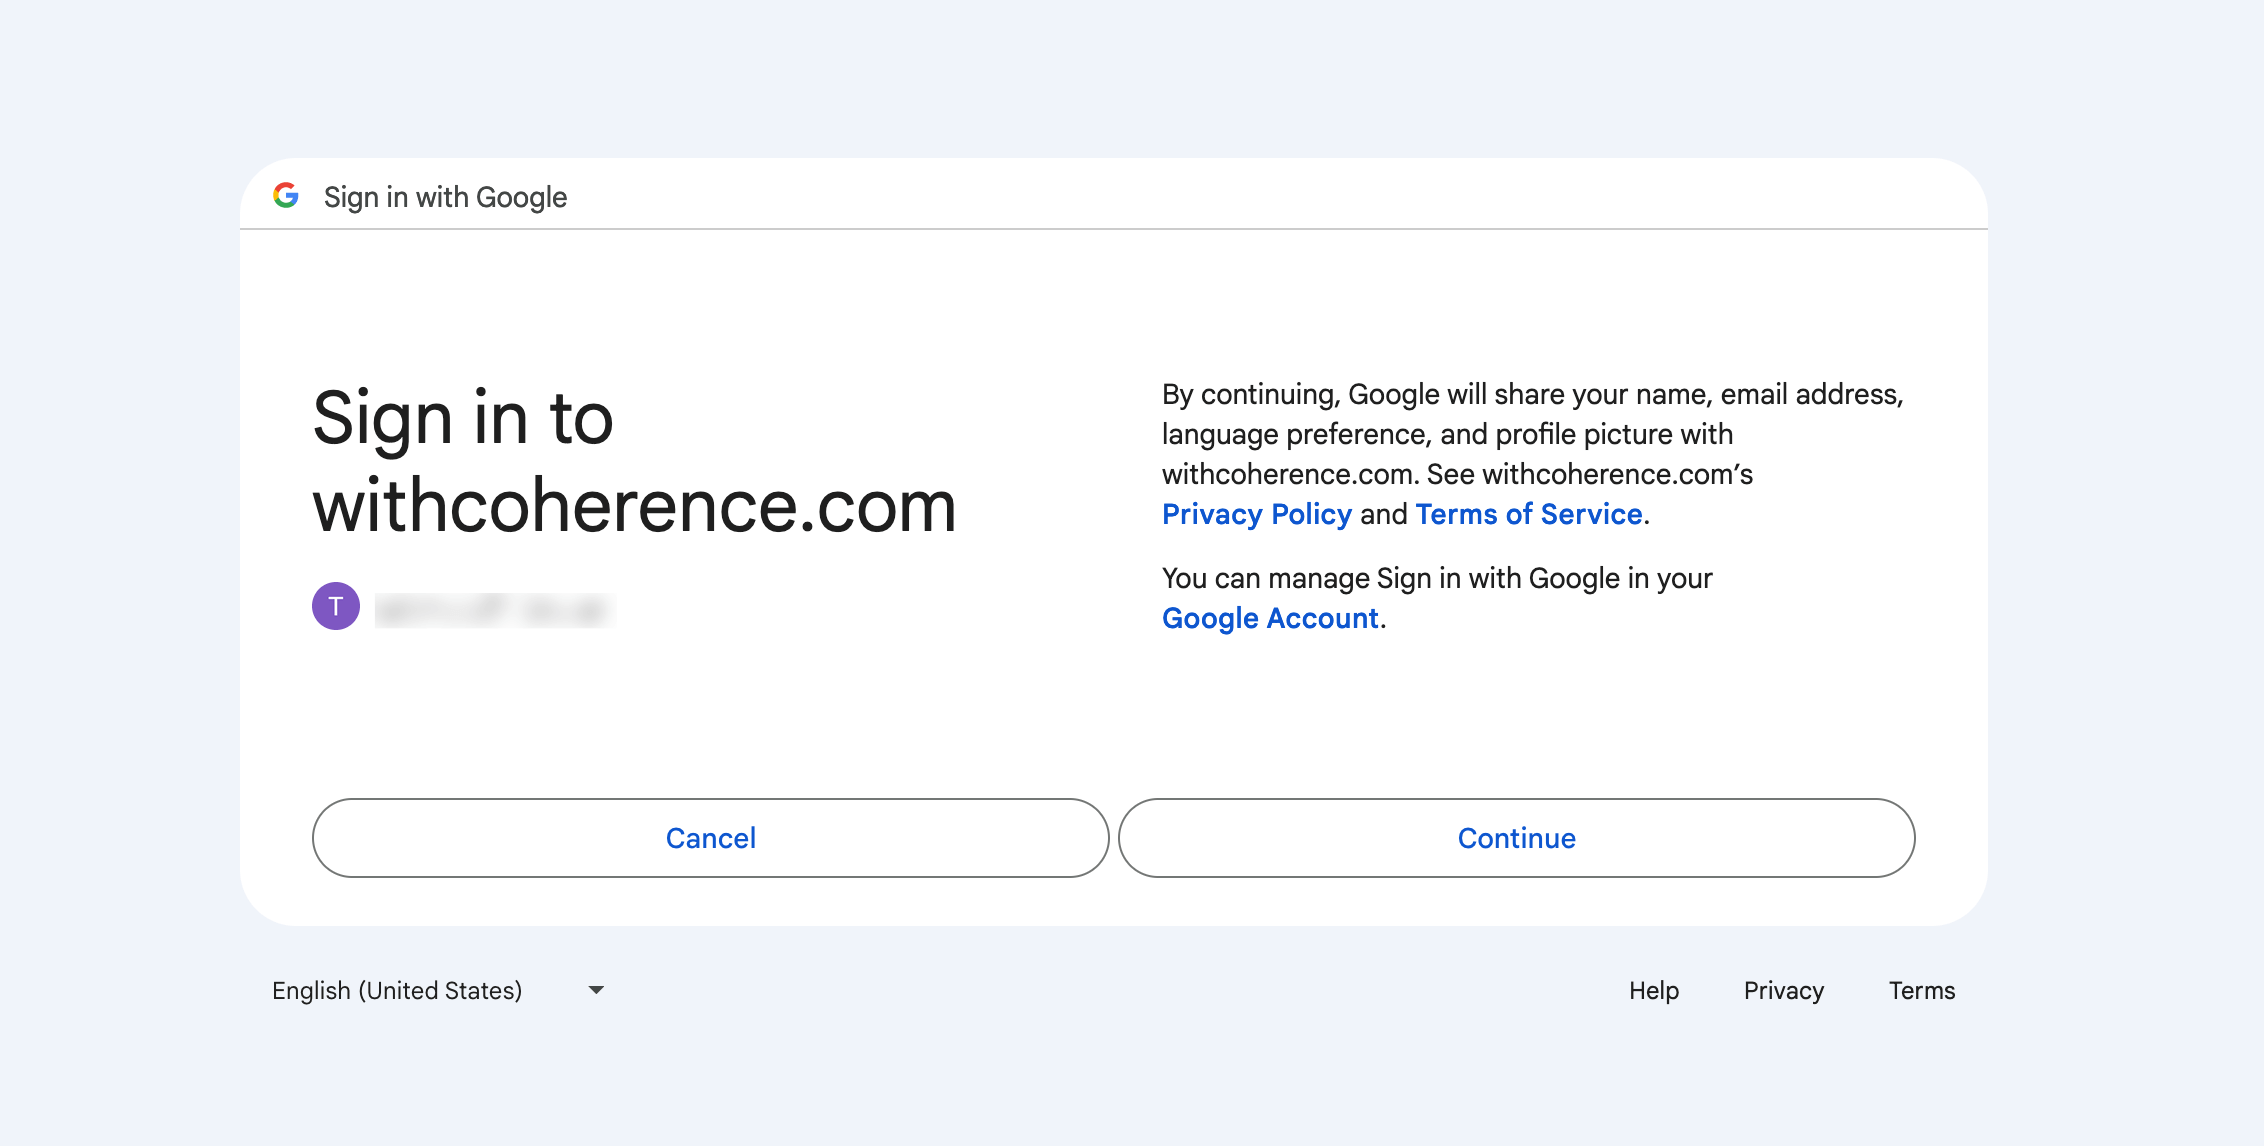
If MFA is enabled on your Google account, you will be prompted to verify your account.
Once you have selected the Google account to associate with Coherence and signed in, you will be redirected to the confirmation screen. Click Continue.
Sign up with GitHub
To sign up using a GitHub account, click Continue with GitHub.
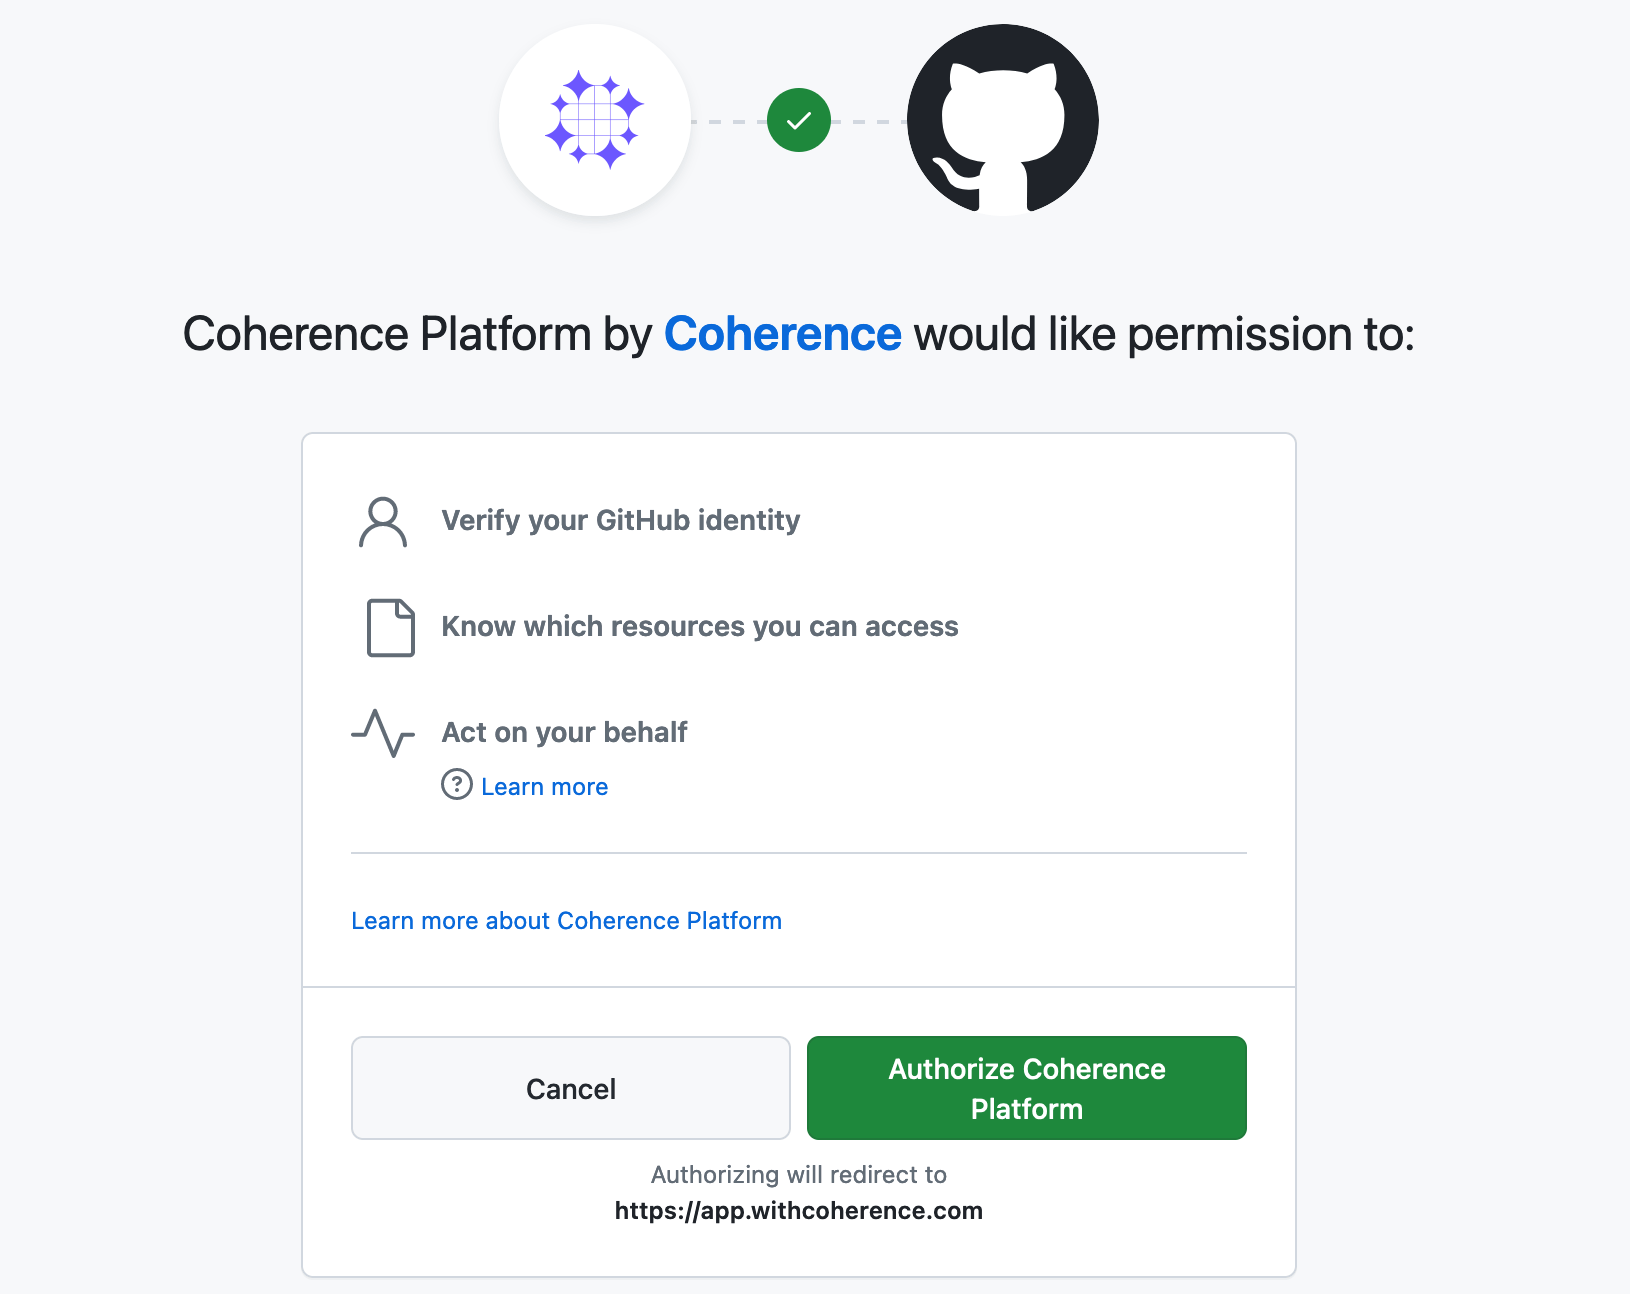
If you are logged in to GitHub in the current browser, you will be presented with a screen to authorize linking the account with Coherence. Click Authorize coherenceplatform.

If you are not logged in to GitHub in the current browser, you will be directed to the GitHub login page.
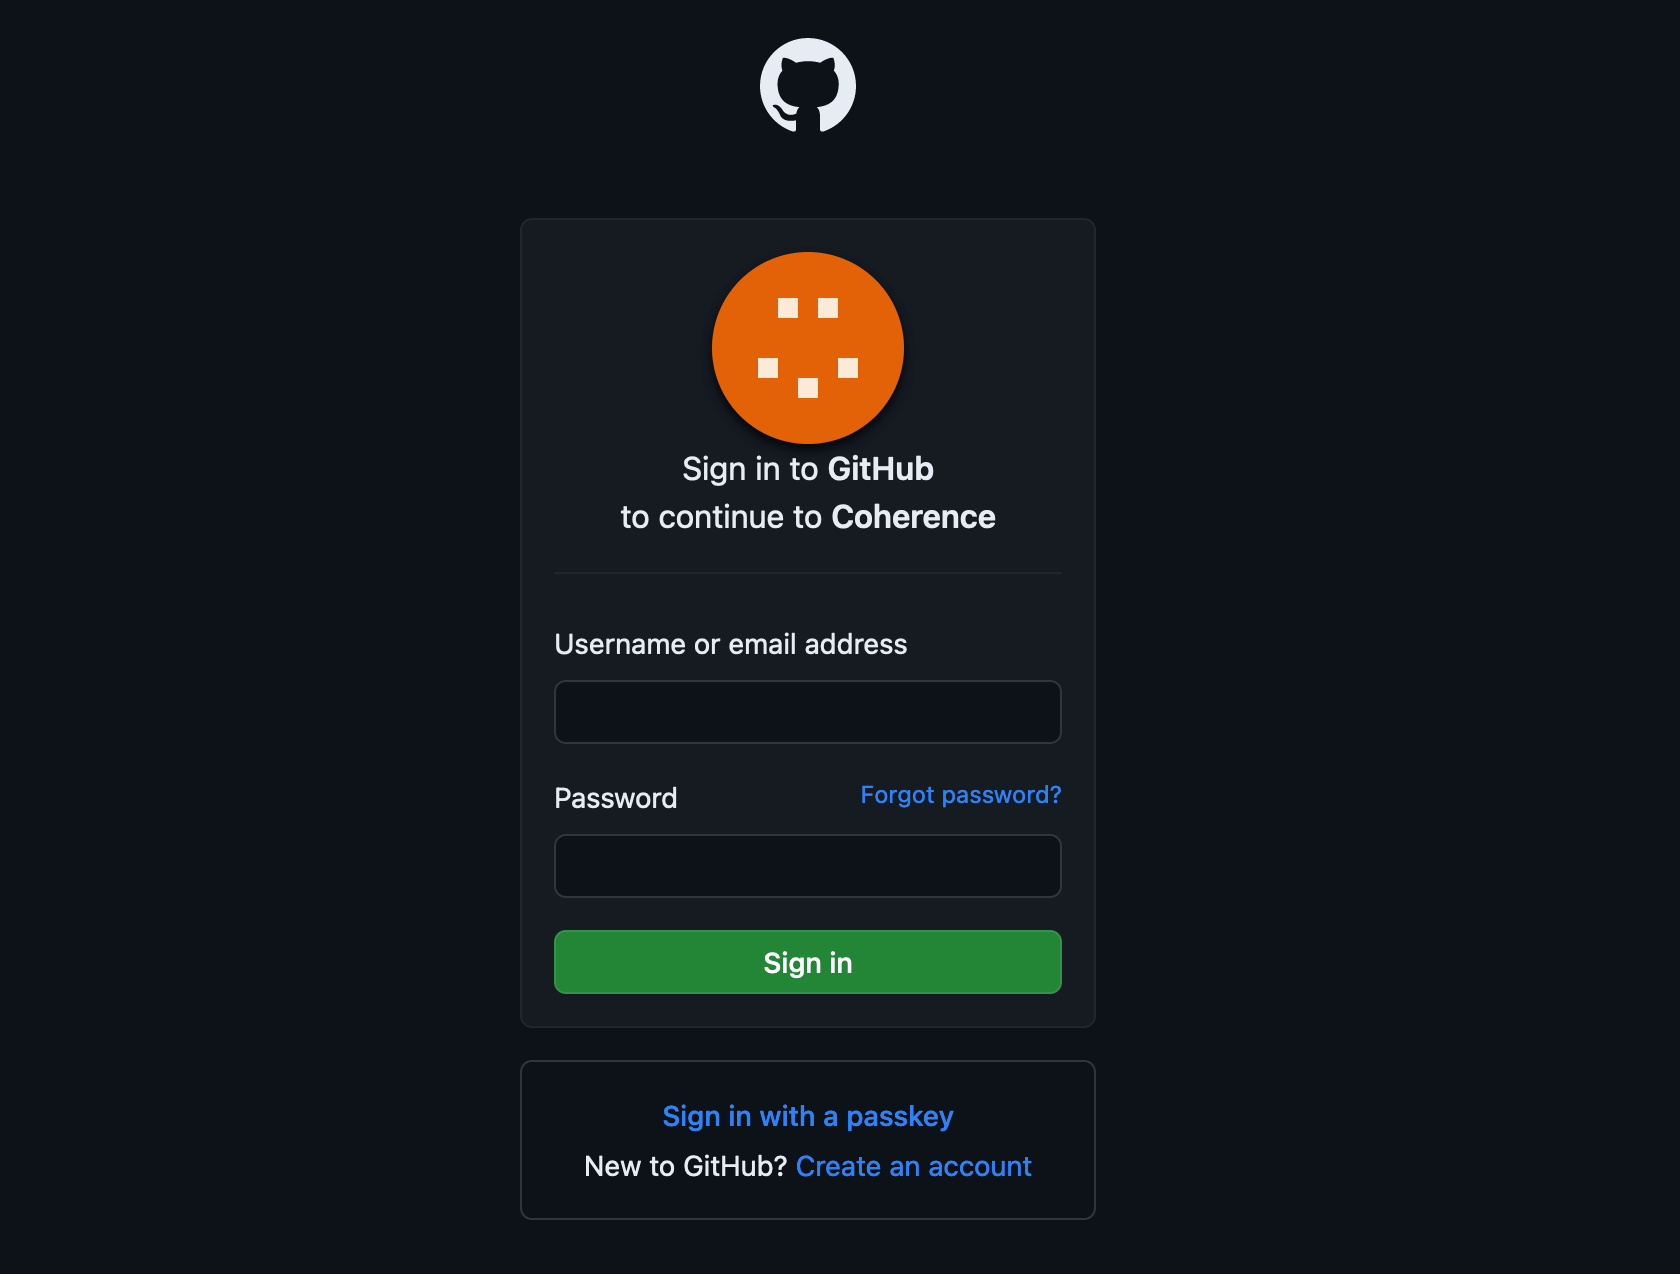
Add your GitHub username or email address and password and click Sign In.
If MFA is enabled on your GitHub account, you will be prompted to verify your account.
You will be presented with a screen to authorize linking the account with Coherence. Click Authorize coherenceplatform.
Sign up with email and password
To sign up for an account with an email address and password, enter the email address and create a password.
Your password will be validated to ensure it meets requirements.
Click Continue.
Complete your Coherence profile
Complete your profile on the Coherence welcome page. Note that all fields are required.
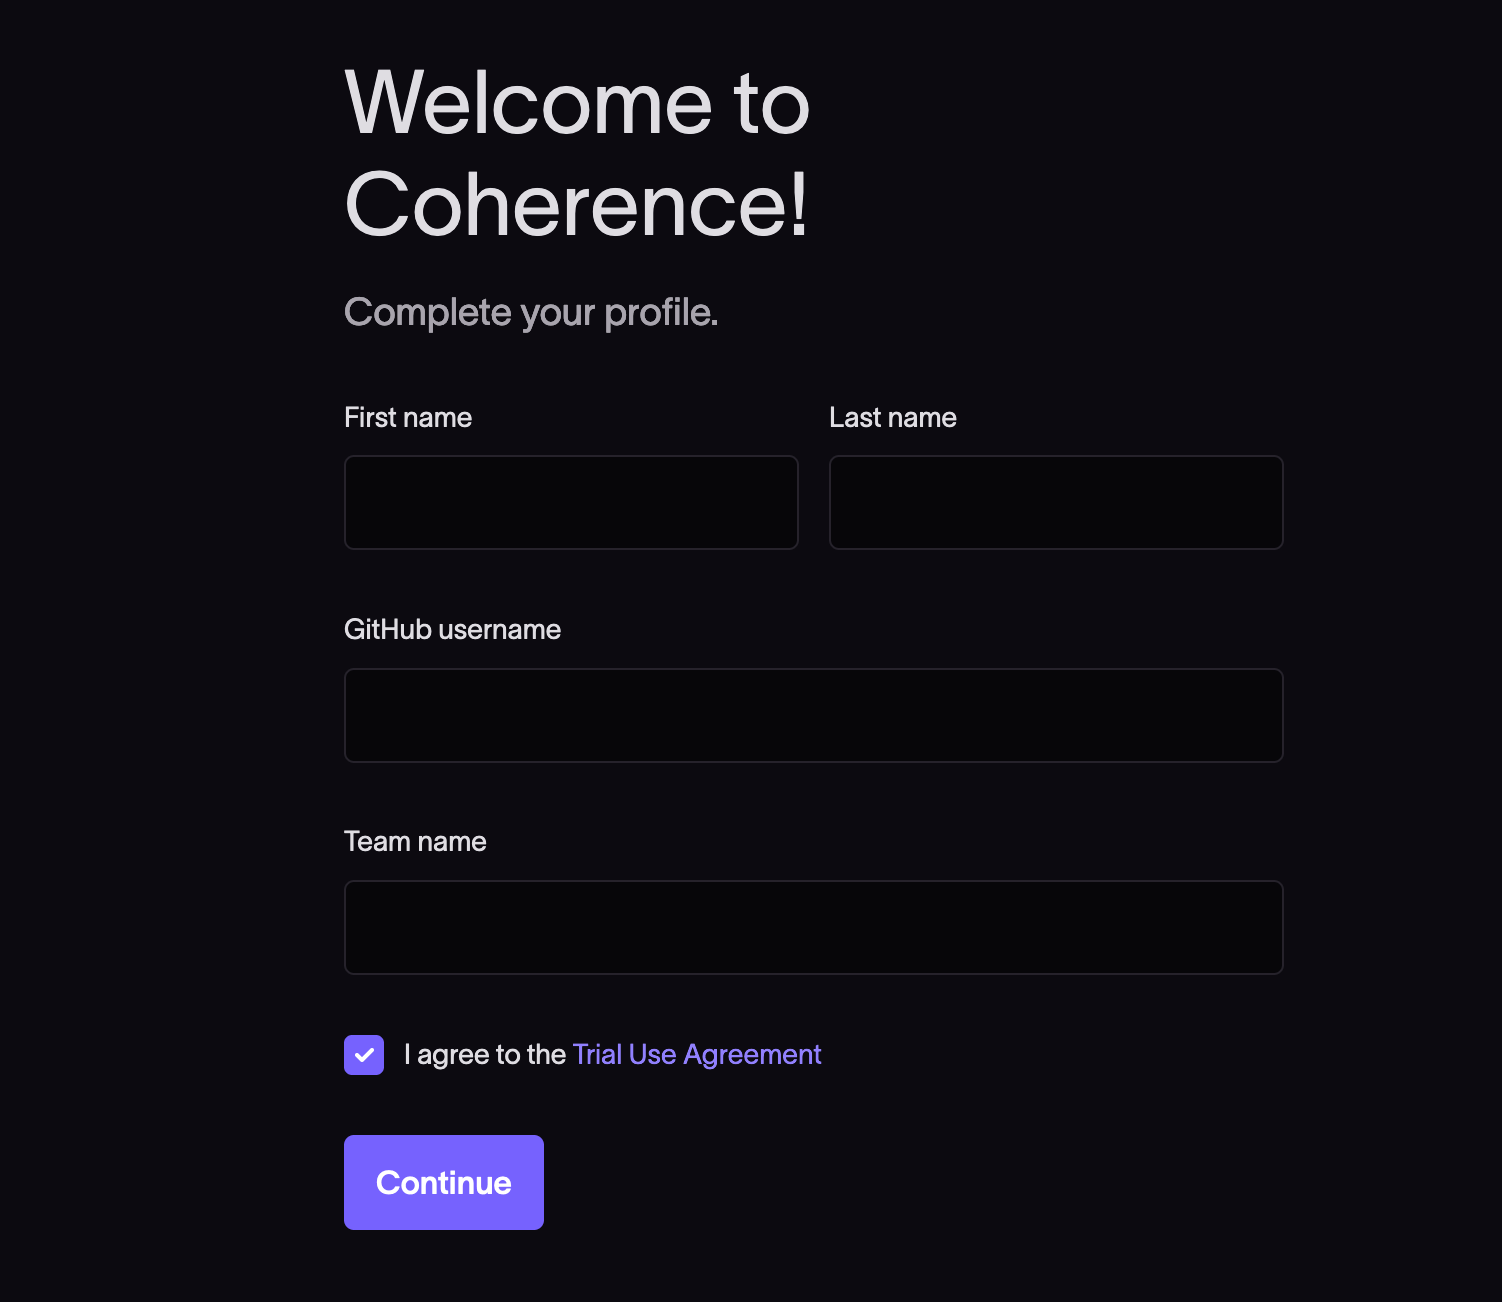
The team name must be unique and will be validated.
Click Continue.
Create your first app on Coherence
Once your Coherence account is created, you will be presented with options to onboard an existing app or create a starter app.
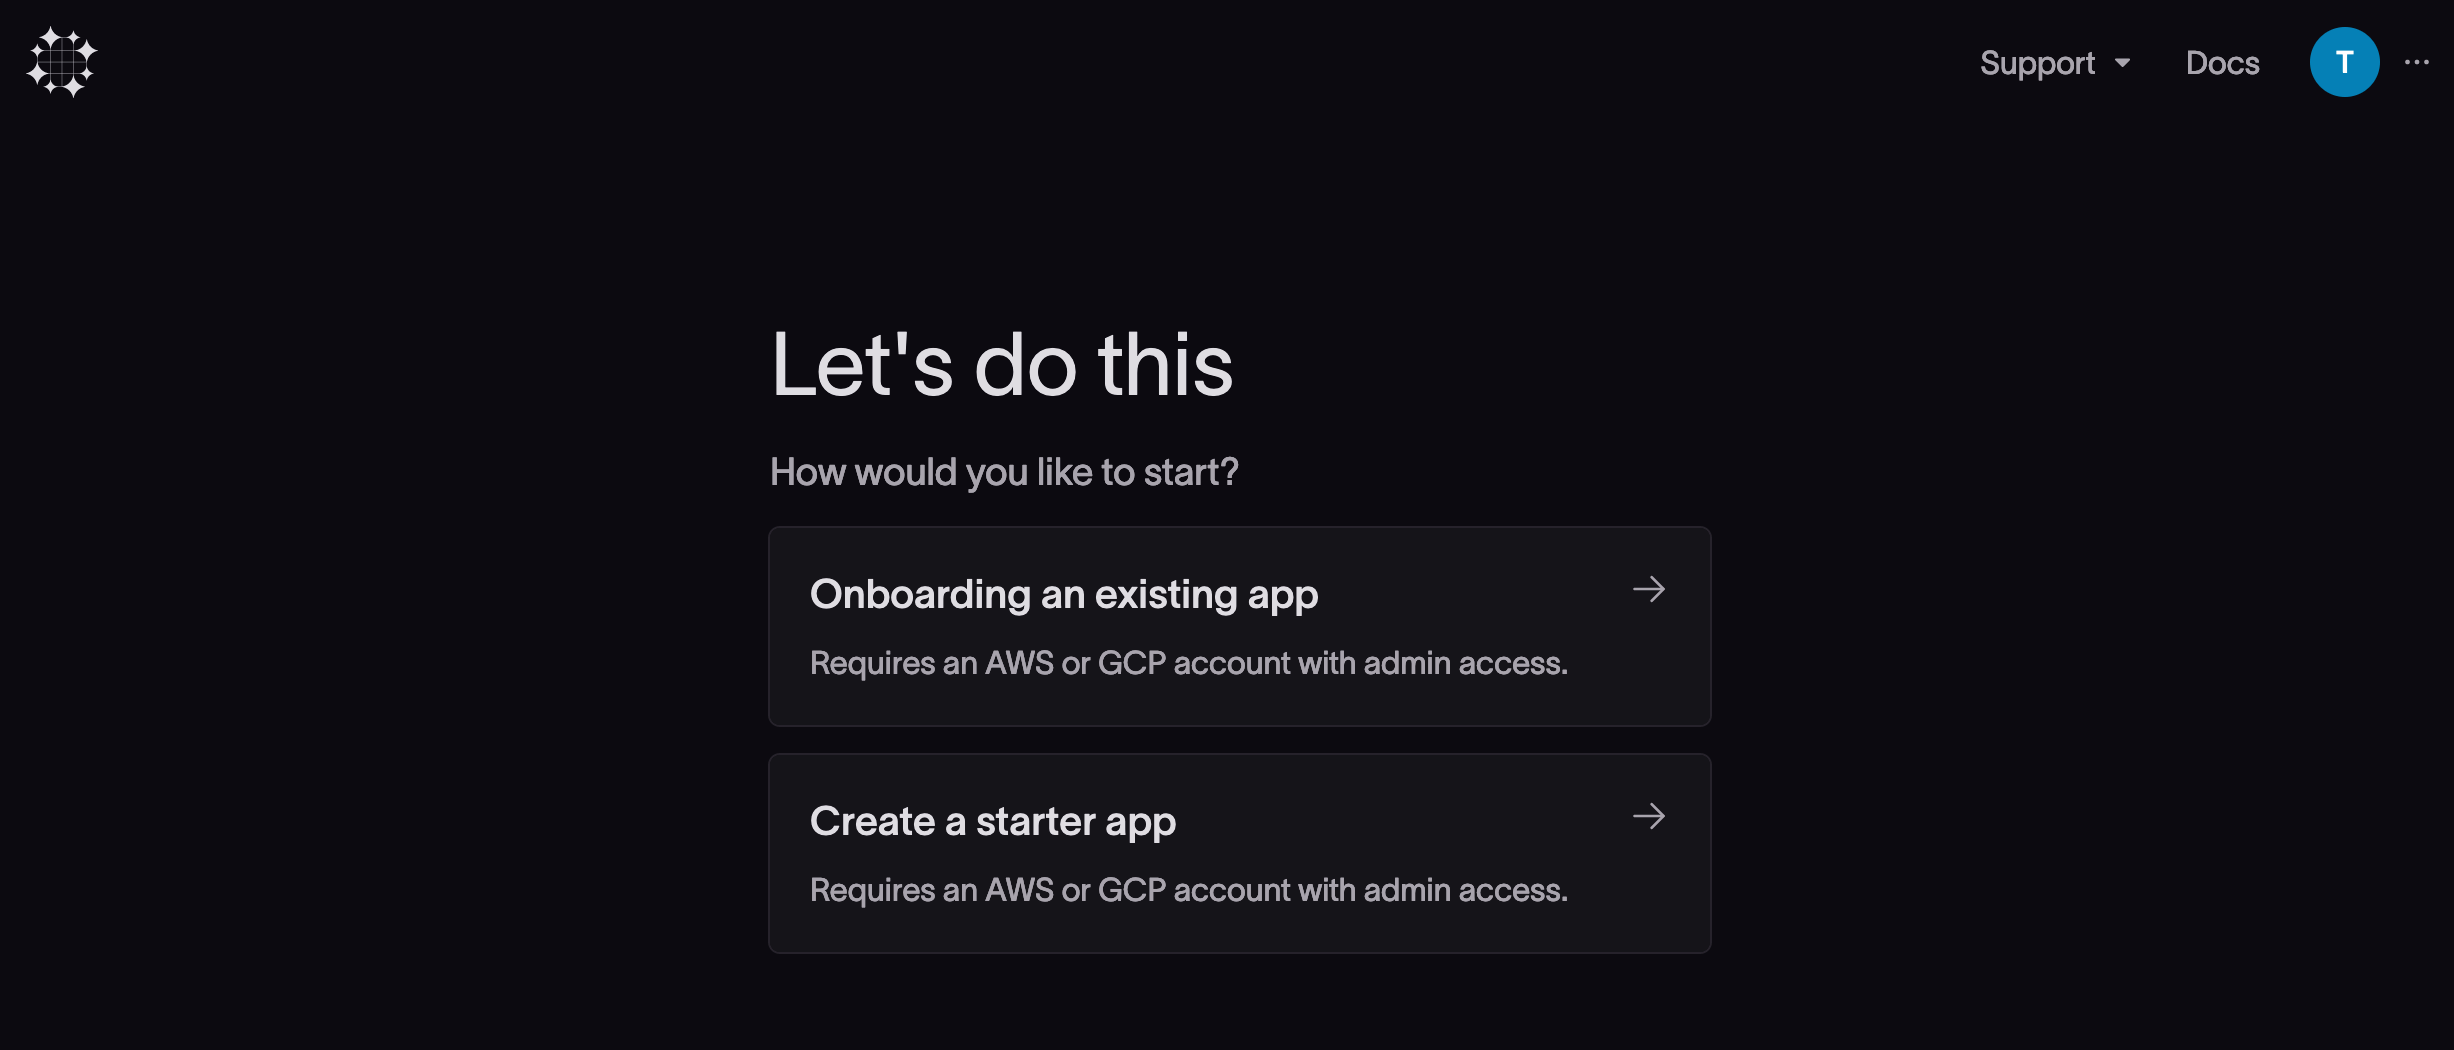
Select the Create a starter app option.
Configure the new application in the new app dialog.
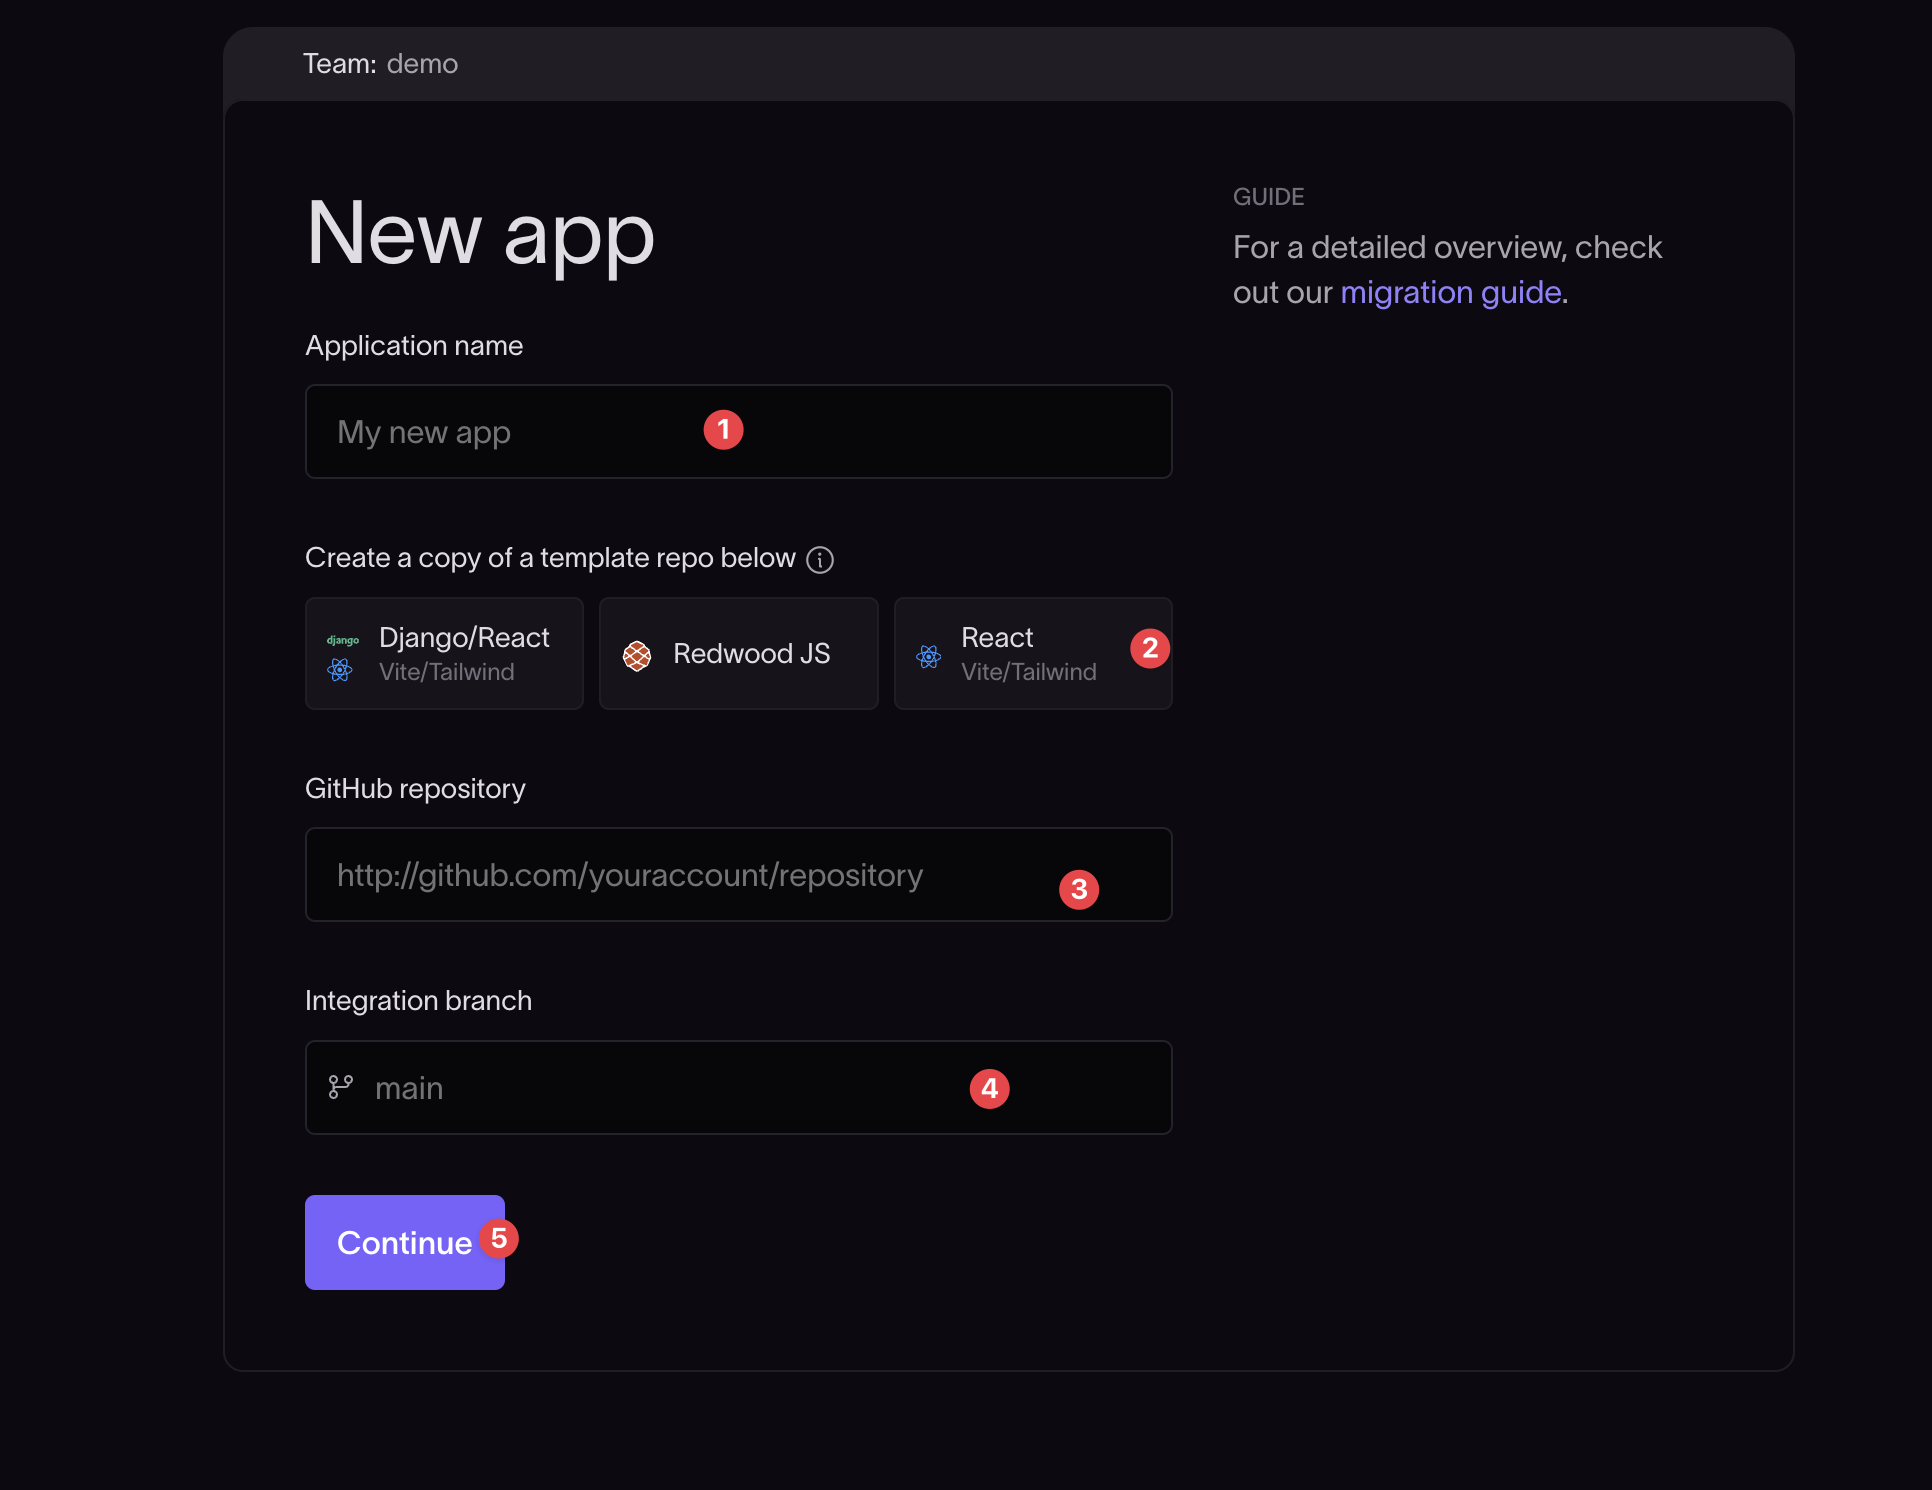
Give the application a name.
Select the framework for your app. This guide uses React.
- A popup will open to create a new repository on GitHub from the Coherence React template.
- Give the new repository a name and optional description. Note that the repository name must be unique.
- Click Create repository.
Back in the create-app dialog on the Coherence platform, provide the URL of the GitHub repository for the app. When entering the GitHub repository URL, omit the trailing
.git.Provide the integration branch on the repository for Coherence to use. Any branch on the repository will do as an integration branch, but the branch you specify here must already exist, so create the branch first if you want to use a new one.
Click Continue.
- The integration branch of your app repository is where you can initially add and build out a
coherence.ymlfile that defines the resources used in your project. - An integration branch environment will be automatically created in Coherence to track this branch. Note that this environment cannot be deleted unless you delete your Coherence application.
- If you do your migration on a temporary branch, you can change the integration branch when you’ve finished and want to merge to a permanent home.
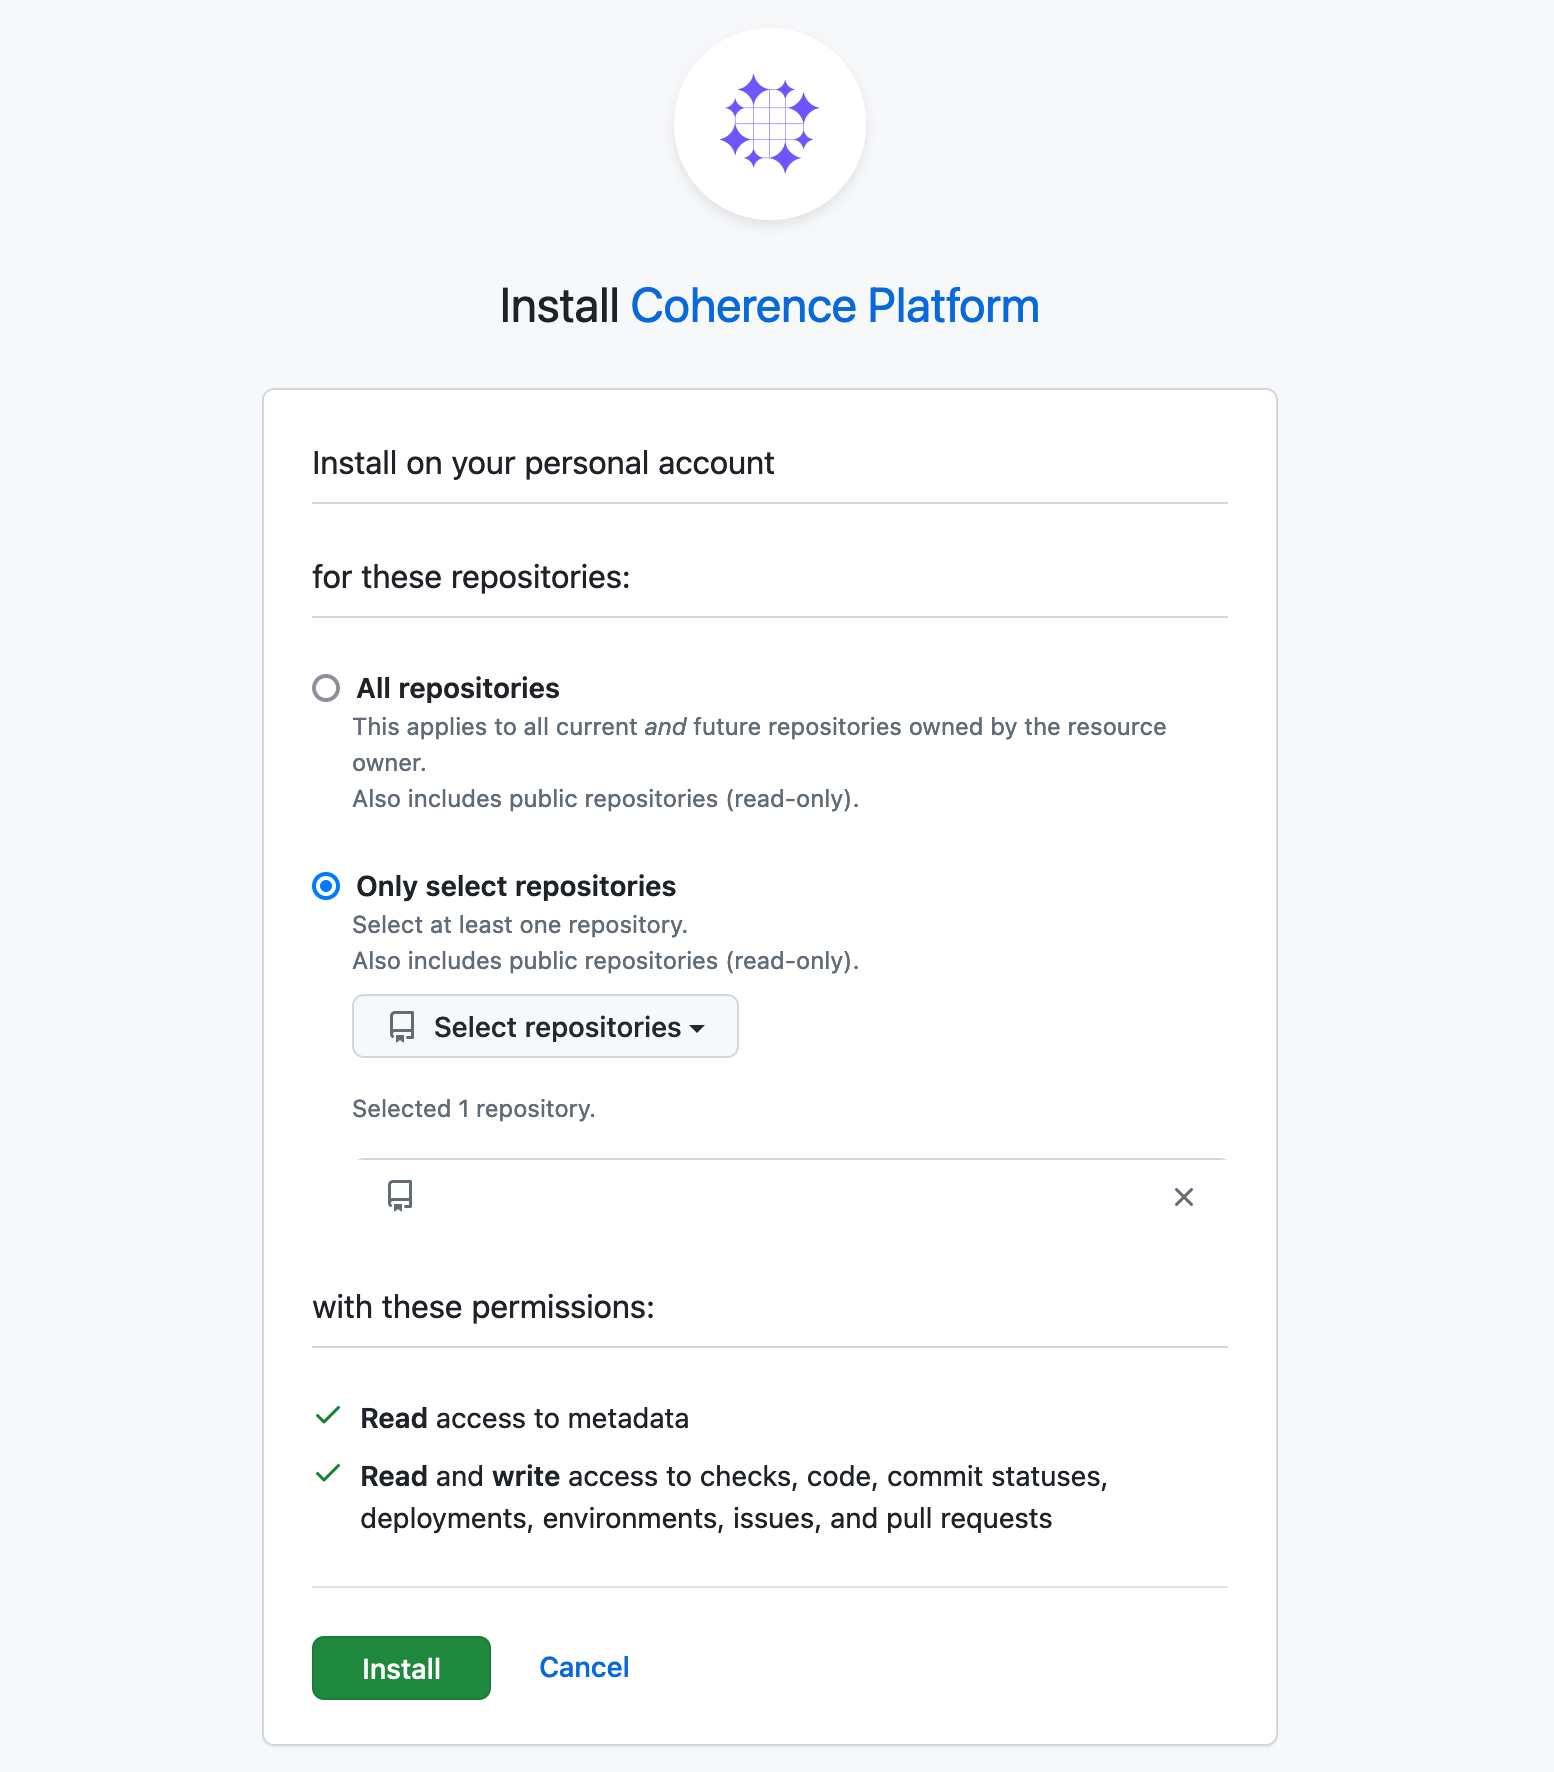
Install the Coherence GitHub app
The Coherence GitHub app gives Coherence repository-level privileges to trigger builds and infrastructure configuration jobs based on code pushes to your repo. You can find the app here.
When you have entered the initial details of your application, the next screen gives you options to install the Coherence GitHub app and authorize the app to perform builds on GitHub.

Click Install the app.
In the installation popup from GitHub, select whether to allow the installation for all repositories or only for selected repositories and click Install.
When you return to the Coherence platform, the Authorize GitHub dialog should show the Coherence GitHub app has been installed. You may need to refresh the browser for the changes to reflect. If the dialog does not show the app is installed, retry the installation steps.
Next, click Authorize. When prompted, click Authorize Coherence platform. Note that if you don't authorize the Coherence platform, it won't have access to your source code in GitHub and won't work as expected.
The Authorize GitHub page on the Coherence platform should now show "Authorized" under "Authorize GitHub".
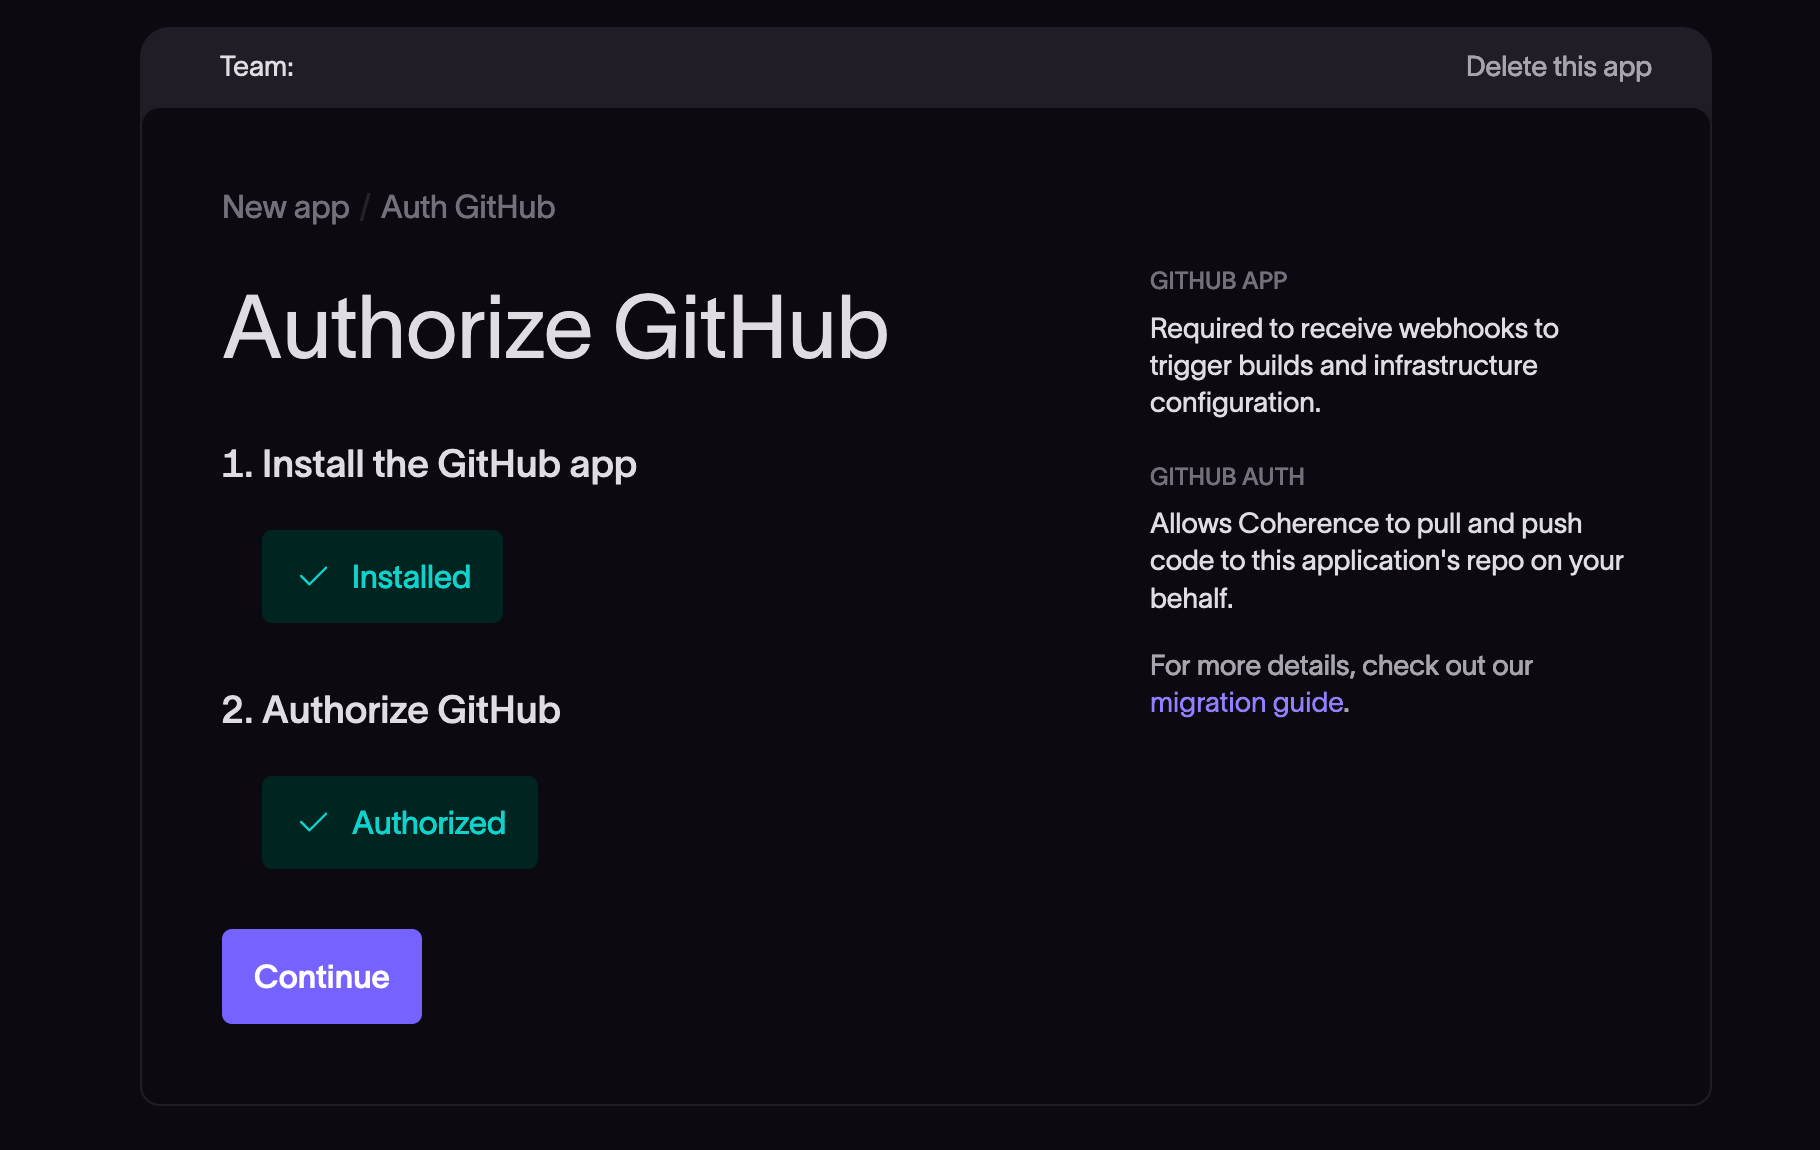
Click Continue.
Create the coherence.yml config file
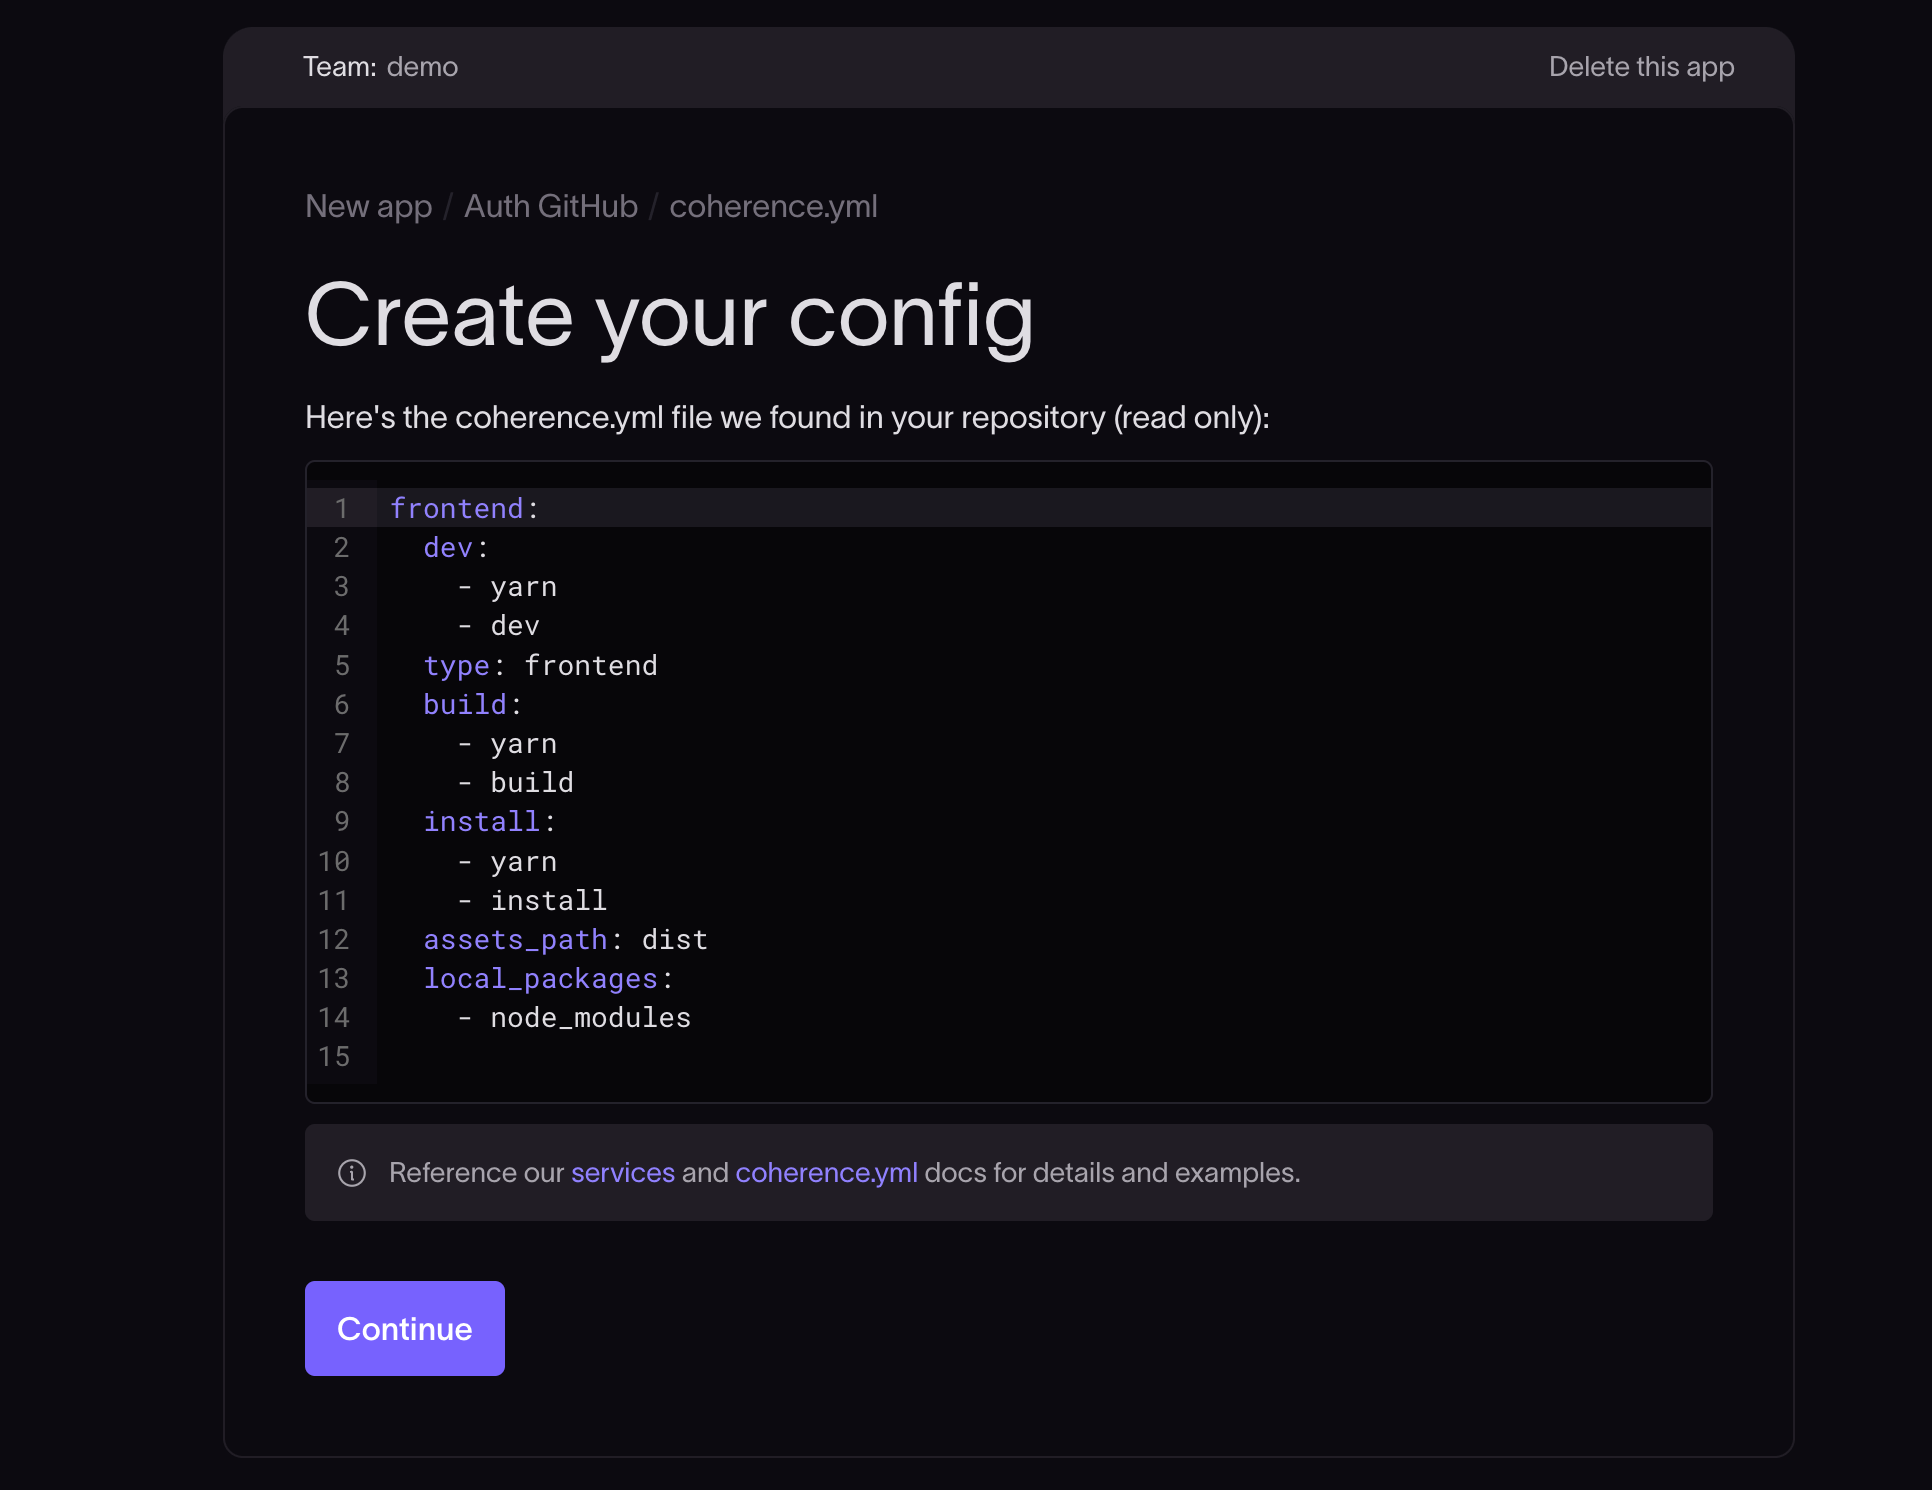
On the next screen, Coherence will search your repo for a coherence.yml file.
The coherence.yml file tells Coherence what resources and infrastructure your application needs across different production and non-production environments. The file defines databases, Redis instances, async workers (like Celery or Sidekiq), scheduled tasks (CronJobs), build processes, tests, and compilation information.
As you're creating an app from a Coherence template, the repo already has a coherence.yml file. Coherence will locate the file and load it here. Click Continue.
When you create a new app without using a template, the repo that holds your app may not already have a coherence.yml file defined. Coherence can generate the configuration for you, or you can start with a blank file.
- Read more about the
coherence.ymlfile in our configuration documentation. - Read our guide to creating an application for instructions on creating an application without a template, or our guide to migrating an application.
Click Continue and you will be taken to the app Preview screen on the Coherence platform.
The app Preview screen
The Coherence application Preview screen will show you a summary of the application's information and provides options for configuring, monitoring, and collaborating on your app.
Note the setup checklist on the top-right of the screen showing your set-up progress. The next step is to add Preview cloud or connect to your cloud provider. Follow the instructions for connecting to Amazon Web Services (AWS) here.