Use with Bitbucket
You can use Bitbucket with Coherence to streamline your development and deployment workflow. When you push changes to your Bitbucket repository, Bitbucket's pipeline builds your application and creates a Docker image. This image is then pushed to a cloud registry managed by Coherence, which deploys it to your specified environment.
This guide demonstrates the process by deploying a Flask application stored on Bitbucket to Coherence, using backend and database services.
Prerequisites
- A Coherence account.
- A Bitbucket account and repository with a Dockerfile. If you do not have one, you can clone our Coherence Flask example application.
- An Amazon Web Services (AWS) or Google Cloud Platform (GCP) account.
Set up Coherence
To set up the project in Coherence, create an app, add a collection, and create an environment. If you're new to Coherence or need a refresher on these steps, refer to the quick start guide.
Create a service
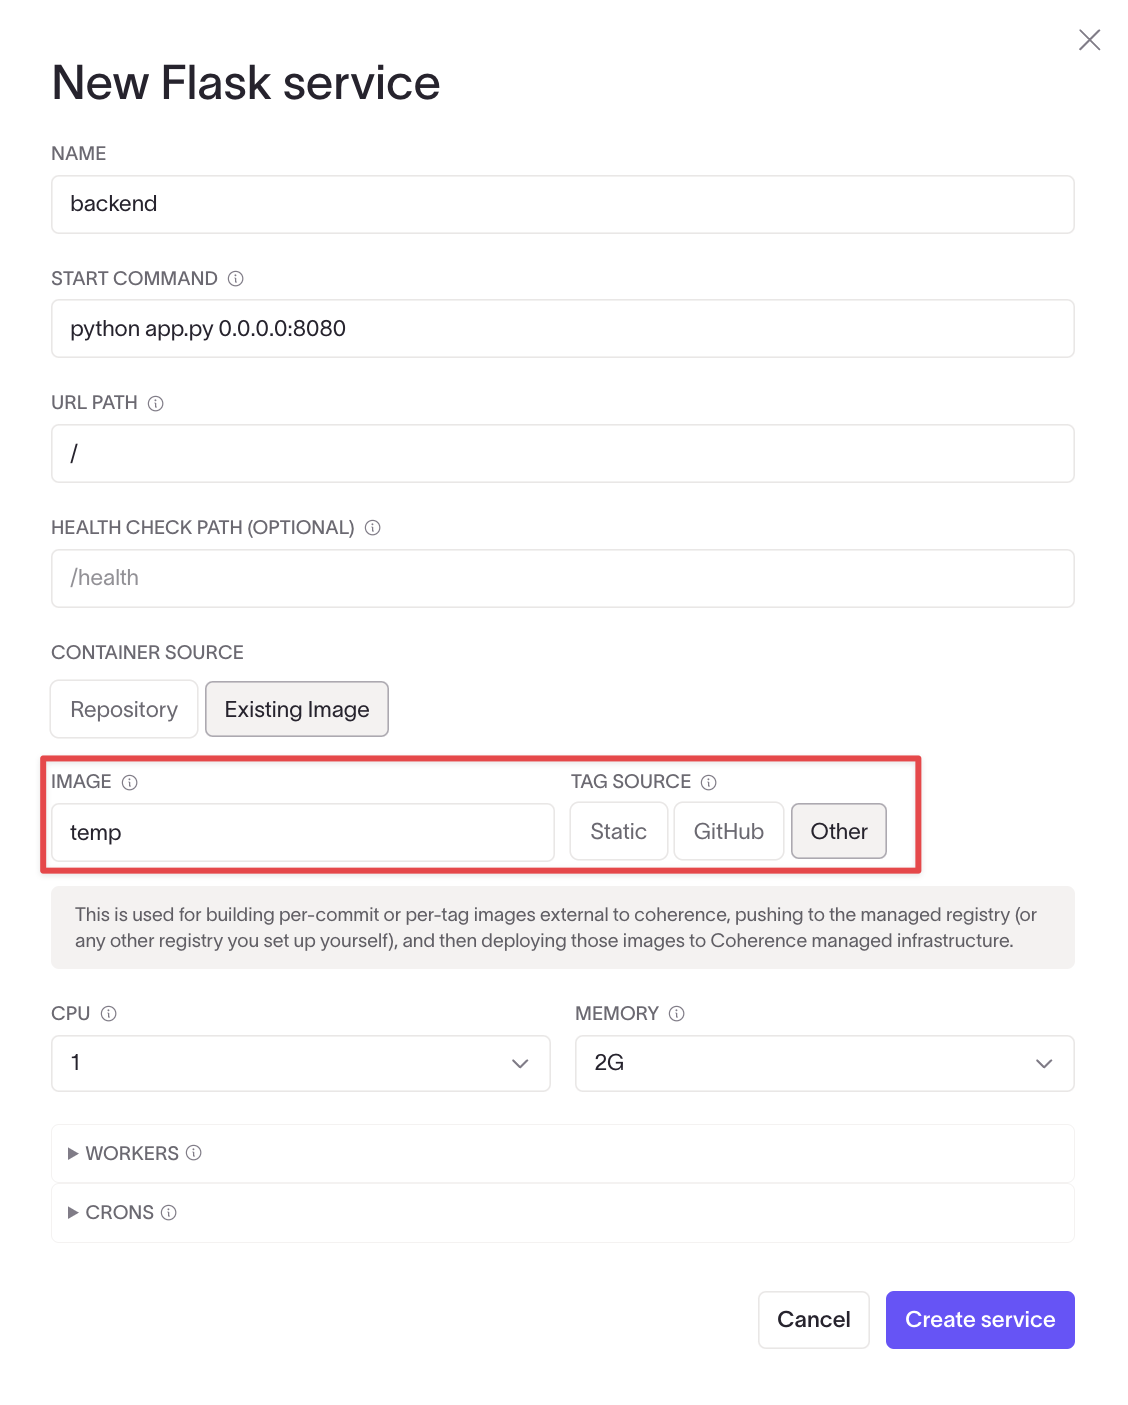
Next, create a service in the environment. Enter all the details necessary for the service and choose the Existing Image option. A temporary image name is used at this stage because the app needs to be created and provisioned before Coherence provides the final image URI.
If you are following with the example, create a database service, give it a name, and click Create service.
Set up IAM permissions
Follow the prompts on the dashboard to connect the app to a cloud account, then follow the on-screen instructions to set up the necessary IAM permissions.
Customize the cnc.yml file
Now you can customize the cnc.yml file to fine-tune your deployment configuration.
If you are following along with the example project, update the x-cnc configuration for the backend service to include a migrate command as shown below:
services:
  backend:
    ...
    x-cnc:
      type: backend
      system:
        health_check: ''
      migrate: flask db migrate -m "Initial migration."
      url_path: /
    ...
Provision the app
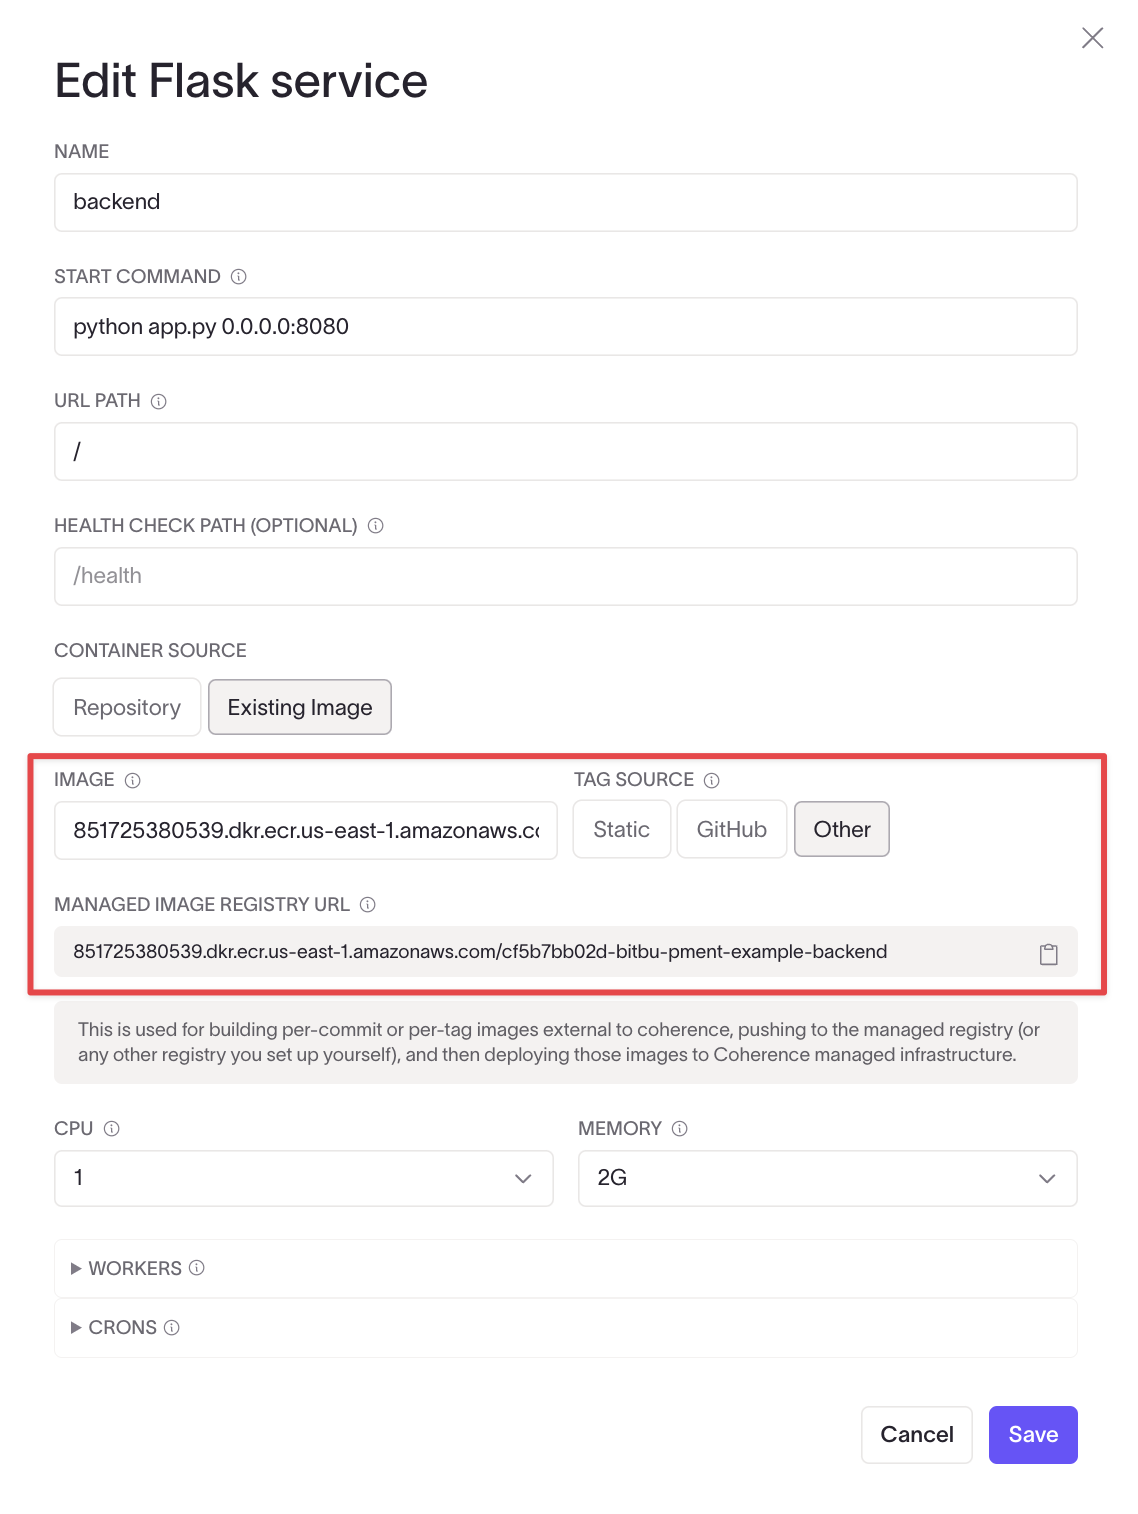
Once permissions are set, follow the prompts in the dashboard to provision the app infrastructure. When provisioning is complete, edit the service to find the managed registry URI. Replace the temporary name with the registry URI and press Save. Provision the app again.
Create an access token
The Bitbucket pipeline will need to authenticate cocli, the Coherence CLI.
Navigate to your profile on Coherence. In the API section, generate a new access token for the application. Save the value of this token for the Bitbucket pipeline setup.
Authenticate with the cloud service
Bitbucket pipelines need authentication keys to interact with your cloud service. The process differs depending on whether you're using Google Cloud or AWS. Follow the instructions for your chosen cloud provider:
In Google Cloud console, navigate to IAM & Admin > Service Accounts. Click on Create Service Account at the top of the page. Follow the on-screen prompts and ensure that the permissions are set to include at least the Artifact Registry Service Agent.
In the service account details page, go to the Keys tab, click Add Key, and choose Create new key. Select JSON as the key type and click Create. This will generate and download a new key file in JSON format.
Once you have the key file downloaded, encode it on your machine using the following command:
cat your-service-account-key.json | base64
Save the encoded output to use later to authenticate your Bitbucket pipeline.
To create an access key and obtain the secret access key ID:
- Sign in to the AWS Management console and navigate to the IAM dashboard.
- In the navigation pane, choose Users.
- Choose your IAM user name (not the check box).
- Open the Security credentials tab, and then choose Create access key.
- To see the new access key, choose Show.
- To download the key pair, choose Download .csv file. Store this file in a secure location.
Important: This is your only opportunity to view or download the secret access key, and you'll need it later. If you lose it, you'll need to create a new access key.
Set up the Bitbucket Pipelines
To use our example Flask application, create a new Bitbucket repository and choose Import repository during setup. Use the URL https://github.com/coherenceplatformdemos/flask-postgres-employees-demo.git. This will clone the example to your Bitbucket account.
In your Bitbucket repository settings, navigate to Pipelines > Settings and enable pipelines with the slider. Then, go to Pipelines > Create pipeline to set up your pipeline configuration.
Create a bitbucket-pipelines.yml file in your repository with the following content:
image: coherencedemo/gcp-cocli:latest

pipelines:
  default:
    - step:
        name: Build and Push Backend
        services:
            - docker
        script:
            # Authenticate Google Cloud
            - echo $GCLOUD_SERVICE_KEY | base64 -d > gcloud-service-key.json
            - gcloud auth activate-service-account --key-file gcloud-service-key.json
            - gcloud auth configure-docker $GCLOUD_REGION-docker.pkg.dev --quiet
            # Push the image
            - docker build -t $MANAGED_REGISTRY_URL:"$BITBUCKET_COMMIT" .
            - docker push $MANAGED_REGISTRY_URL:"$BITBUCKET_COMMIT"
    - step:
        name: Deploy
        script:
            - APP_ID=$(cocli apps list | jq -r '.[] | select(.name=="'$APP_NAME'") | .id')
            - ENV_ID=$(cocli collections list --app_id $APP_ID | jq '.data[] | select(.name == "'$COLLECTION_NAME'") | .latest_infra_config.valid_environments[] | select(.name == "'$ENV_NAME'") | .id')
            - cocli environments deploy $ENV_ID '{"services":[{"name":"'$SERVICE_NAME'","commit_sha":"'$BITBUCKET_COMMIT'"}],"configure_infra":false}'
APP_NAME: The name of the Coherence applicationCOLLECTION_NAME: The name of the Coherence collectionENV_NAME: The name of the Coherence environmentSERVICE_NAME: The name of the service you created in CoherenceMANAGED_REGISTRY_URL: The URL of your managed registry that was generated in your service detailsGCLOUD_REGION: The Google Cloud region where your resources are located (for example,us-east4)GCLOUD_SERVICE_KEY: The Base64-encoded Google Cloud service account key you created earlierCOHERENCE_ACCESS_TOKEN: Your Coherence access token
Ensure that sensitive variables like GCLOUD_SERVICE_KEY and COHERENCE_ACCESS_TOKEN are marked as secured or encrypted in your Bitbucket settings to protect them from unauthorized access.
image: coherencedemo/aws-cocli:latest

pipelines:
  default:
    - step:
        name: Build and Push Backend
        services:
          - docker
        script:
          # Configure AWS CLI
          - aws configure set aws_access_key_id $AWS_ACCESS_KEY_ID
          - aws configure set aws_secret_access_key $AWS_SECRET_ACCESS_KEY
          - aws configure set region $AWS_DEFAULT_REGION
          # Authenticate with ECR
          - aws ecr get-login-password --region $AWS_DEFAULT_REGION | docker login --username AWS --password-stdin $MANAGED_REGISTRY_URL
          # Push the image
          - docker build -t $MANAGED_REGISTRY_URL:"$BITBUCKET_COMMIT" .
          - docker push $MANAGED_REGISTRY_URL:"$BITBUCKET_COMMIT"
    - step:
        name: Deploy
        script:
            - APP_ID=$(cocli apps list | jq -r '.[] | select(.name=="'$APP_NAME'") | .id')
            - ENV_ID=$(cocli collections list --app_id $APP_ID | jq '.data[] | select(.name == "'$COLLECTION_NAME'") | .latest_infra_config.valid_environments[] | select(.name == "'$ENV_NAME'") | .id')
            - cocli environments deploy $ENV_ID '{"services":[{"name":"'$SERVICE_NAME'","commit_sha":"'$BITBUCKET_COMMIT'"}],"configure_infra":false}'
In the sidebar, navigate to Repository settings and then Repository variables. Add the following variables for your repository:
APP_NAME: The name of the Coherence applicationCOLLECTION_NAME: The name of the Coherence collectionENV_NAME: The name of the Coherence environmentSERVICE_NAME: The name of the service you created in CoherenceMANAGED_REGISTRY_URL: The URL of your Amazon ECR repositoryAWS_ACCESS_KEY_ID: Your AWS access key IDAWS_SECRET_ACCESS_KEY: Your AWS secret access keyAWS_DEFAULT_REGION: The AWS region where your ECR repository is located (for example,us-east-1)COHERENCE_ACCESS_TOKEN: Your Coherence access token
For sensitive variables like AWS_SECRET_ACCESS_KEY and COHERENCE_ACCESS_TOKEN, make sure to mark them as "Secured" by checking the box next to the variable. This encrypts the value and prevents it from being displayed in logs or to unauthorized users. Click Add for each variable to save it to your repository.
The $BITBUCKET_COMMIT variable is automatically provided by Bitbucket Pipelines and contains the full commit hash of the current build. Using this as the image tag creates a unique identifier for each Docker image, linking it to the specific commit that triggered the build.
Deploy the application
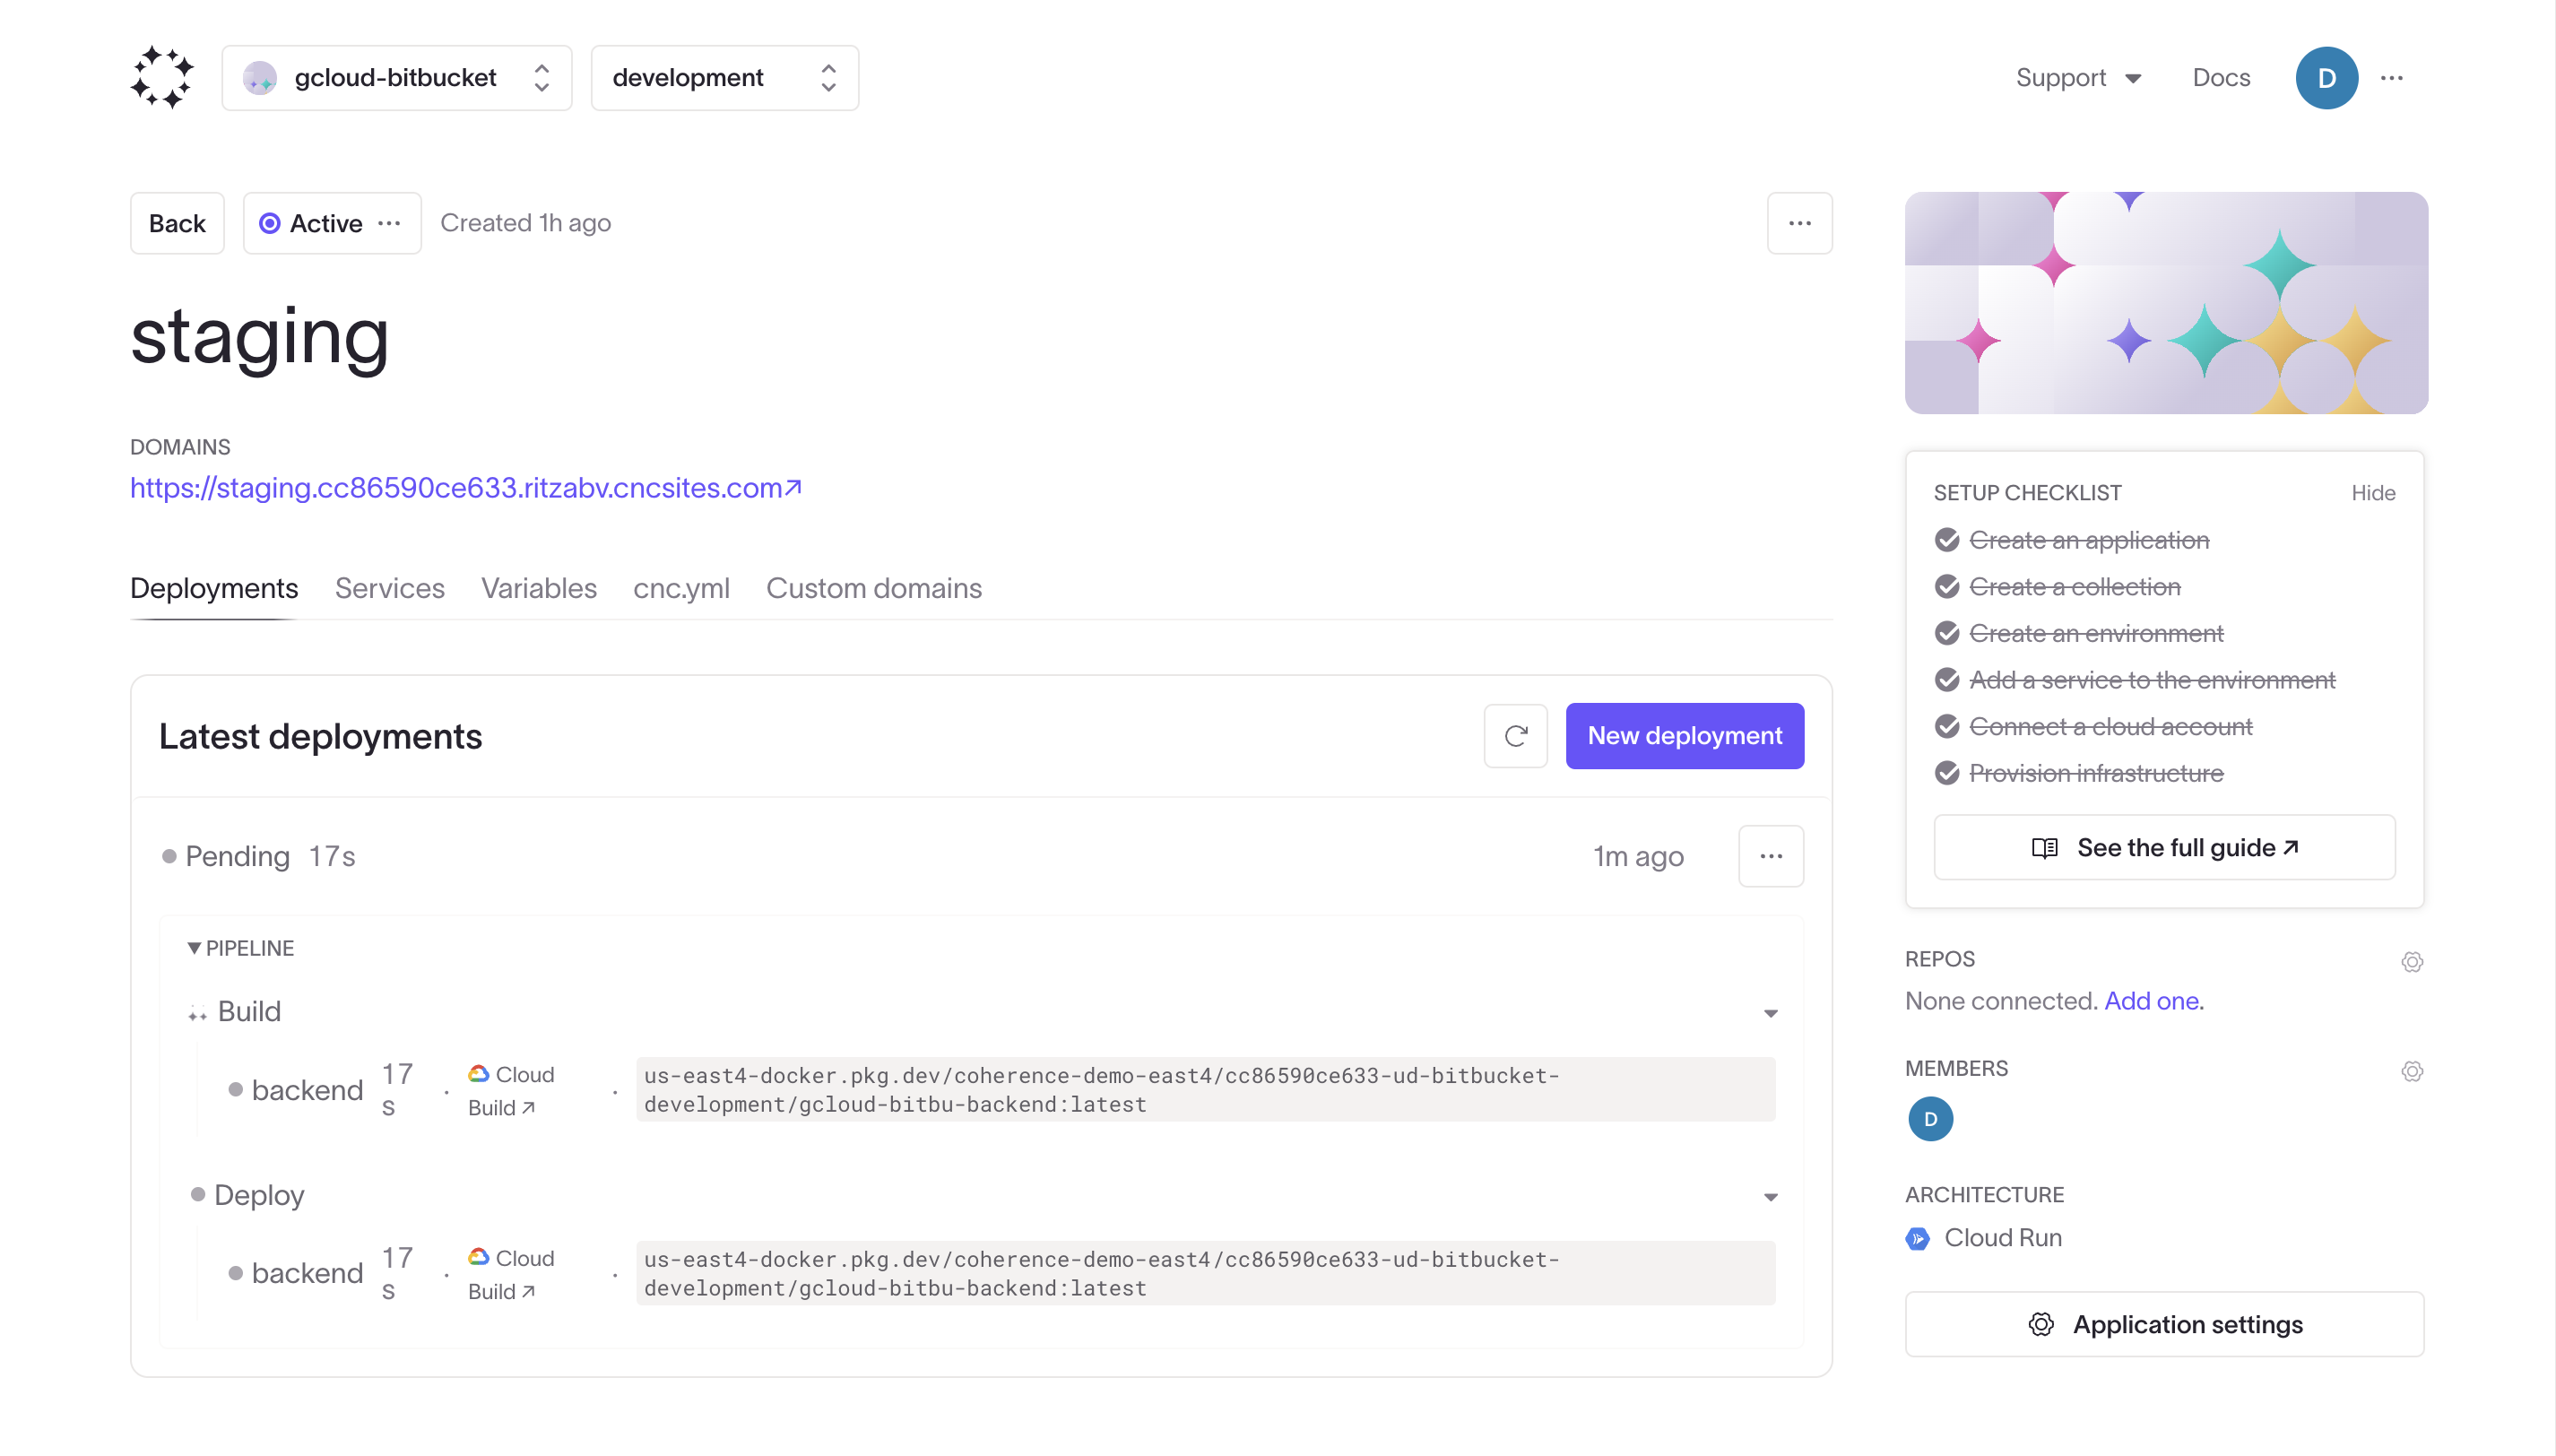
To deploy the application, commit and push your changes to trigger the Bitbucket pipeline. Once the pipeline completes successfully, Coherence will build and deploy your app automatically. Find the app live at the URL provided in your environment dashboard.
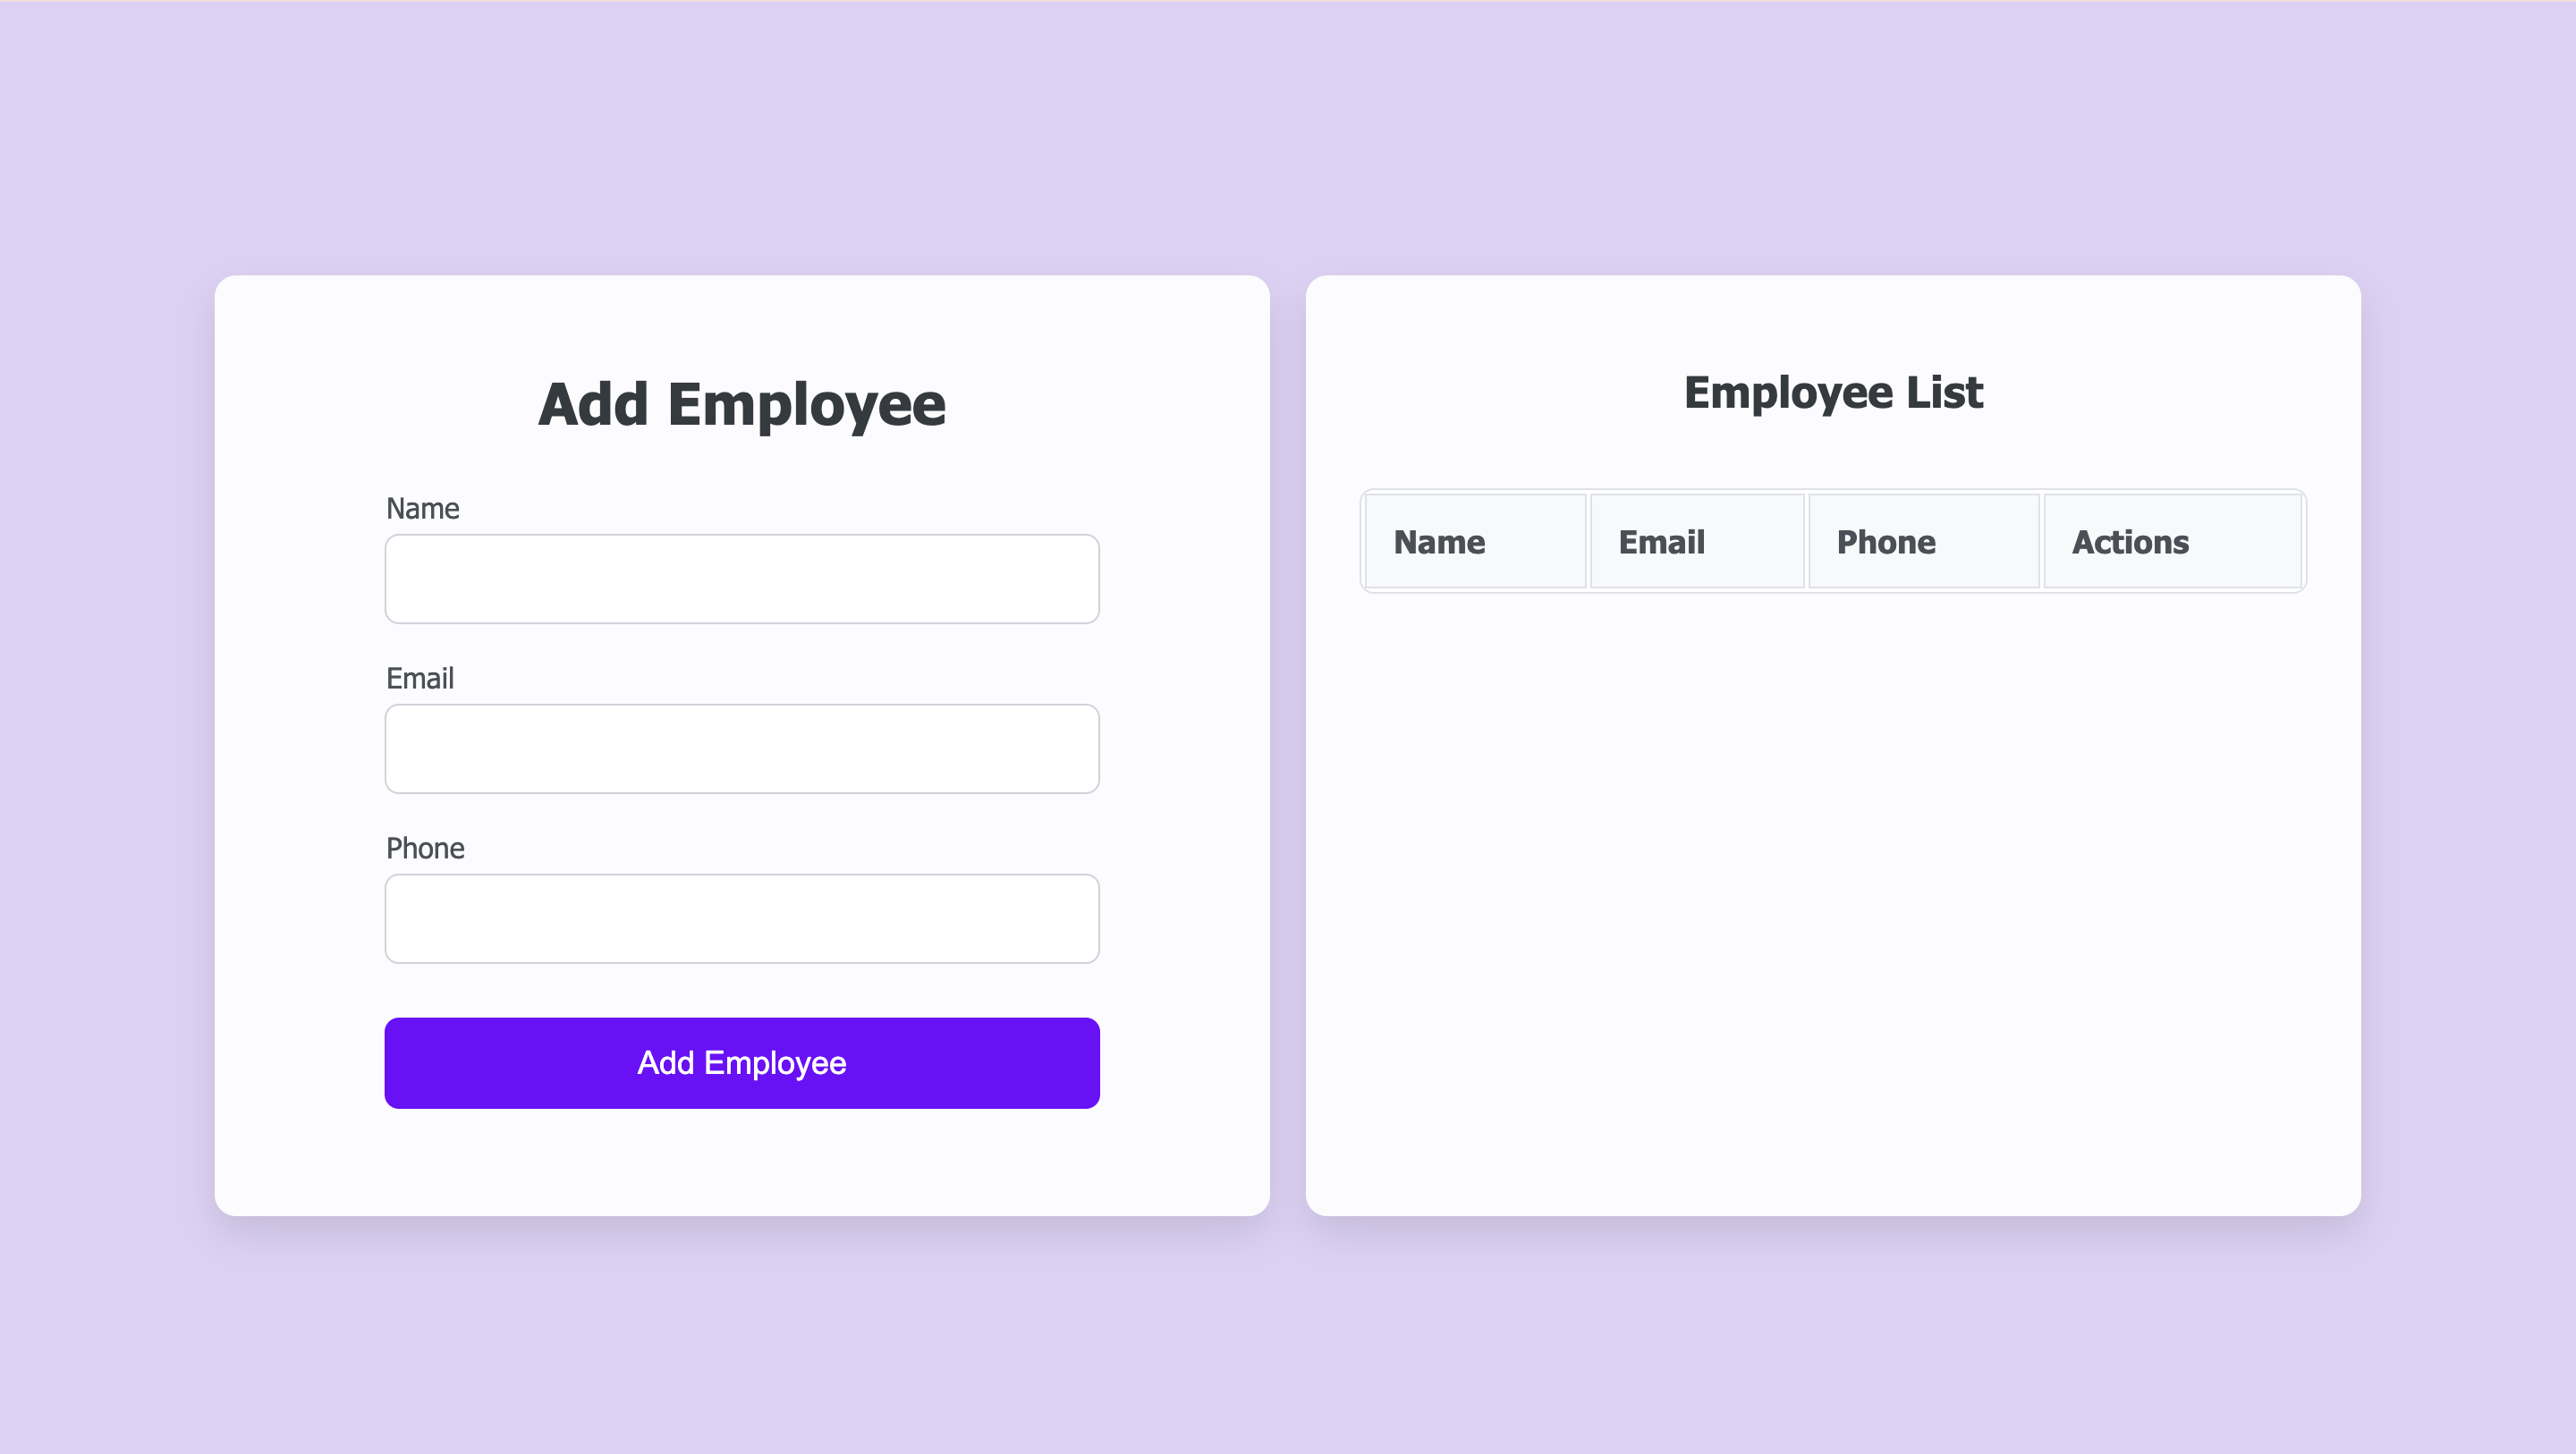
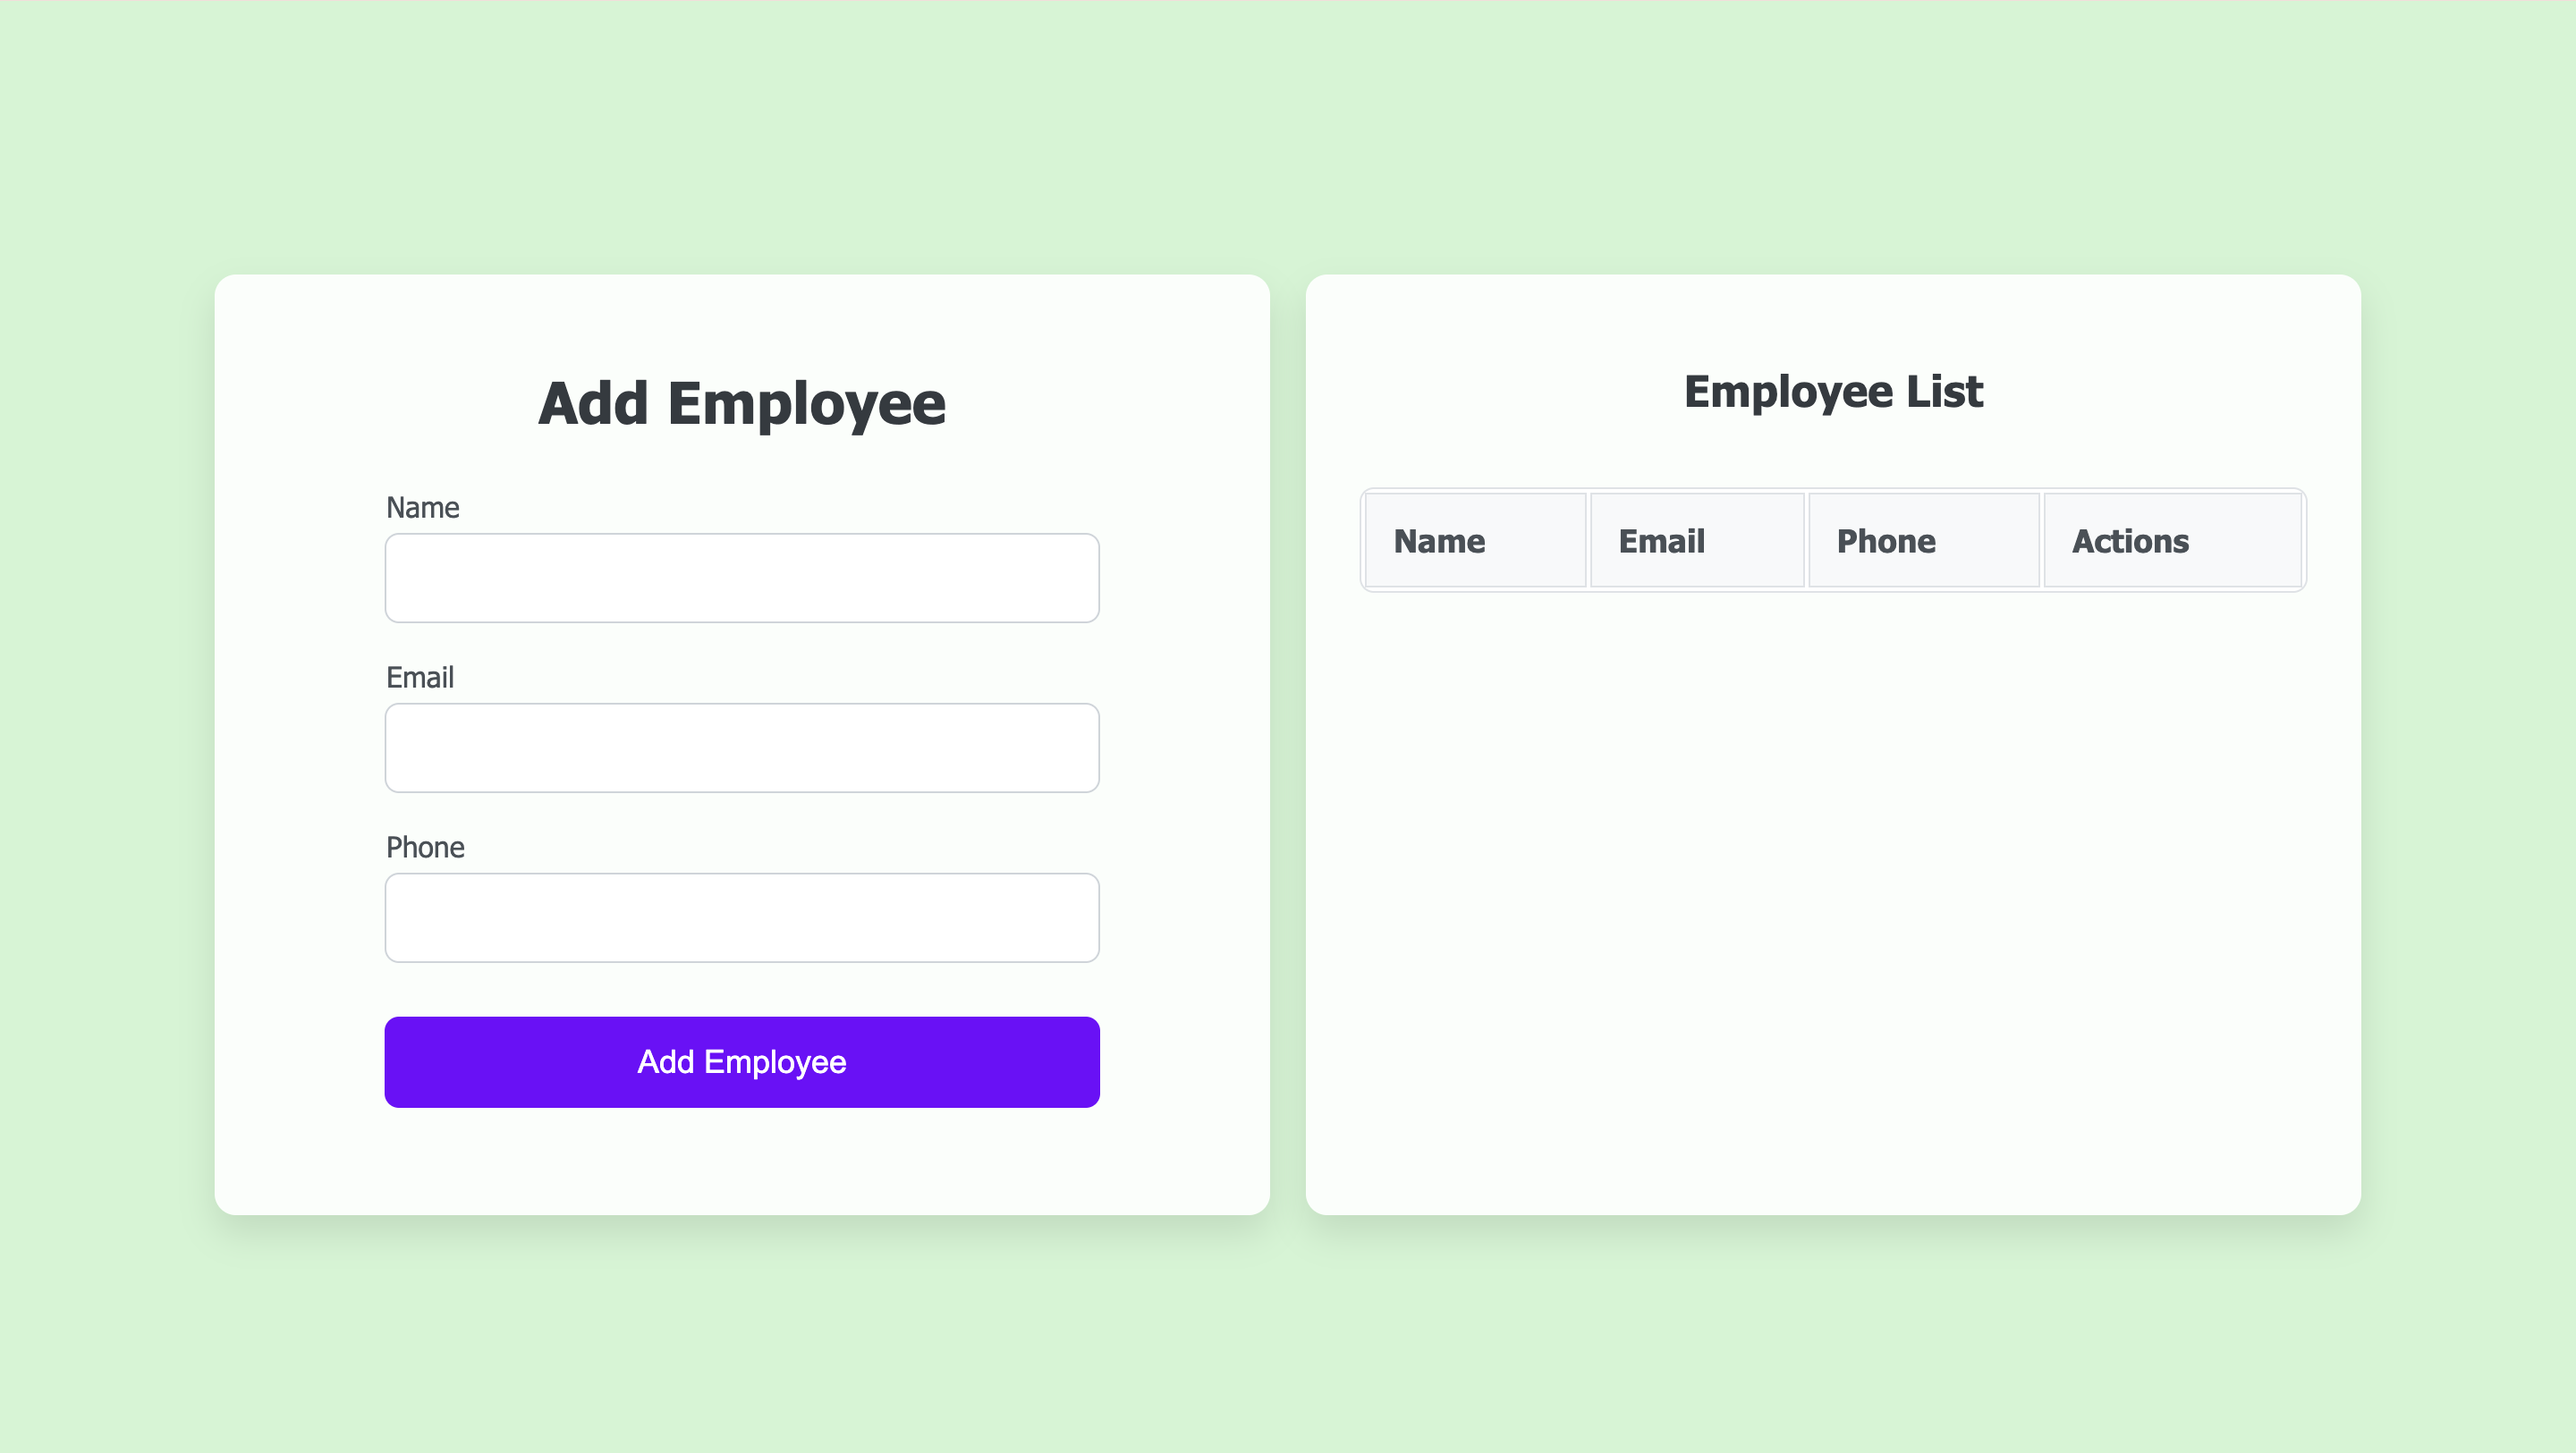
If you followed along with the example project, you will see and be able to use the full-stack employee-management application:
Commit to trigger a new deploy
Once your initial deployment is complete, you can update your application by making changes to your code and pushing them to Bitbucket. The push will automatically trigger the Bitbucket pipeline, which will build a new Docker image and push it to your managed registry. Coherence will then deploy this new image to your environment.
You can monitor the progress of the deployment in the Coherence dashboard. Once complete, you'll see your changes reflected in the live application.
To test this process with the example project, open the templates/index.html file and change background-color: rgba(223, 208, 245, 0.98); to background-color: rgba(208, 245, 210, 0.98);. Commit and push this change to trigger a new deployment.
Deploy to multiple environments
You can set up more pipelines for branches in your Bitbucket repository to deploy to various Coherence environments automatically. Edit the variables in the pipeline file (specifically ENV_NAME) in a new branch to deploy to the environment of your choice. You can then commit to different branches (for example, develop, staging, and main) to trigger deployments to their corresponding environments in Coherence. Set this up to test in isolated environments and stage releases.