Deploy From a Docker Image
Coherence allows you to deploy services from prebuilt Docker images hosted on Docker Hub. This guide will show you how to deploy Coherence services from a Docker image.
Prerequisites
- A Coherence account.
- A Docker Hub account.
- Docker Desktop installed on your local machine.
- An application repo with a Dockerfile, if you don't have one, you can clone the Coherence Flask example.
Build and publish a Docker image
To deploy a Coherence service from a Docker image, you need to build and publish a Docker image to Docker Hub.
-
From the root of your application repo, build the Docker image:
docker build -t <your-docker-username>/<your-image-name>:<tag> .For example:
docker build -t demo/flask-employees-demo:1.0 . -
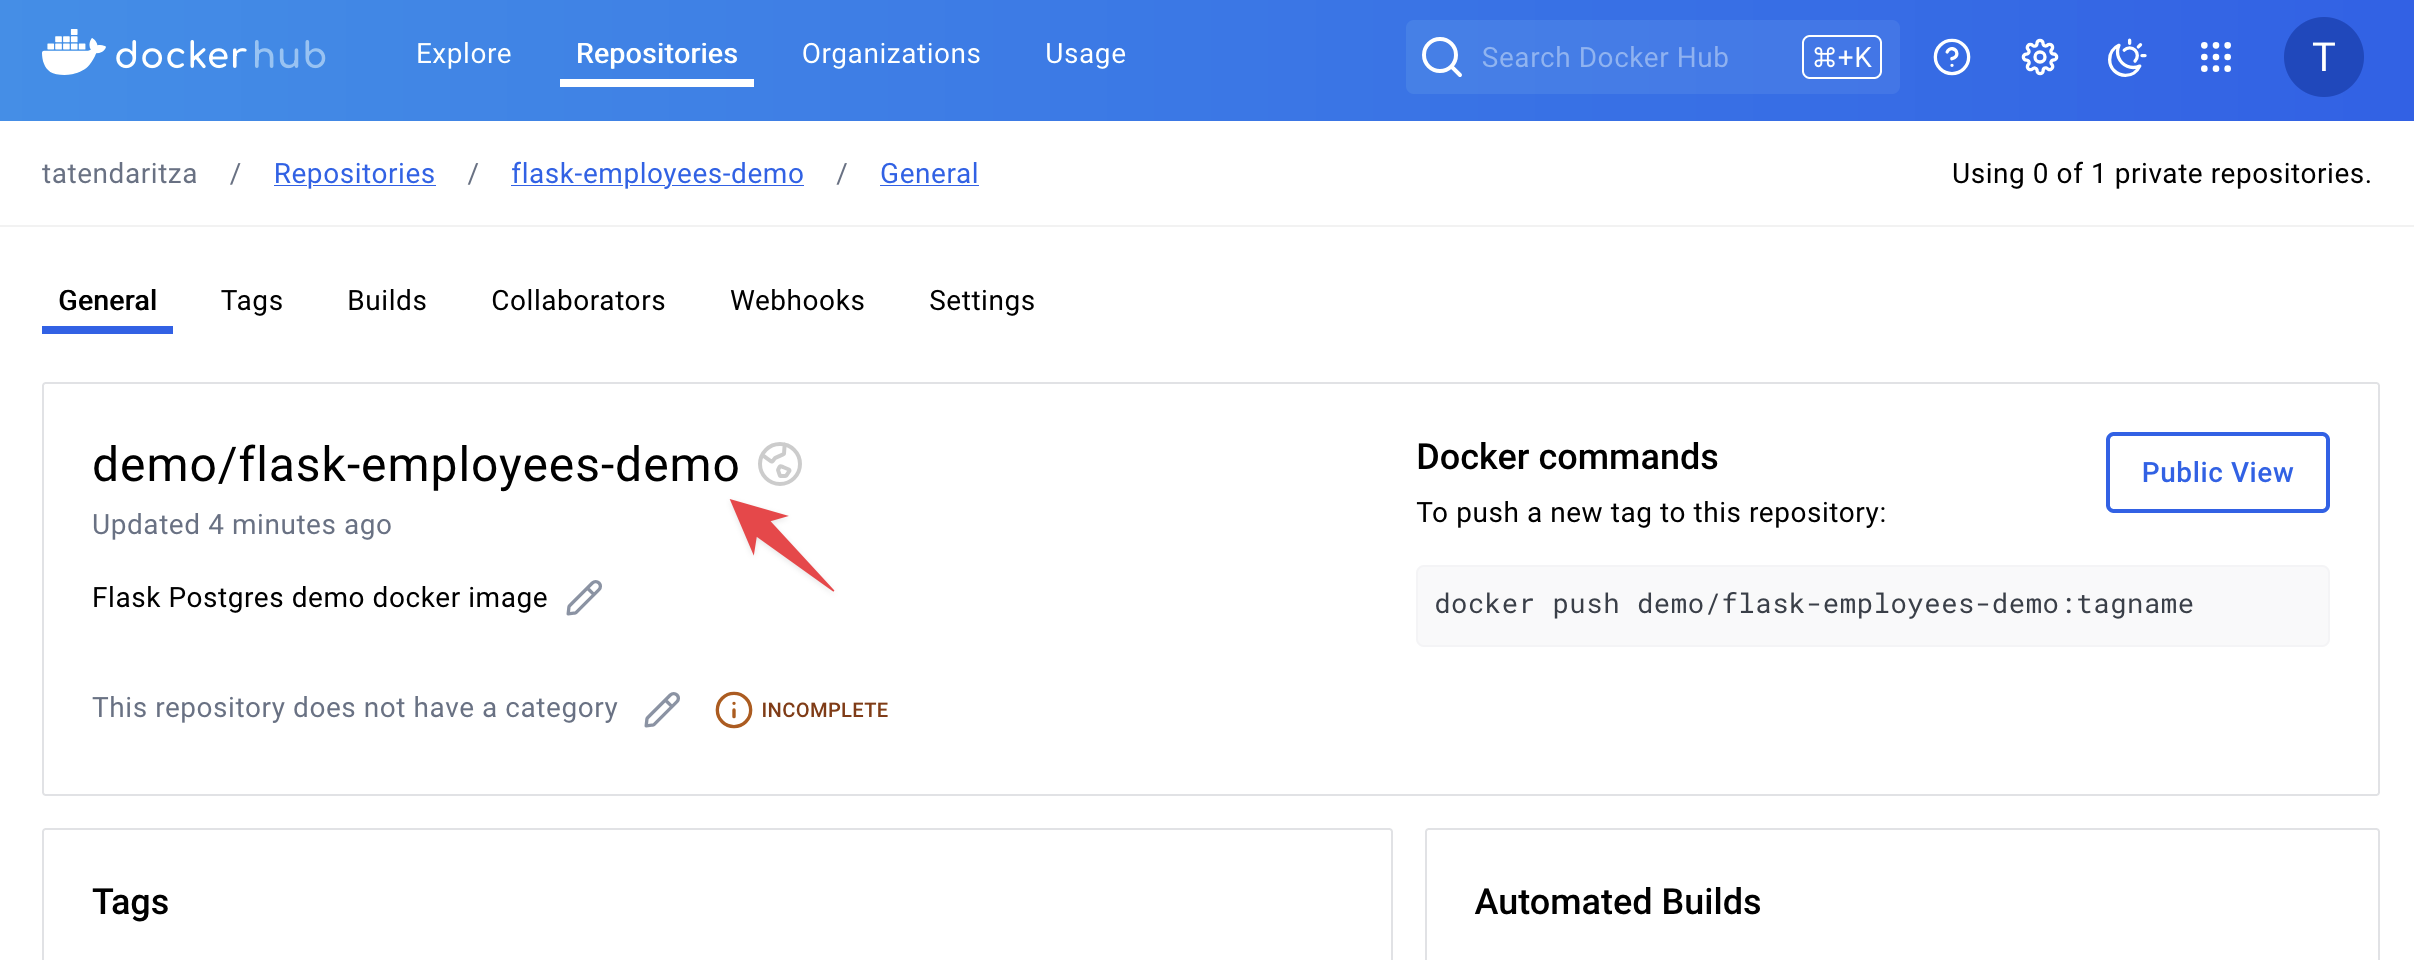
Push the Docker image to Docker Hub:
docker push <your-docker-username>/<your-image-name>:<tag>
Your Docker image is now available on Docker Hub. Make a note of the image name and tag.
Deploy a Coherence service from a Docker image
To set up your project in Coherence, create an app, add a collection, and create an environment. If you're new to Coherence or need a refresher on these steps, refer to the quick start guide.
Next, deploy a Coherence service from a Docker image.
- From the environment dashboard, click the Services tab.
- Click New Service.
-
Select the service type you want to deploy. If you're following the Flask example, select Flask.
-
Enter "backend" under Name.
- Enter the start command defined in your Dockerfile. For the Flask example, it's
python app.py 0.0.0.0:8080. -
Enter "/" under URL path.
-
Choose Existing Image under Container source.
- Paste in the Docker image you pushed to Docker Hub.
- Click Static under Tag source.
- Enter the tag you used when you pushed the Docker image to Docker Hub.
- Click Create service.

Add a database service
For most applications, you'll need a database service. Here’s how to add a PostgreSQL database to the environment:
- Click New service. Select Postgres under the Database section.
- Enter the name of the database service, for example,
employees. - Enter the database engine version, for example,
14. - Click Create service to save the service configuration.
The database service will be provisioned during the provisioning step. When building and deploying the application, Coherence will automatically insert the database connection string into the application environment variables.
Handle database migrations
If the application requires database migrations, you can run them as part of the build process. Add a migrate step to the cnc.yml to run the migrations.
    services:
      backend:
        ...
        x-cnc:
          type: backend
          system:
            health_check: ''
          migrate: flask db migrate -m "Initial migration."
          url_path: /
        ...
Provision, build, and deploy
Now you can provision, build, and deploy the application.
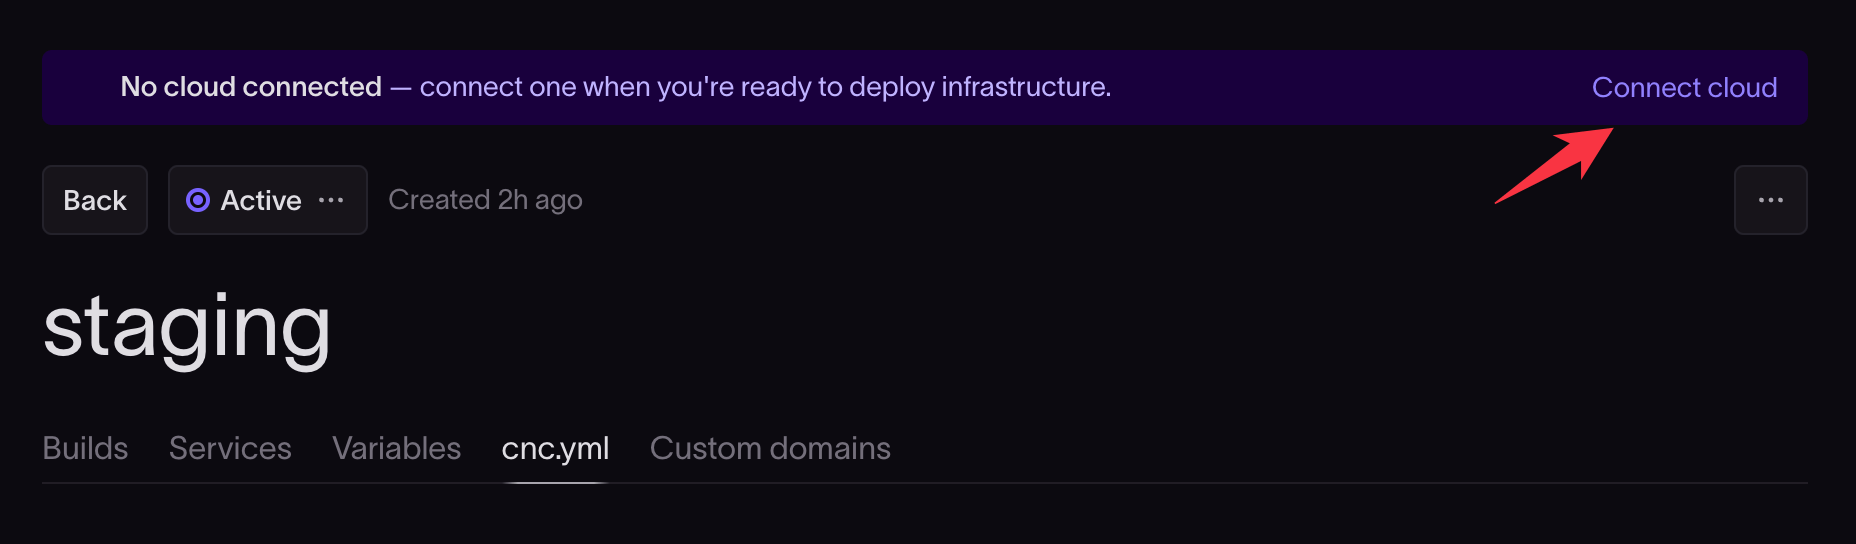
If you haven't connected your cloud provider account, you'll need to do so before you can provision infrastructure.
Connect to a cloud provider account
Click Connect to Cloud to connect your cloud provider account.
- Enter your Google Cloud project ID. Find your project ID on the project's main page in the Google Cloud console.
- Select the region to use for your cloud instance.
- Check the boxes to confirm you have admin privileges and sufficient quota.
- Click Next to proceed to the instructions to add an IAM role in your cloud provider that will allow Coherence to create the resources it needs in your cloud account.
Read our connect to GCP guide if you need more help with this step.
- Enter your AWS account ID. Find your account ID on the main page of the AWS console.
- Select the region to use for your cloud instance.
- Check the boxes to confirm you have admin privileges and sufficient quota.
- Click Next to proceed to the instructions to add an IAM role in your cloud provider that will allow Coherence to create the resources it needs in your cloud account.
Read our connect to AWS guide if you need more help with this step.
When prompted, you can skip the Import variables modal if you do not have extra variables to define. Variables like DATABASE_URL will be automatically configured.
Provision infrastructure
- Go to the Provisioning tasks tab of the collection.
- Click Submit new task to provision the infrastructure.
- Wait for the provisioning task to complete.
Build and Deploy
Once provisioning is complete, go to the Deployments tab of the environment.
- Click New deployment.
- Choose the tag you want to use.
- Click Submit deployment.
Coherence will now build and deploy the application. When the deployment is successful, you can access the application by clicking on the domain provided in the Domains section in the environment.