Host Metabase with Coherence
This guide demonstrates how to use Coherence and Google Cloud Platform (GCP) or Amazon Web Services (AWS) to host a Metabase instance. Metabase is a data analytics tool you can use to query data, create dashboards, and create models for existing databases.
What you'll learn
This guide will show you how to:
- Set up a Coherence environment and services
- Connect Coherence to your cloud provider
- Provision new infrastructure
- Configure environment variables
- Build and deploy a Metabase instance
- Set up Metabase
- Give your instance a custom domain
By the end of this guide, you will have a self-hosted version of Metabase running on a custom domain, optionally connected to a database:
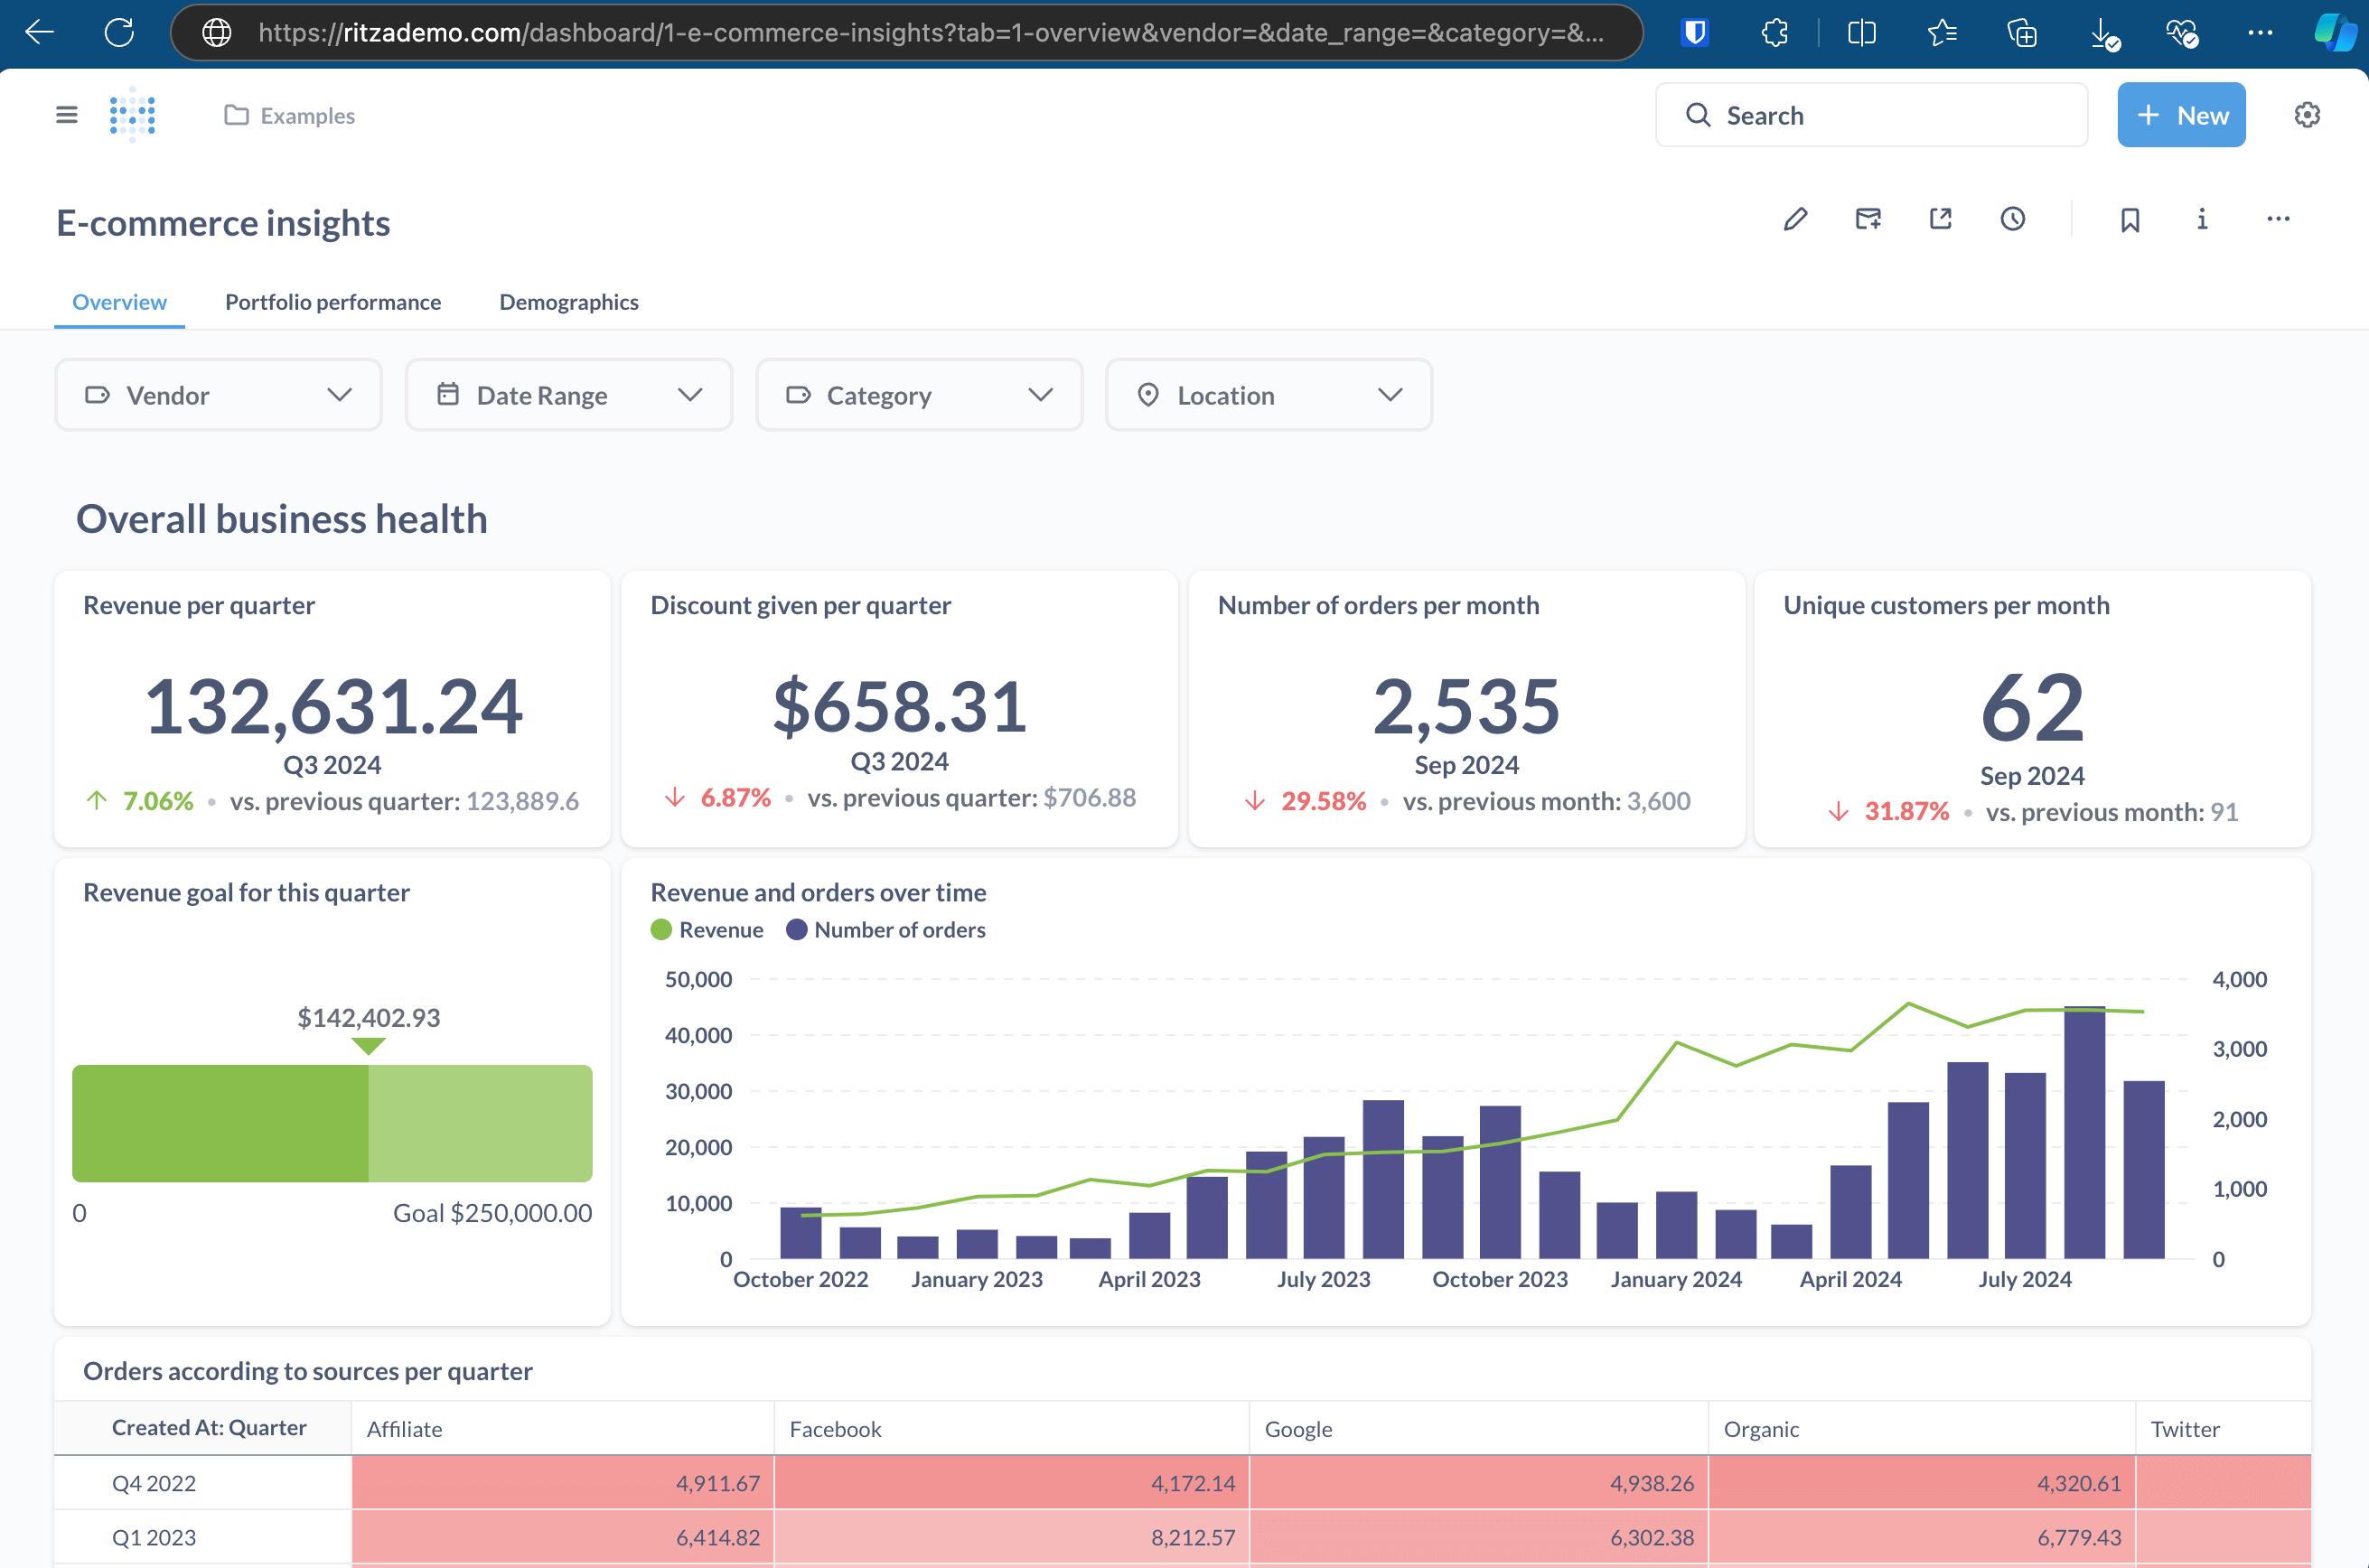
Coherence creates and manages the required infrastructure in your cloud environment, streamlines the building and deployment processes, and simplifies resource management.
Prerequisites
To follow along, you'll need:
1. Set up a Coherence environment and services
Start by setting up a Coherence environment and services for your application.
Create a new application
- On the Coherence dashboard, click New application.
- Name the application a name.
- Select your cloud provider and architecture.
- Click Create application.
Create a collection
- On the application's landing page, click Create collection.
- Name the collection.
- Click Create collection.
Configure an environment
- On the collection dashboard, click New environment.
- Name the environment.
- Select the appropriate environment type (Staging is recommended for initial testing) from the dropdown.
- Click Create.
For more information on creating applications, collections, and environments, refer to our quick start guide.
Create a service to house the Metabase instance
-
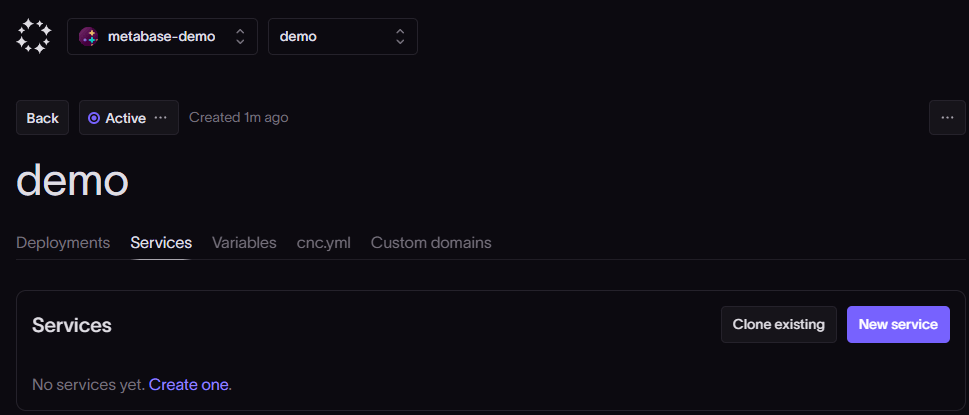
Navigate to the environment homepage and select the Services tab.
-
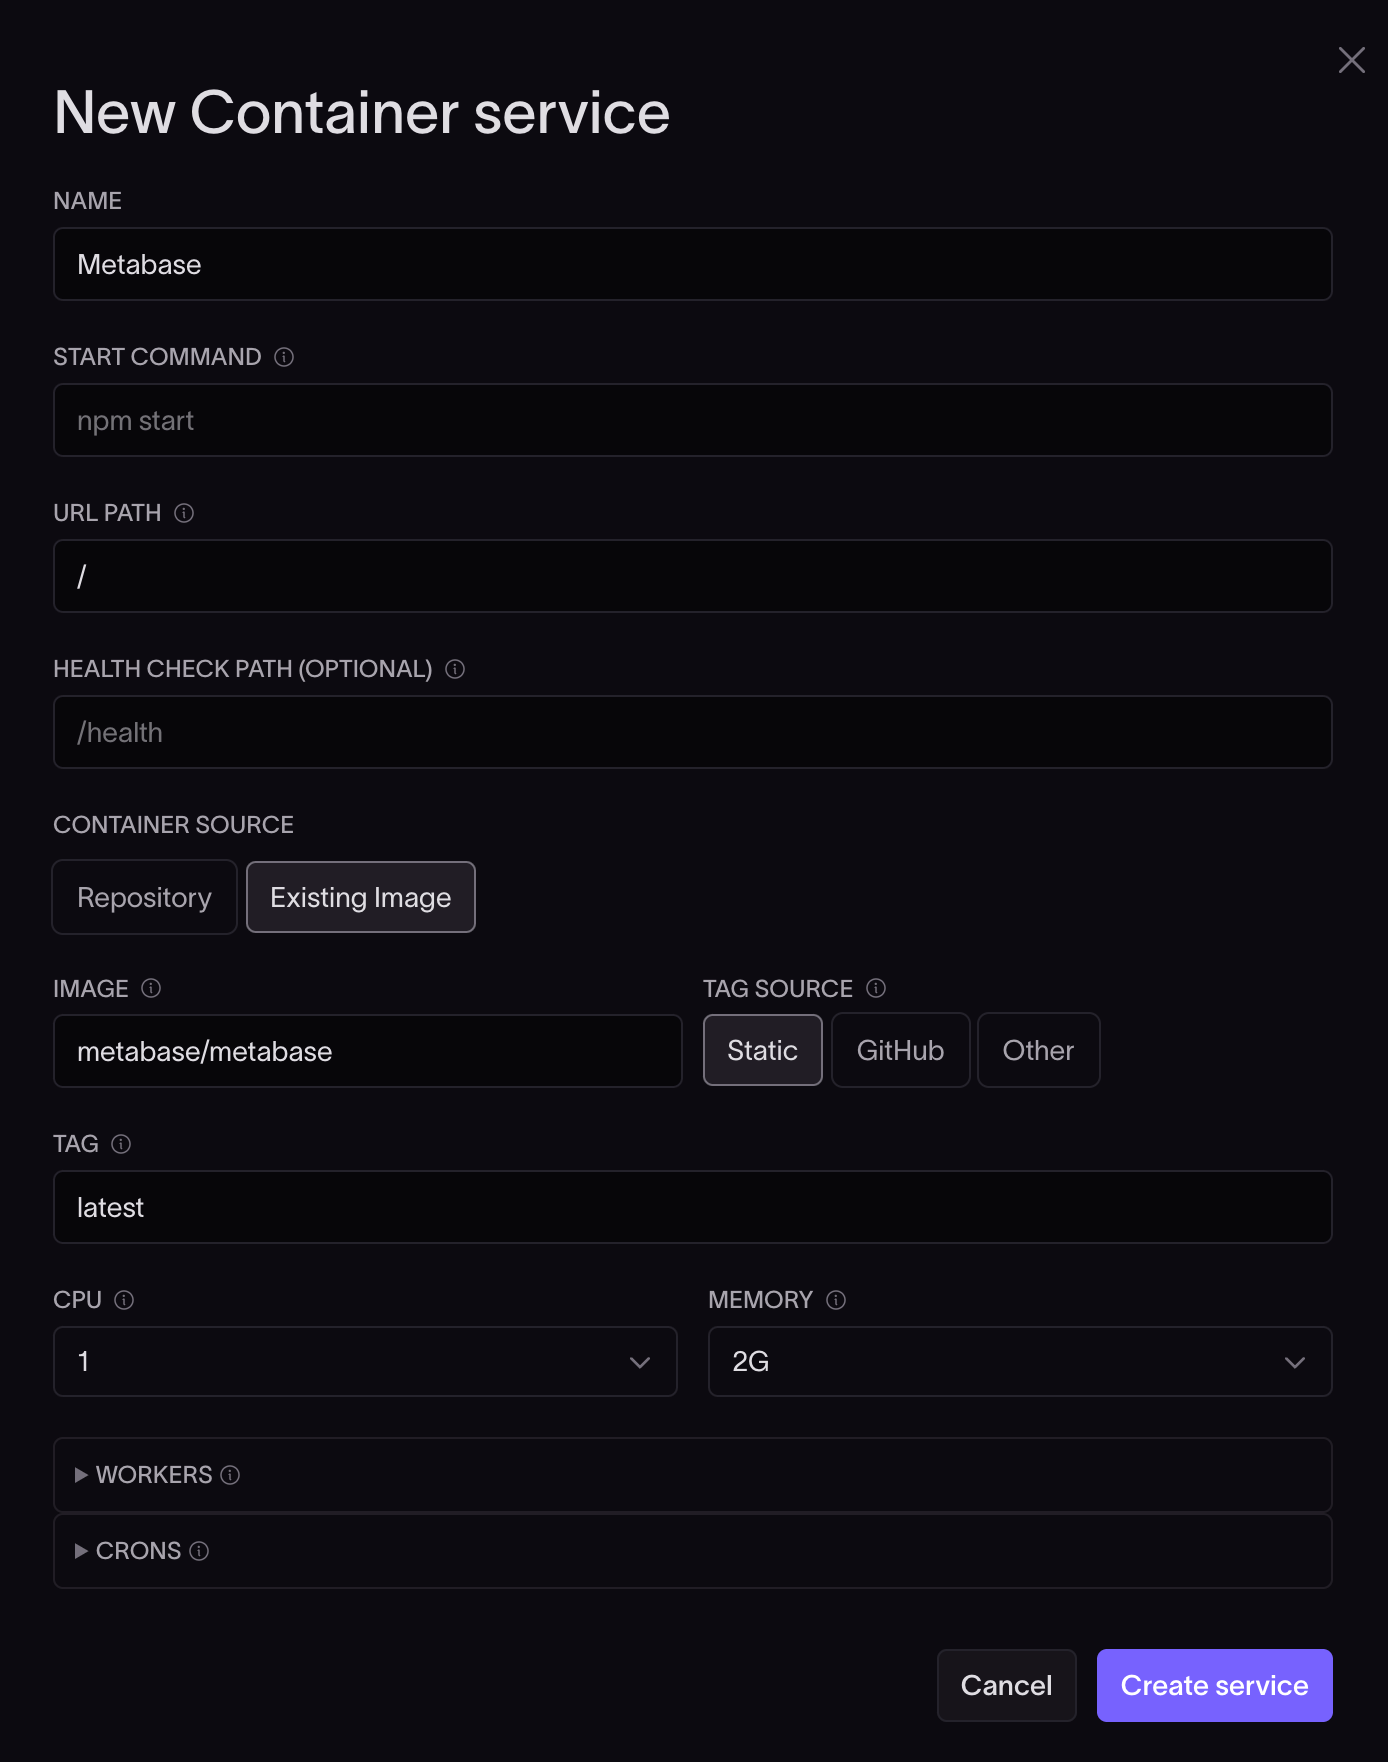
Click the New service button. In the Containers section, select Other. Complete the popup form as follows:
- Name: Enter a meaningful name, such as
Metabase. - Start command: Clear any entries and leave this field blank.
- URL Path: Enter
/. - Health Check Path: Clear any entries and leave this field blank.
- Container source: Select the Existing Image option.
- Image: Enter the official Metabase Docker image,
metabase/metabase. - Tag source: Select Static.
- Tag: Enter
latestto pull the newest version of the image. - CPU: Leave unchanged at
1. - Memory: Leave unchanged at
2G.
- Name: Enter a meaningful name, such as
-
Click the Create service button.
Note: Depending on your needs, you may need to increase the CPU and Memory resource limits. If you change these values after the infrastructure has been provisioned and the application has been deployed, you'll need to provision the infrastructure again and redeploy the application.
Create a service for the database
- Click New service.
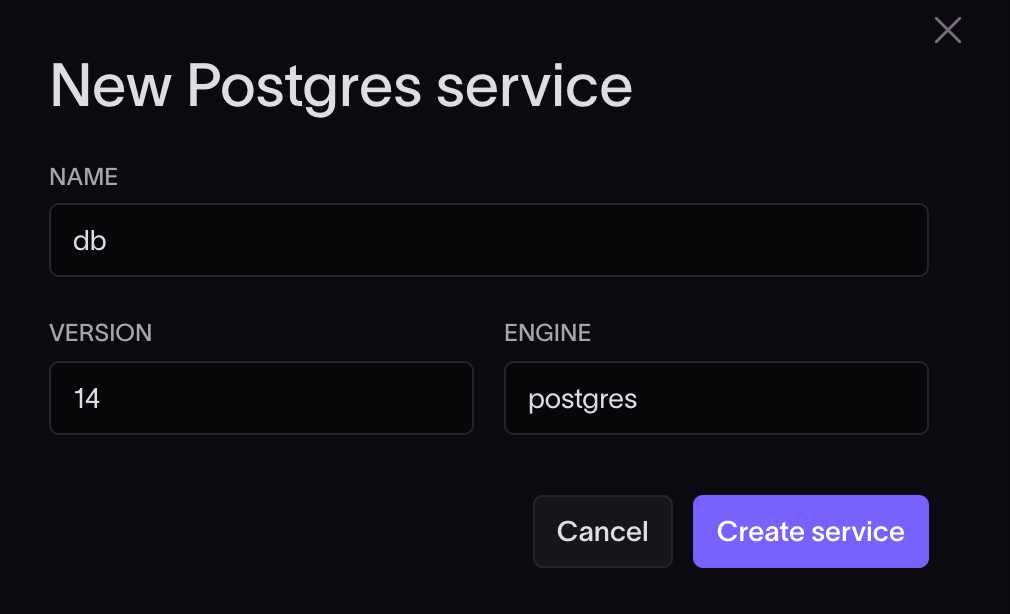
- In the Database section, select Postgres.
- Give the database a name, like
db, and click Create service.
2. Connect Coherence to your cloud provider
-
In the Ready to deploy? banner at the top of the page, click Connect.

-
Follow the prompts to connect to your AWS or GCP instance and add the relevant user role.
- When you are prompted to import variables, you can click Skip this.
3. Provision new infrastructure
-
In the Provision task needed notice at the top of the page, click Go.

-
Click Submit new task to queue a task to create the required infrastructure. Provisioning may take a few minutes to complete.

4. Configure environment variables
We'll add one new environment variable and one alias to the environment.
-
On the environment homepage select the Variables tab.

-
To create a new variable, click New variable, select Standard from the dropdown, enter
MB_JETTY_PORTas the Name and8080as the Value, and click Create.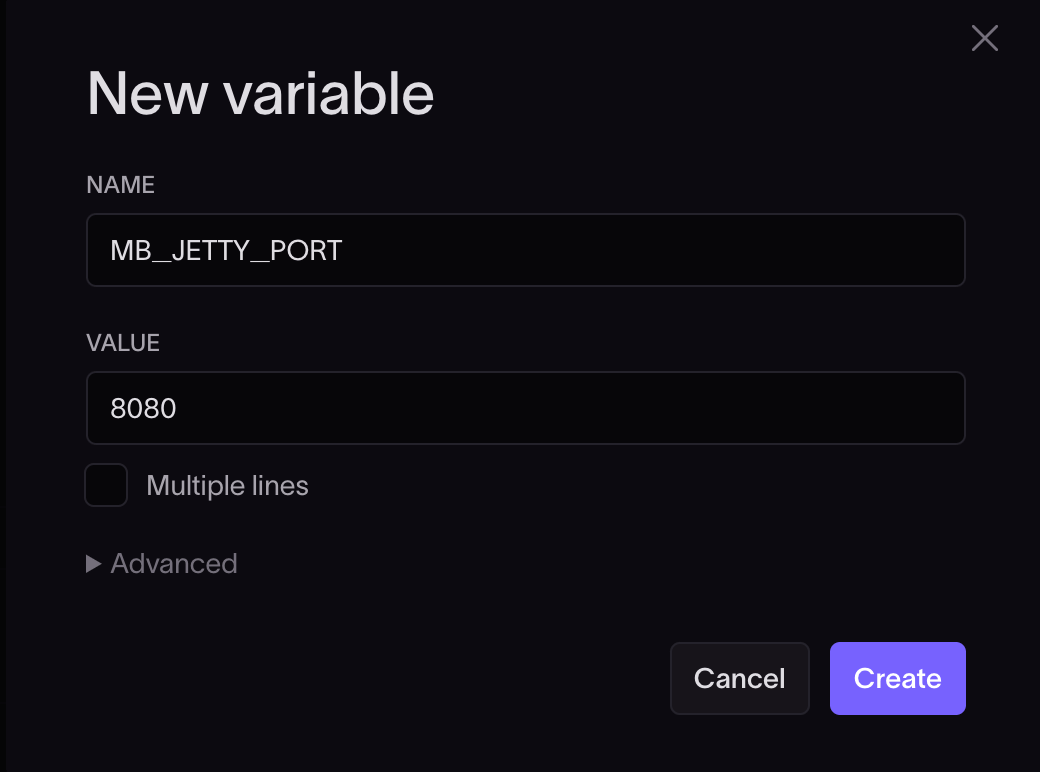
Note: This environment variable sets the port that the Metabase application will listen on once it's running. If you don't add this variable, your deployment will fail with an error such as:
the user-provided container failed to start and listen on the port defined provided by the PORT=8080 environment variable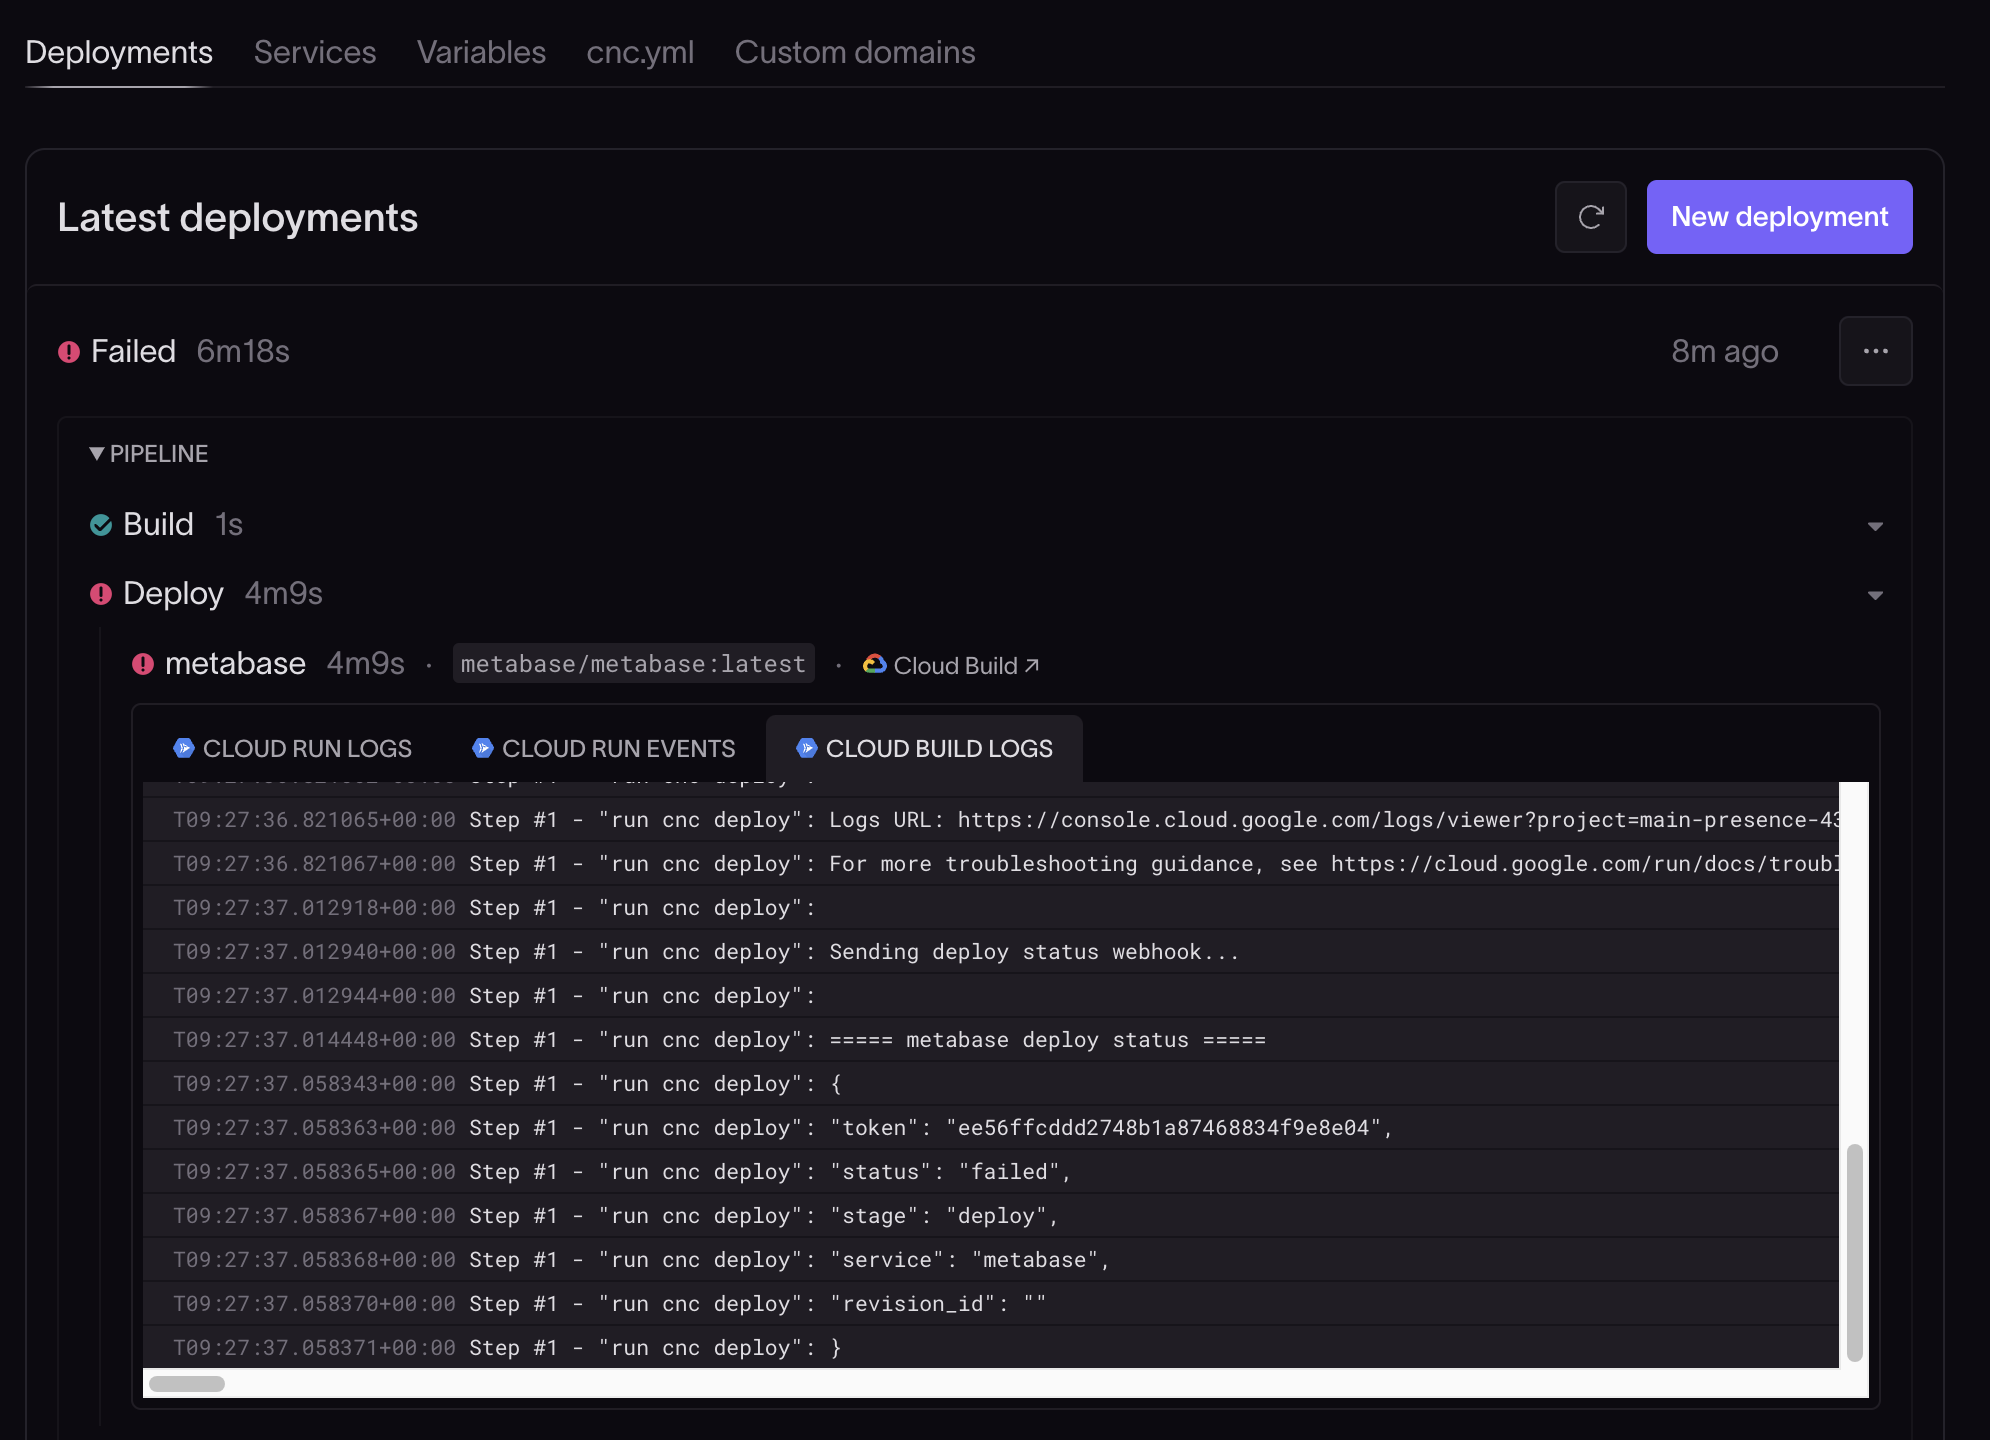
-
To create an alias, expand the System list in the Variables tab, scroll down to DATABASE_URL, click the three-dot menu option for that key, select Create alias from the dropdown, and enter
MB_DB_CONNECTION_URIin the Alias Name field.
5. Build and deploy a Metabase instance
To deploy the Metabase application, navigate to the environment and select the Deployments tab. Click New Deployment and then Submit deployment.

You can monitor the status of the build and deploy pipelines.

When the pipelines have run, you should see a Success notification in the Latest deployments list indicating that Metabase has been deployed.

When the build and deploy pipelines have completed, the Metabase landing page URL will be displayed under the Domains heading in the environment's Deployments tab. Click on the URL to navigate to the Metabase landing page.
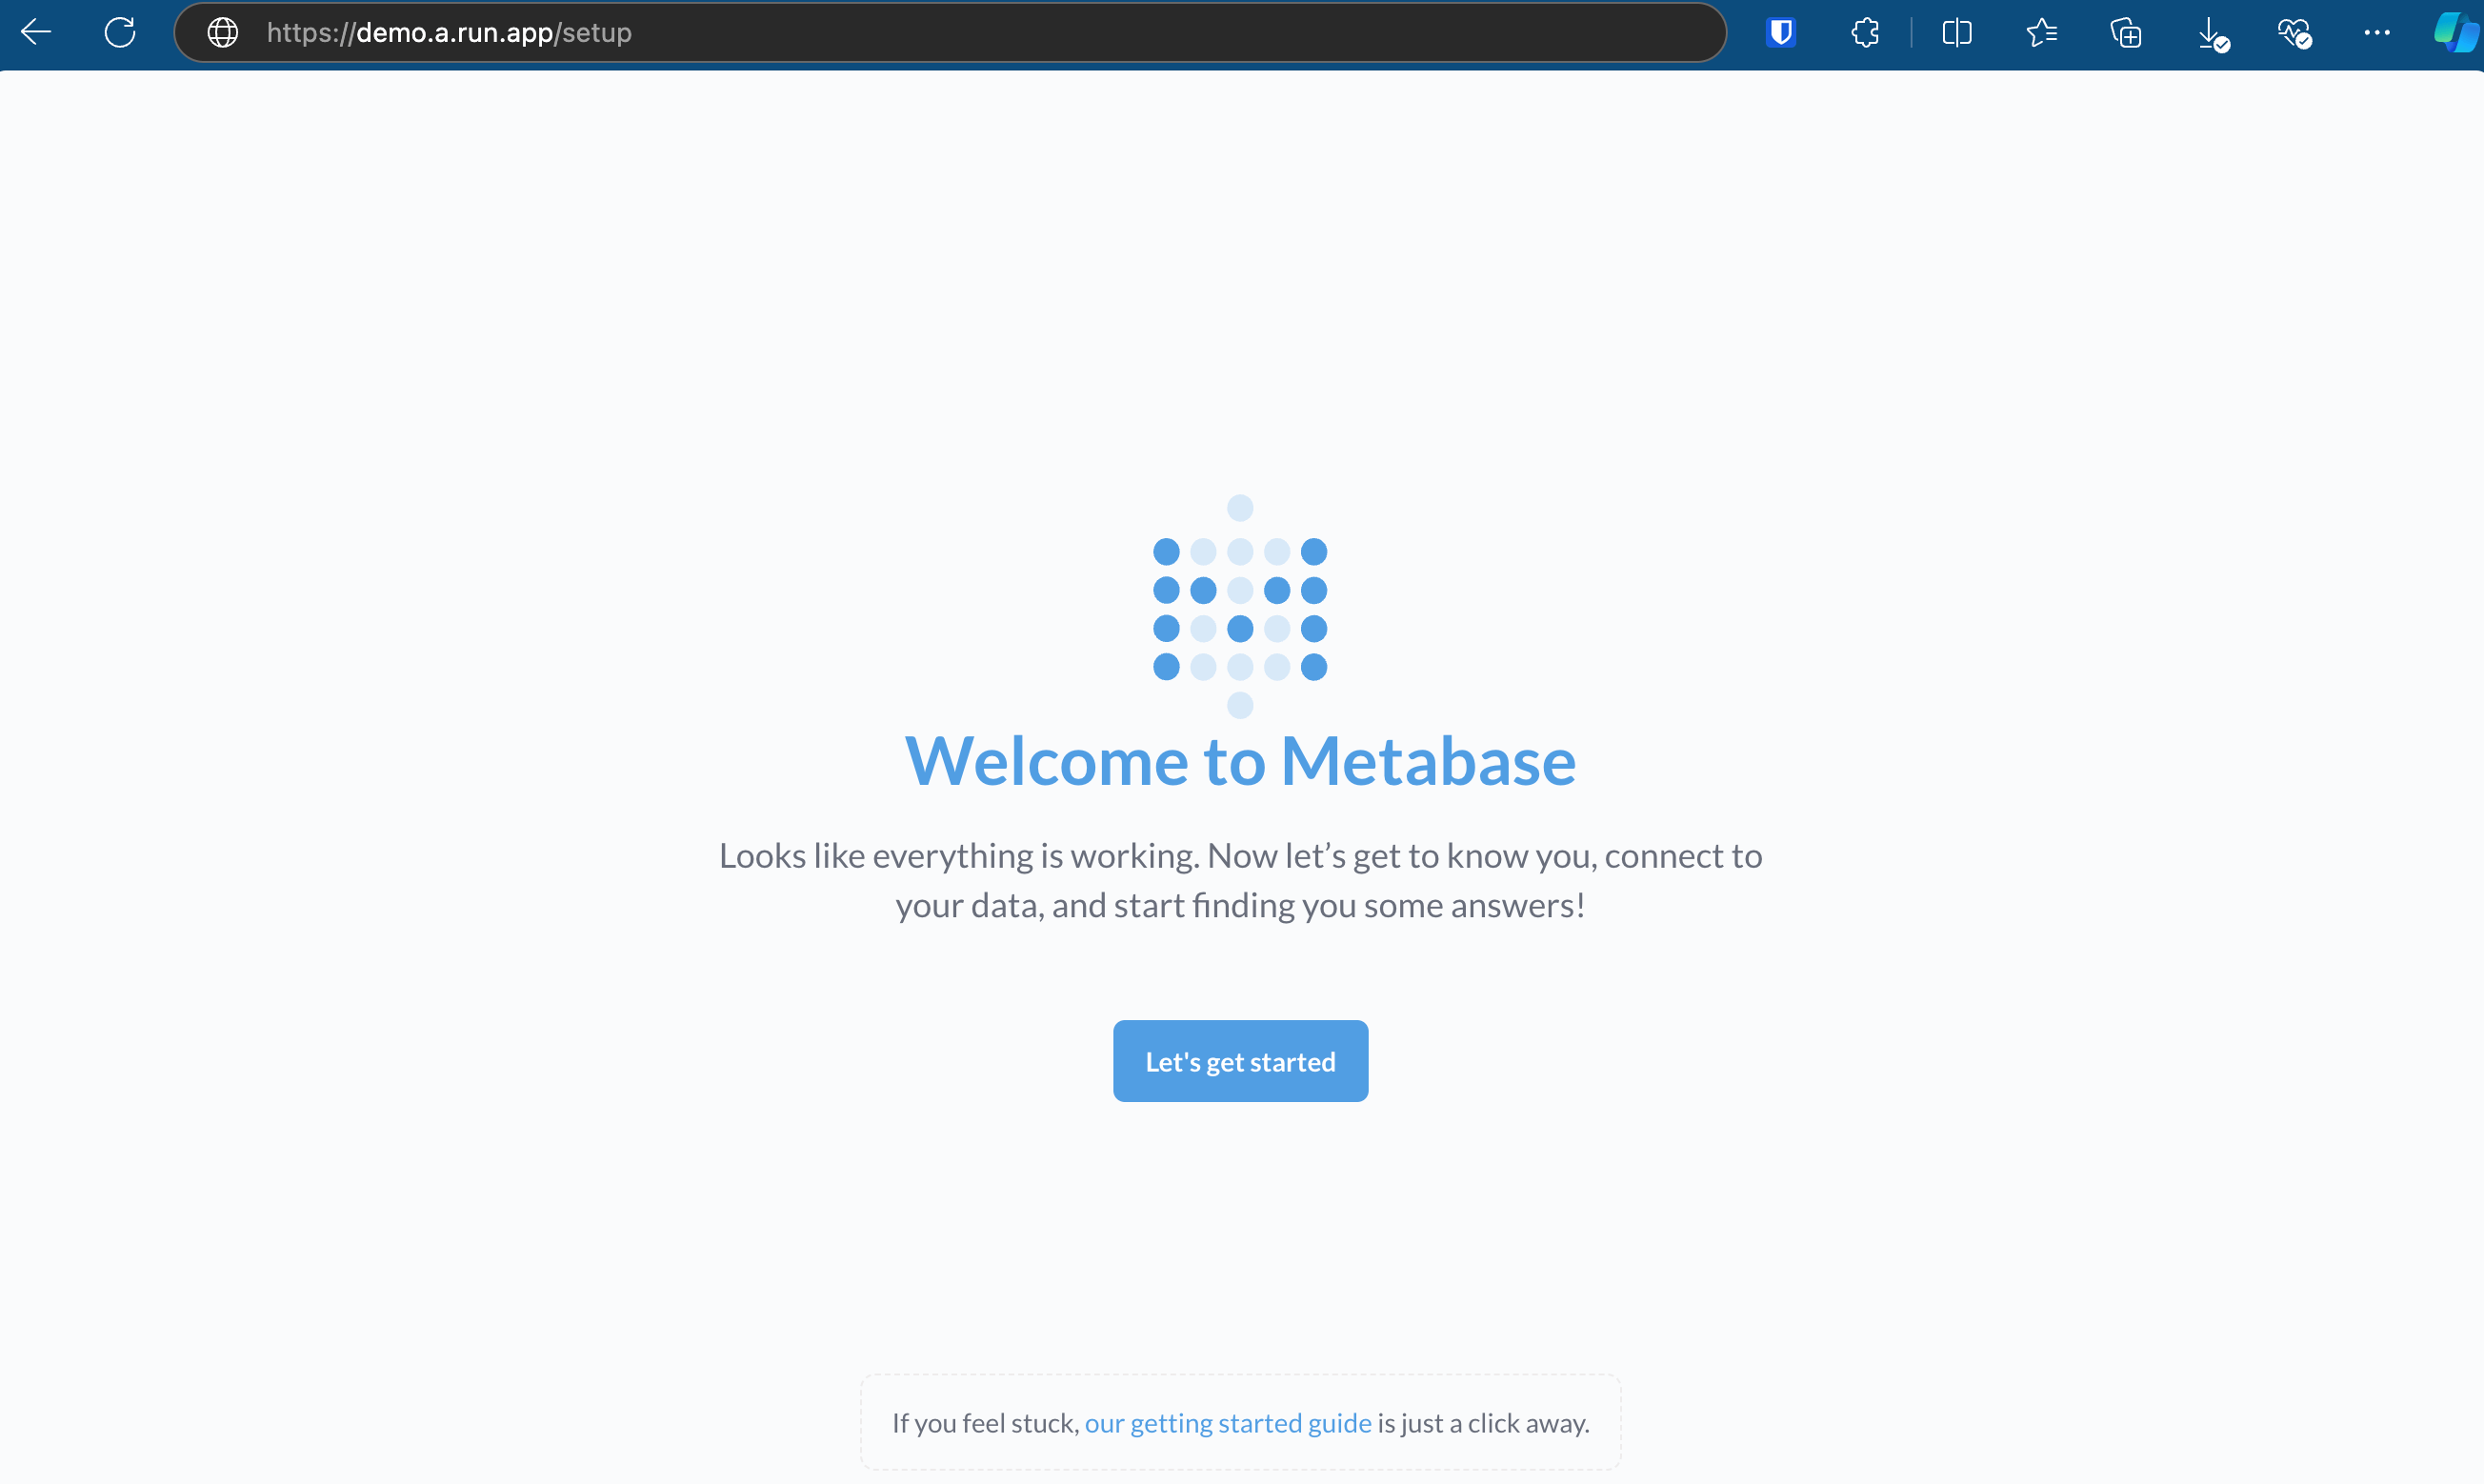
Note: If the Metabase landing page displays a loading symbol spinning, Metabase is likely performing operations on the database. Give it a few minutes and check in again. When Metabase is ready, the page will display a Let's get started button.
If the page displays the loading symbol for an extended time, there may be an issue with the setup. Diagnose the problem by checking the logs in your cloud instance.
6. Set up Metabase
On the Metabase landing page, click Let's get started and follow the prompts to start setting up a Metabase user account.
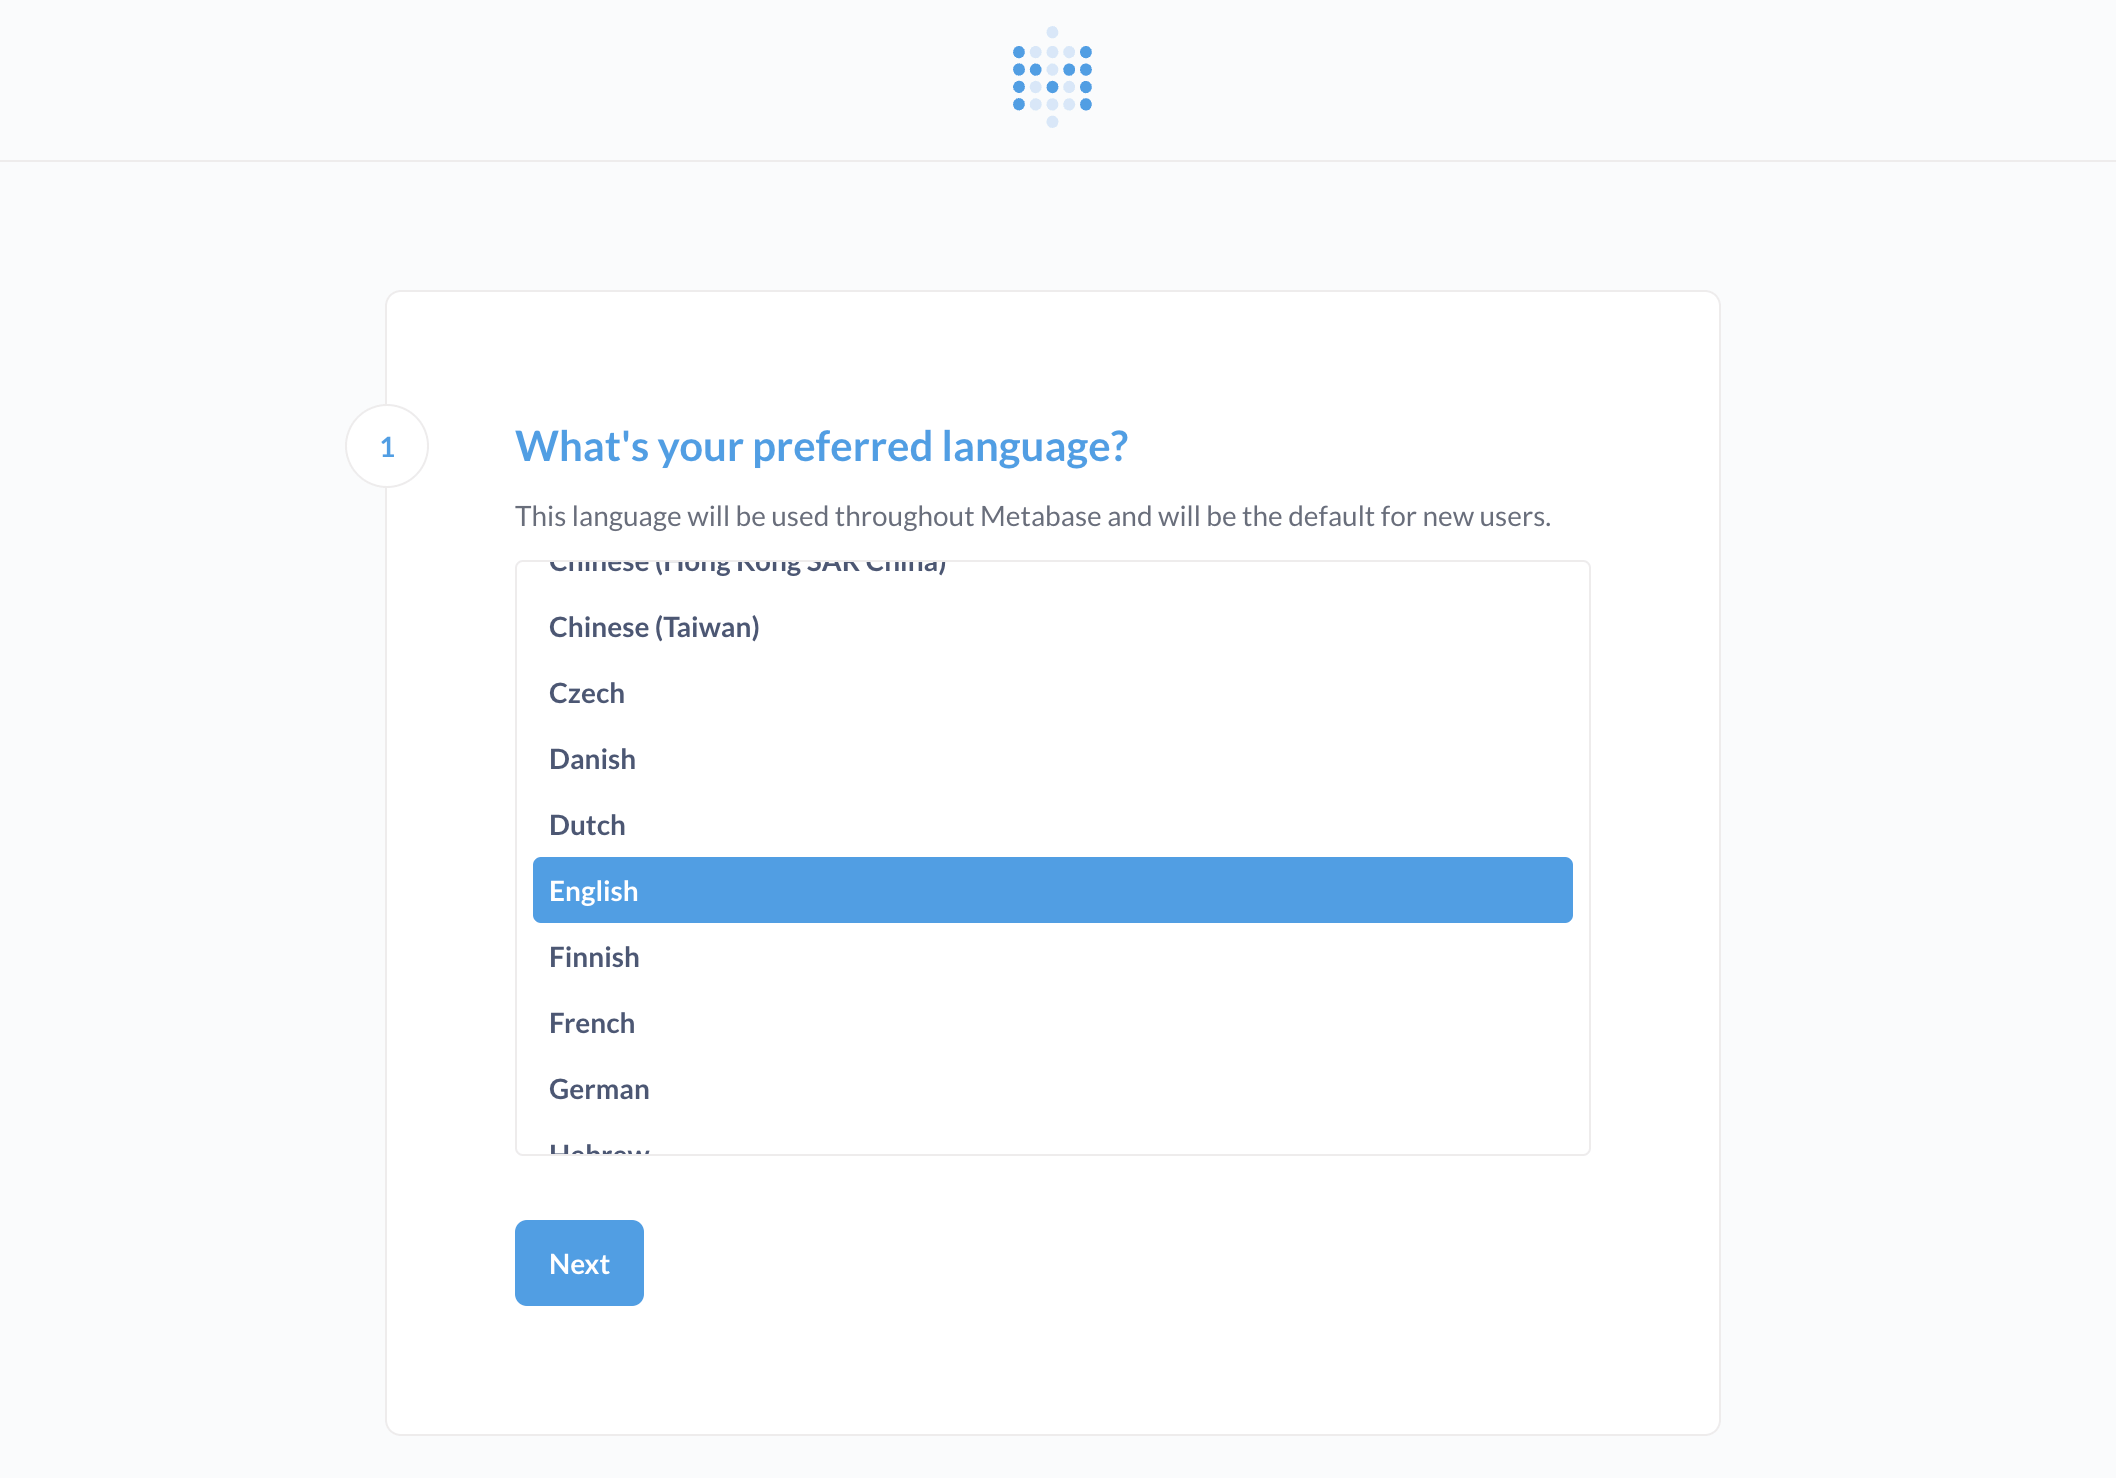
Link a database
When you've created a user account, you'll be able to link a database. You can skip this step to continue with this guide using the sample database included with Metabase, or you can connect to an external database now by providing the following information:
- Database Type: For example, Postgres or MySQL
- Name: The database's display name in Metabase
- Hostname: The hostname of the server
- Port: The port to use to connect to the database
- Database name: The name of the database
- Username: The username to use to connect to the database
- Password: The password to use to connect to the database
For this guide, we used the sample database.
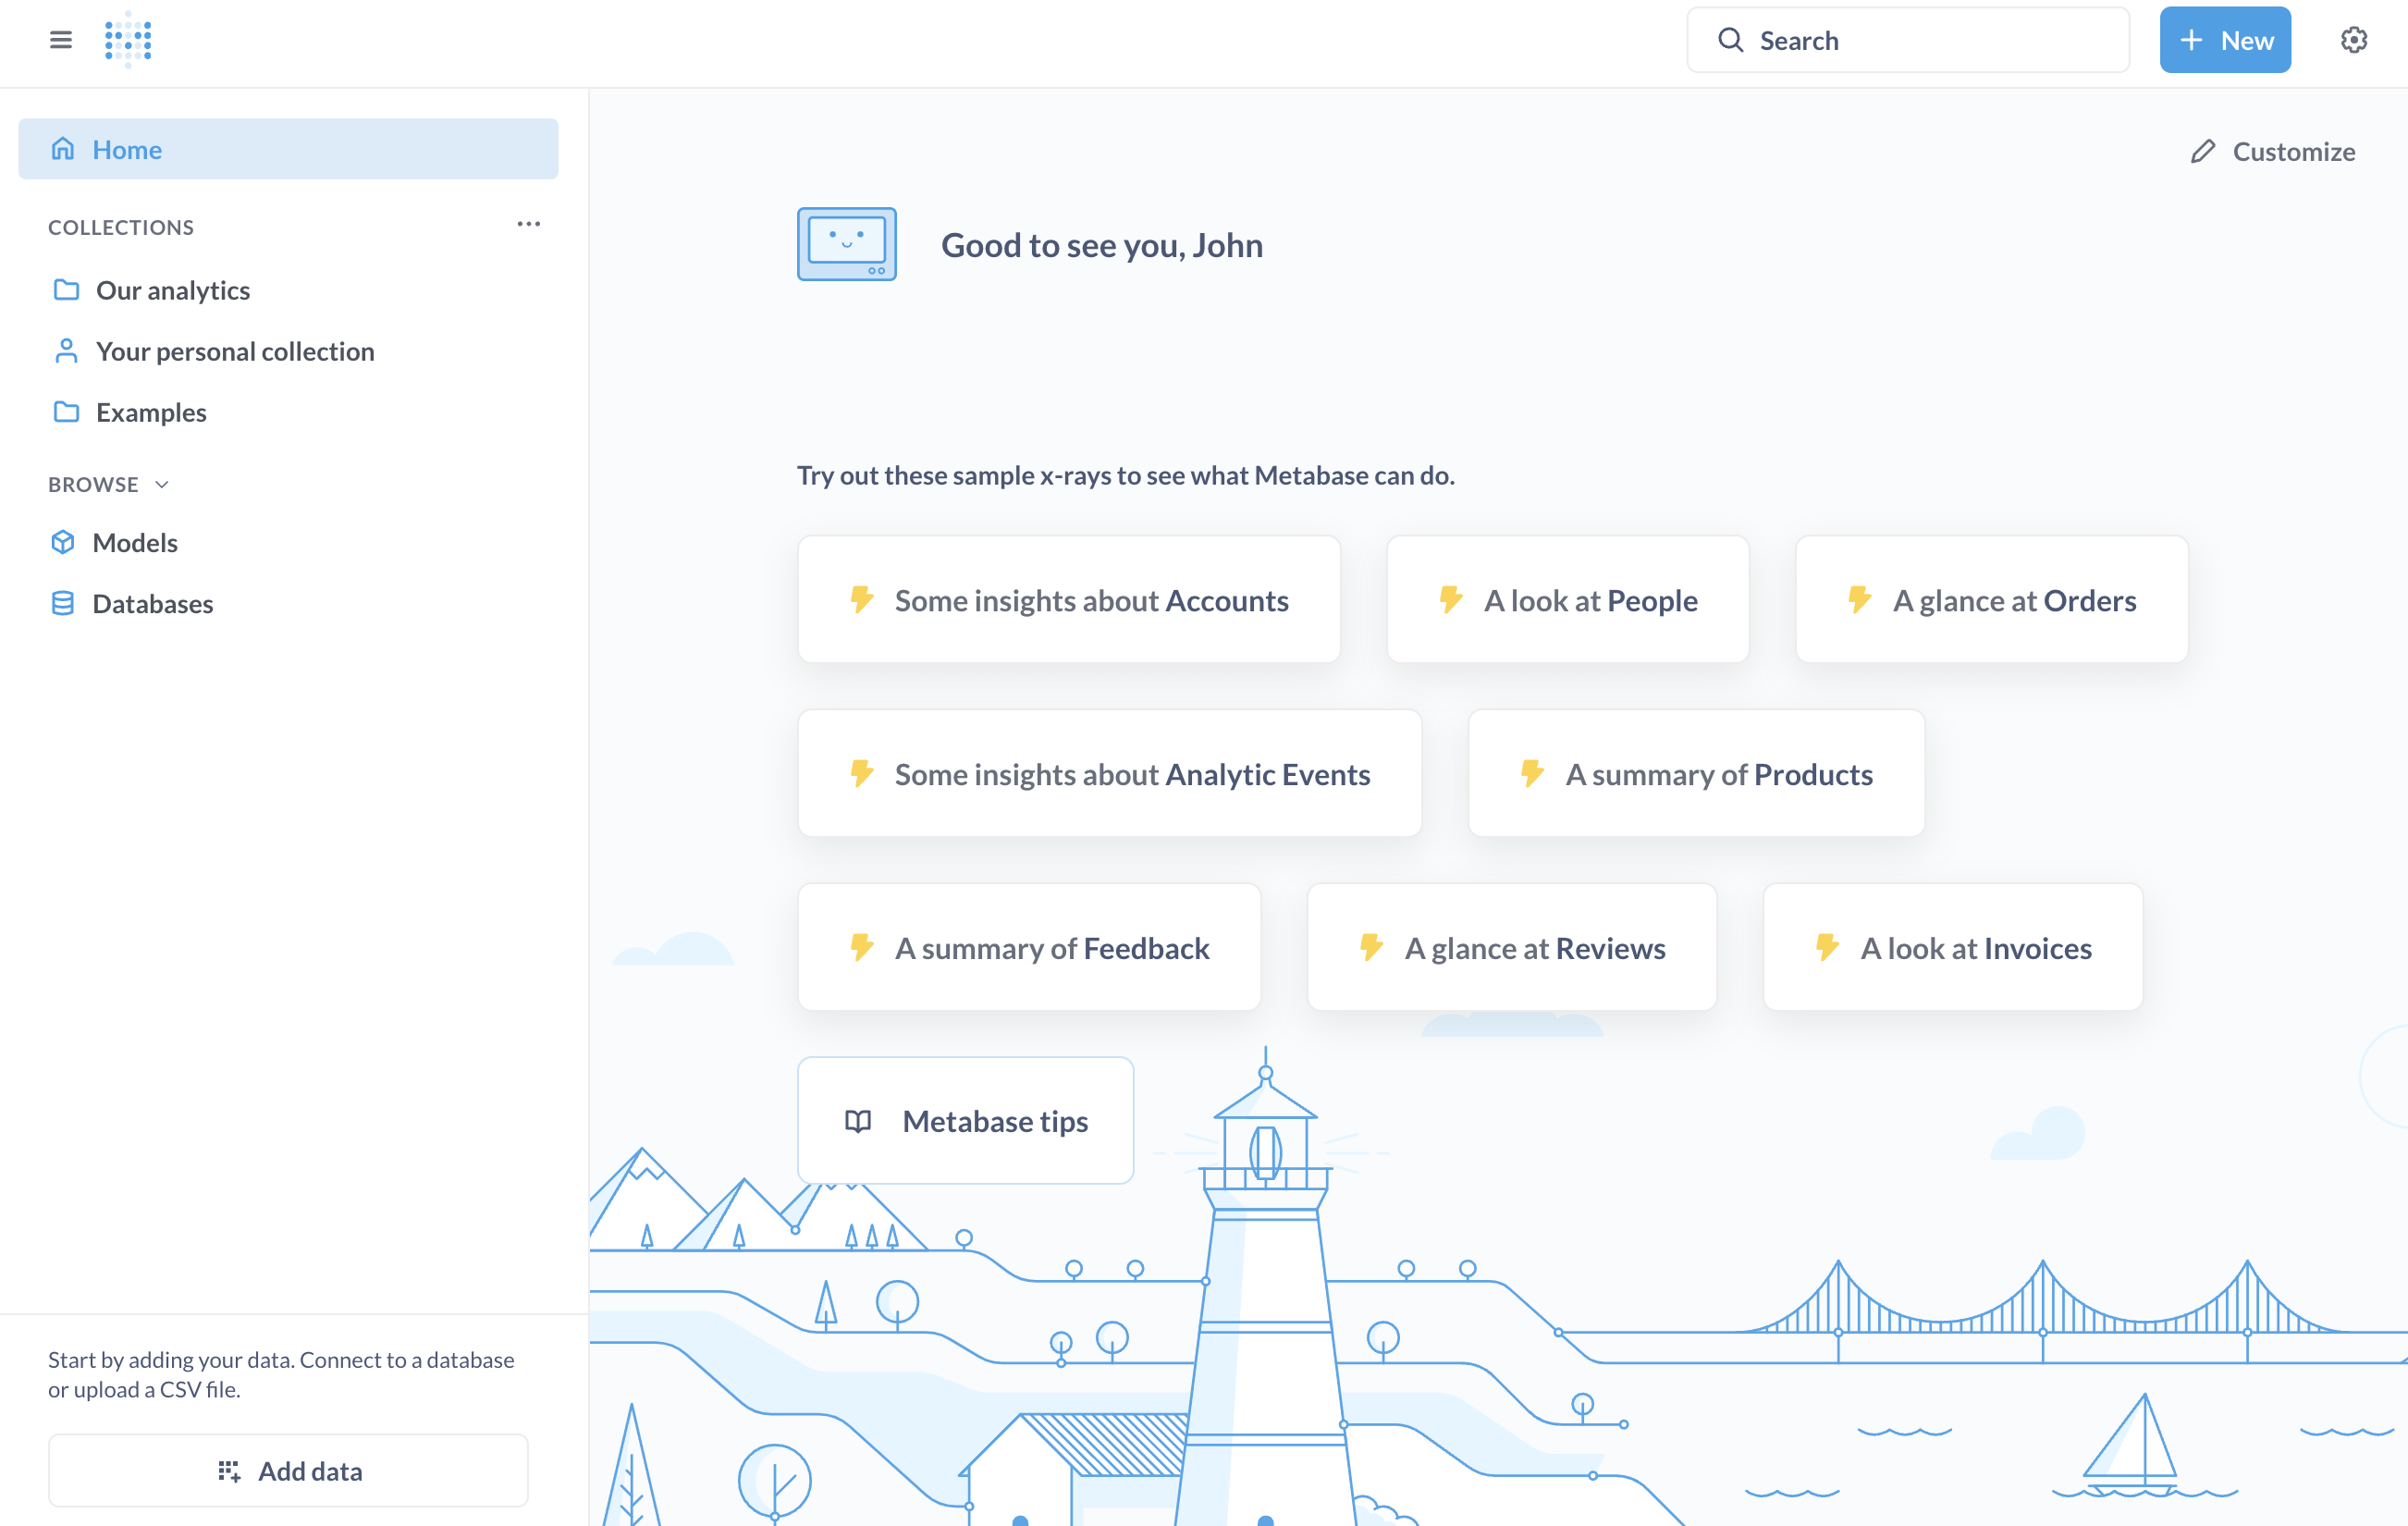
When setup is complete, you'll be logged in and taken to the Metabase homepage.
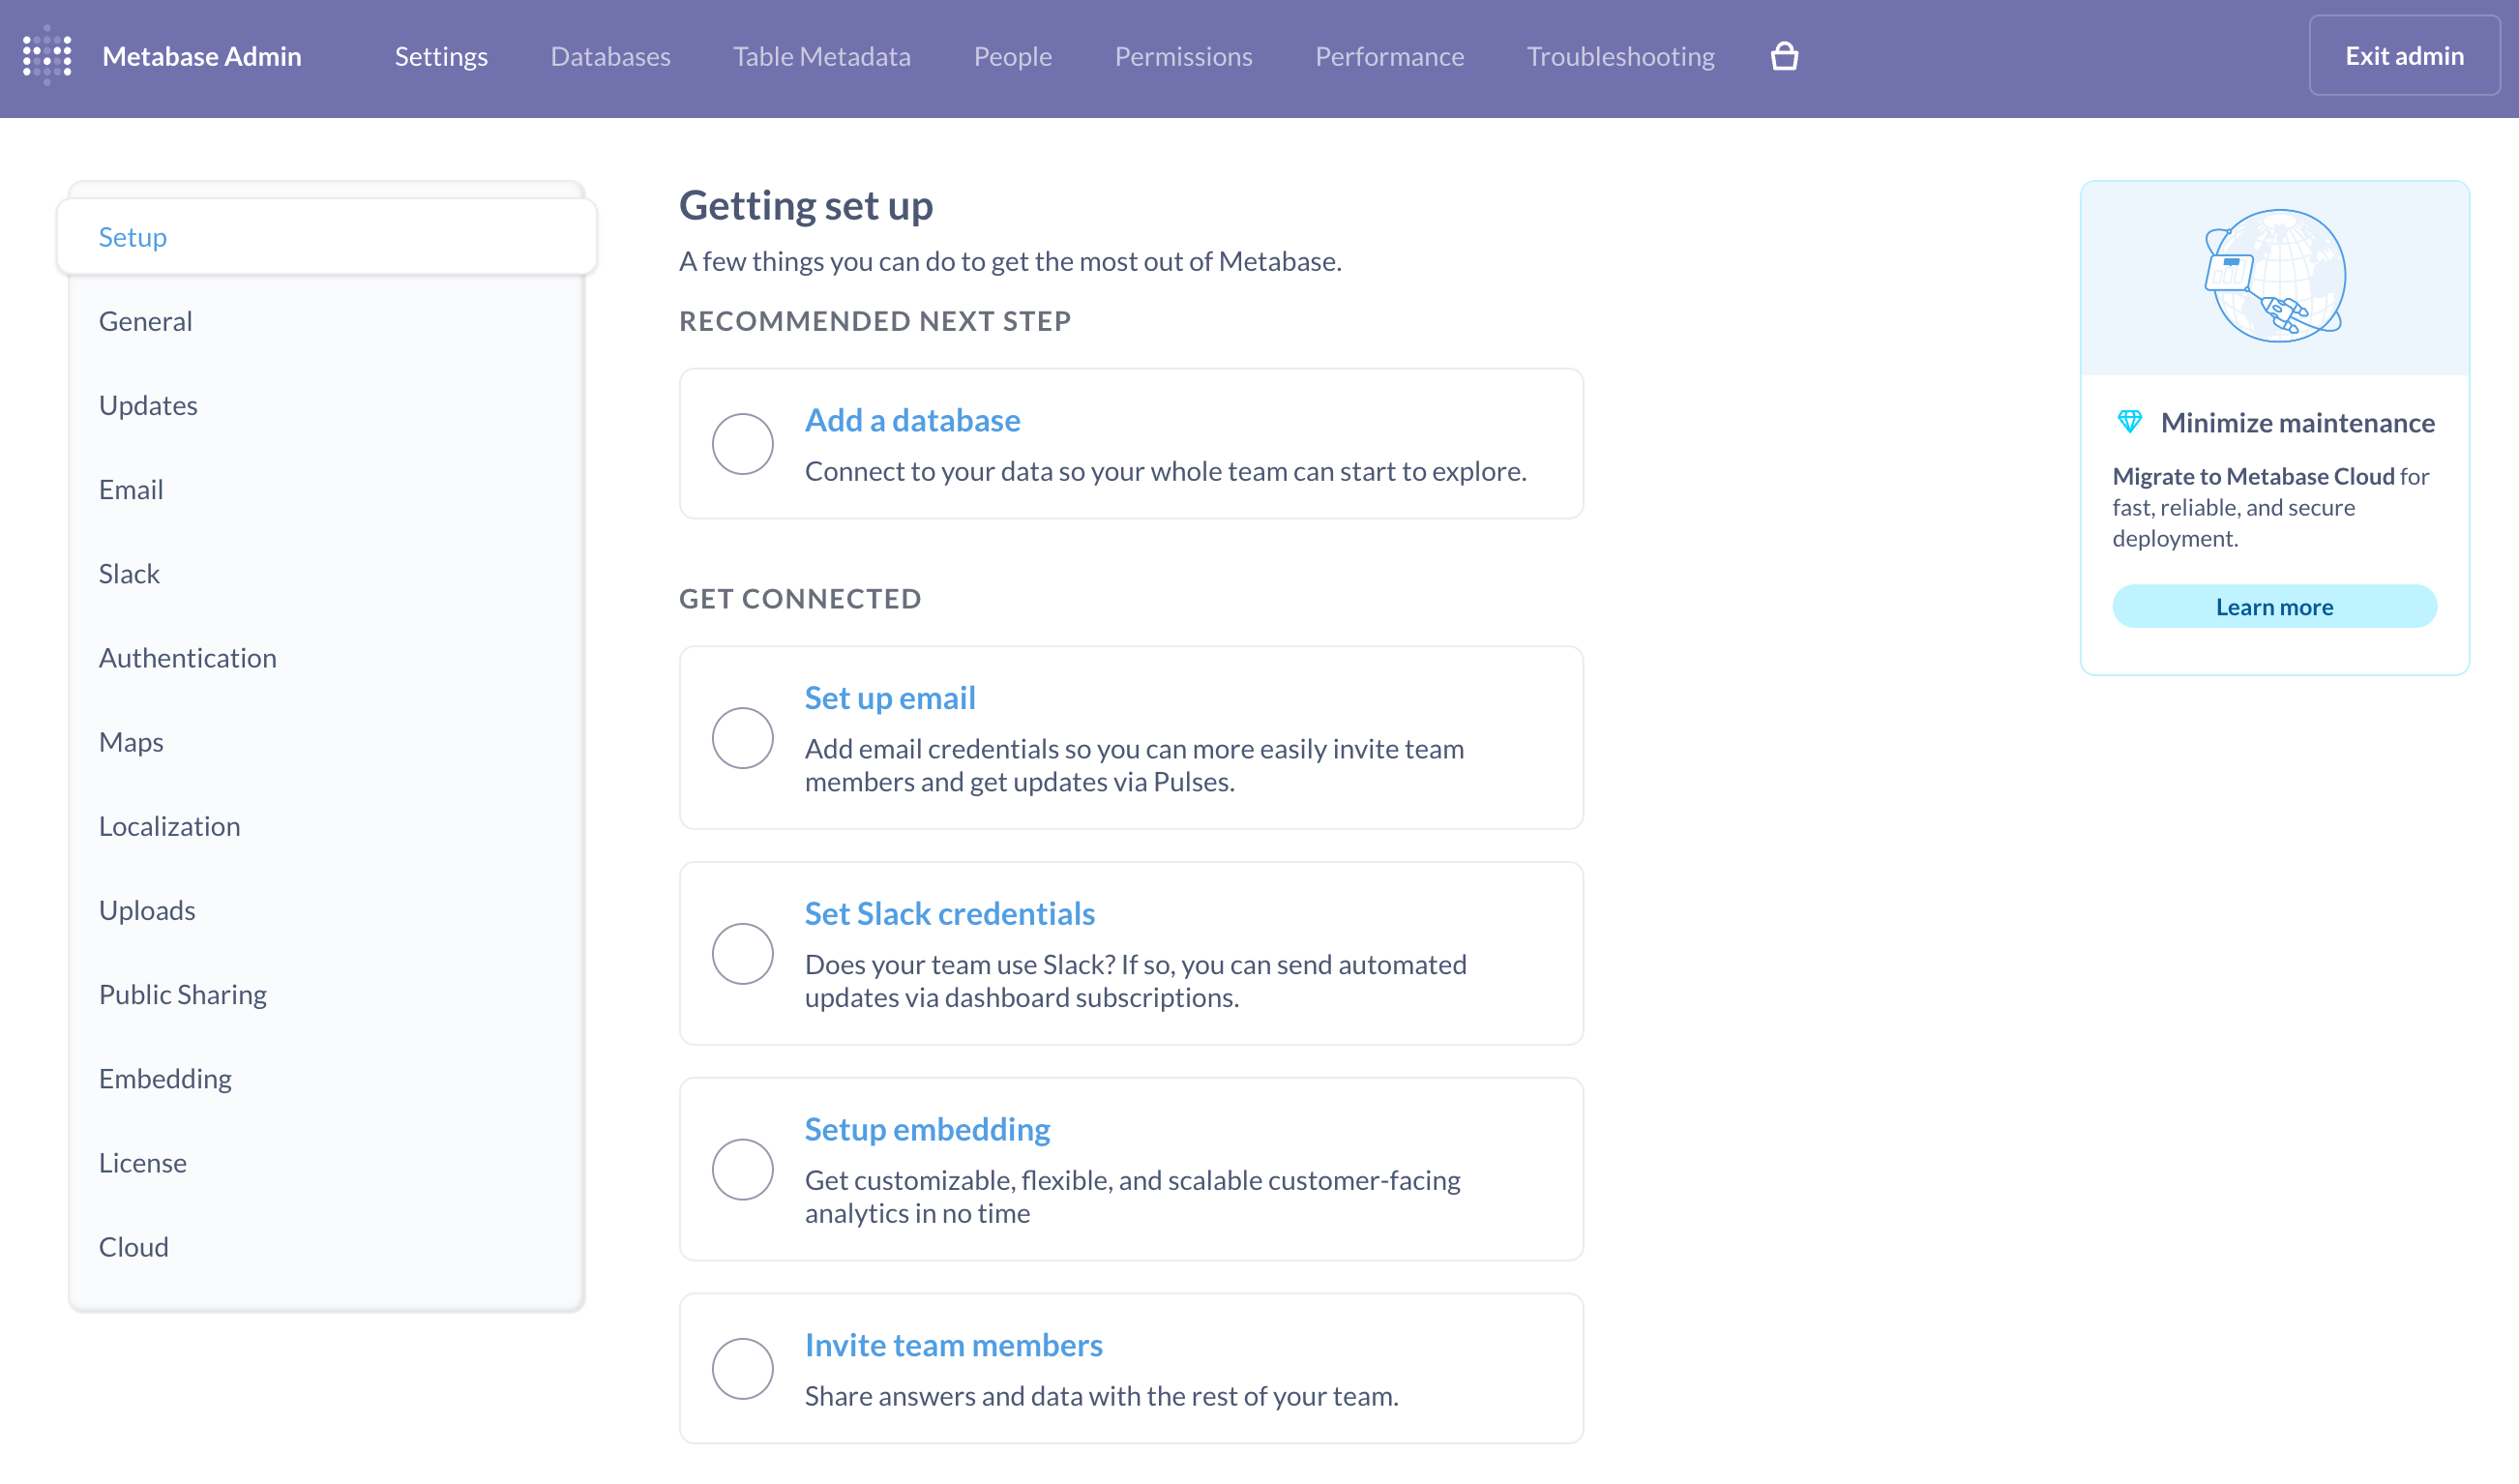
Note: If you don't link to an external database during setup, you can do so later by clicking the gear icon at the top of your dashboard and selecting Admin Settings from the dropdown. In the Metabase Admin view, click Setup, select Add a database, and enter the database information in the form that opens.
Create a Metabase dashboard
-
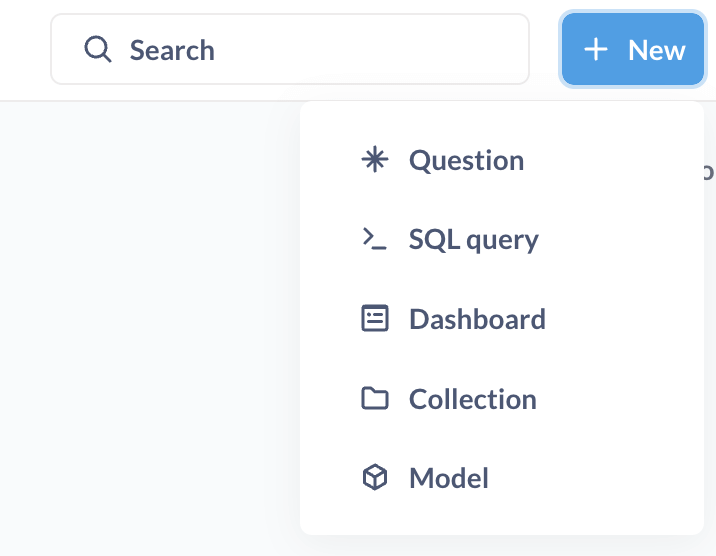
On the Metabase homepage, click the + New button in the top right of the page and select Dashboard.
-
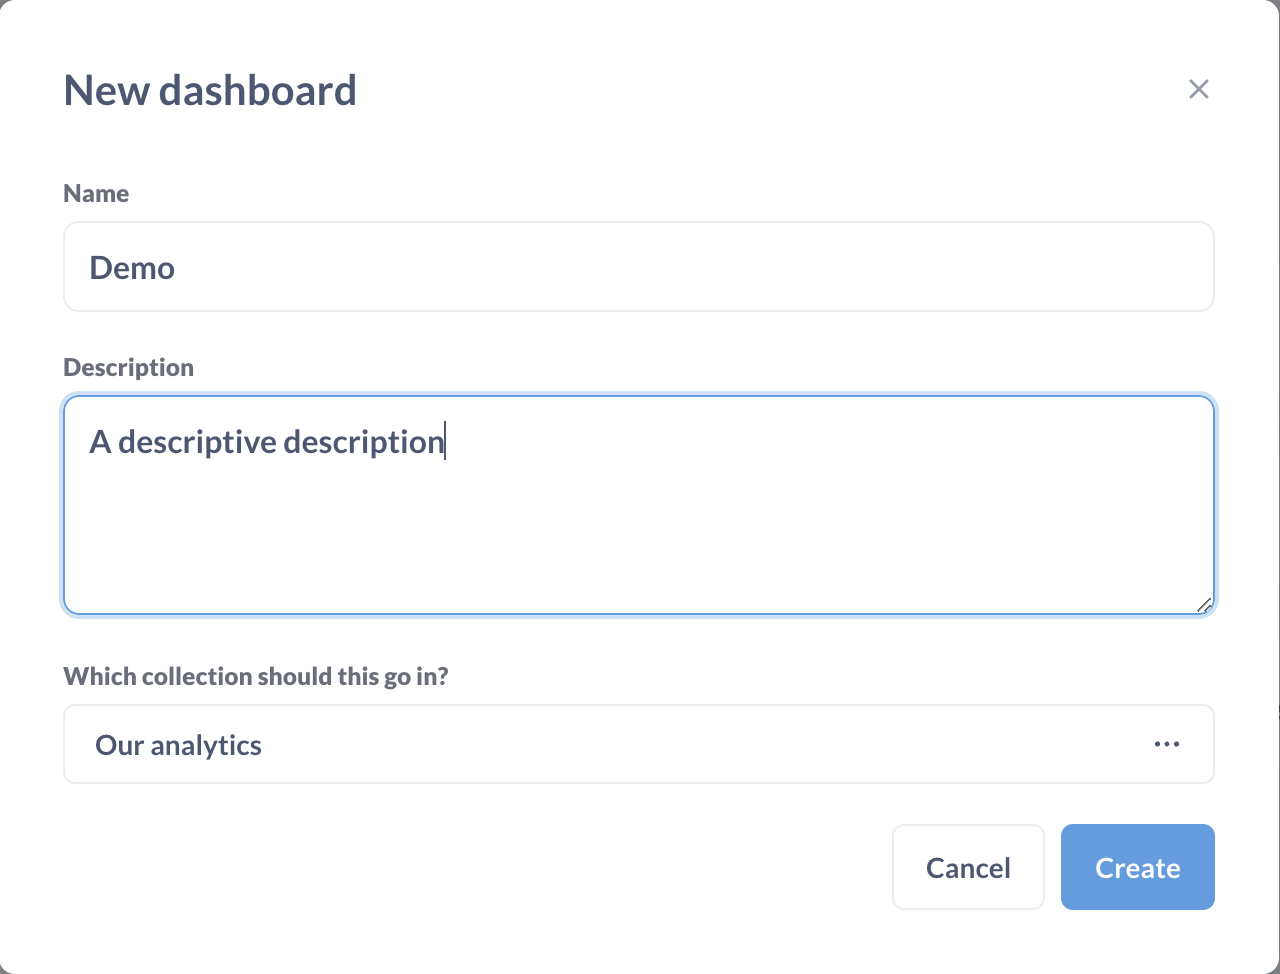
In the New dashboard form, give the dashboard a Name and Description. Leave the default value in the Which collection should this go in? field.
-
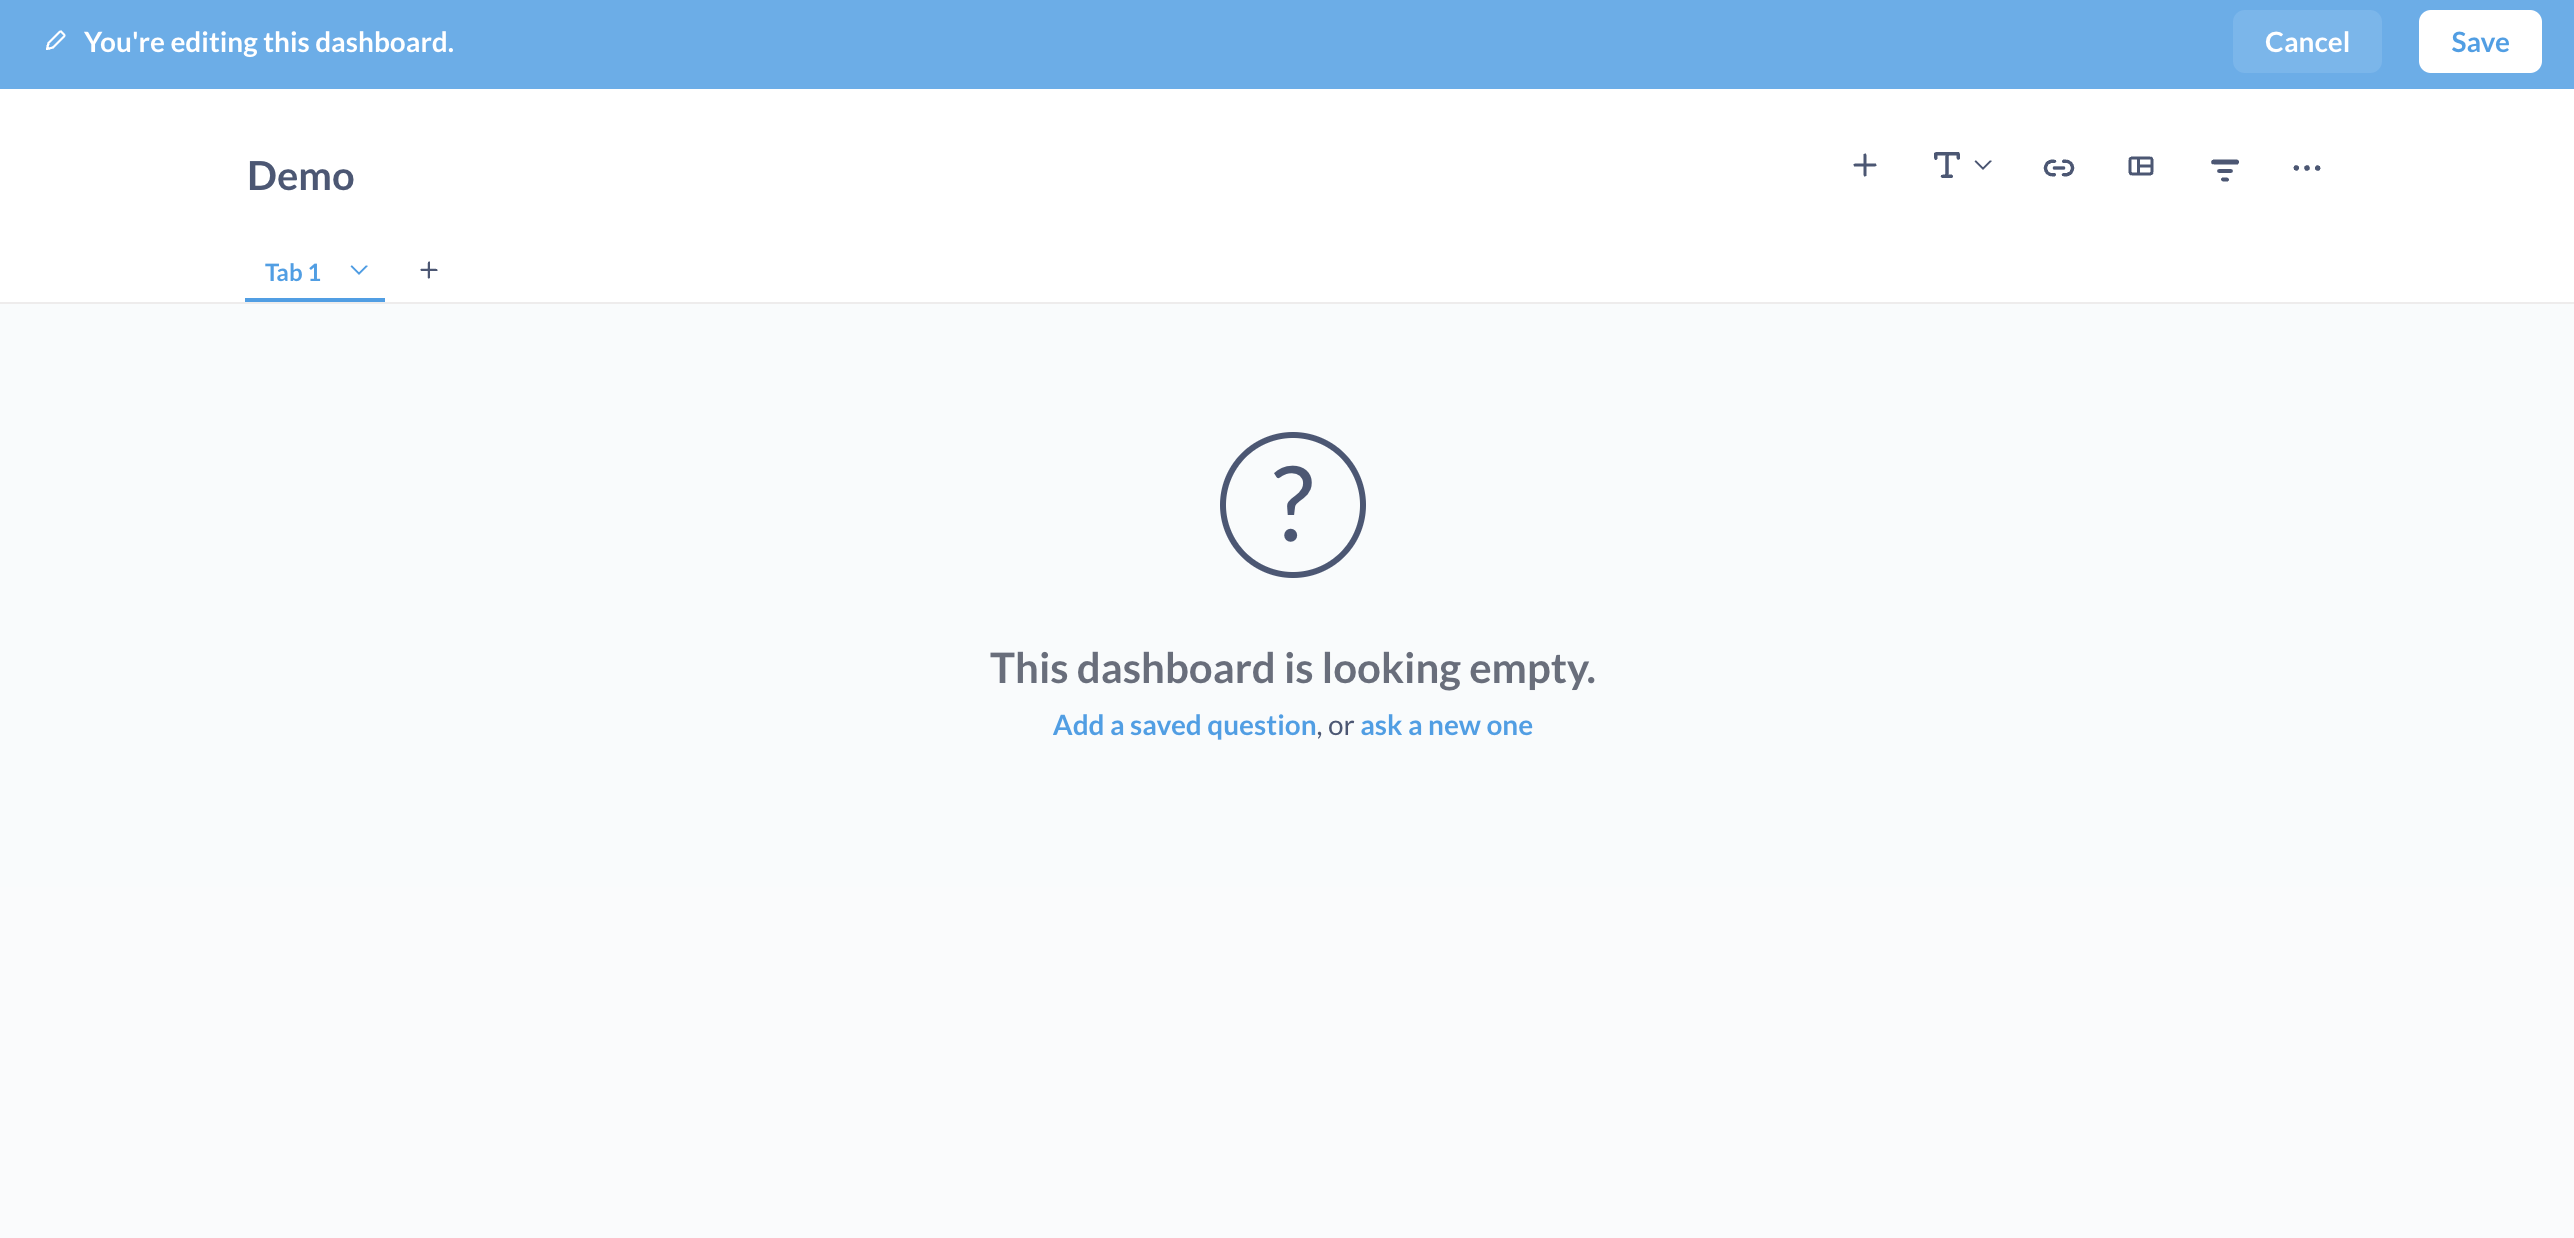
Click Create and you'll be redirected to the new dashboard.
Add a question to the dashboard
-
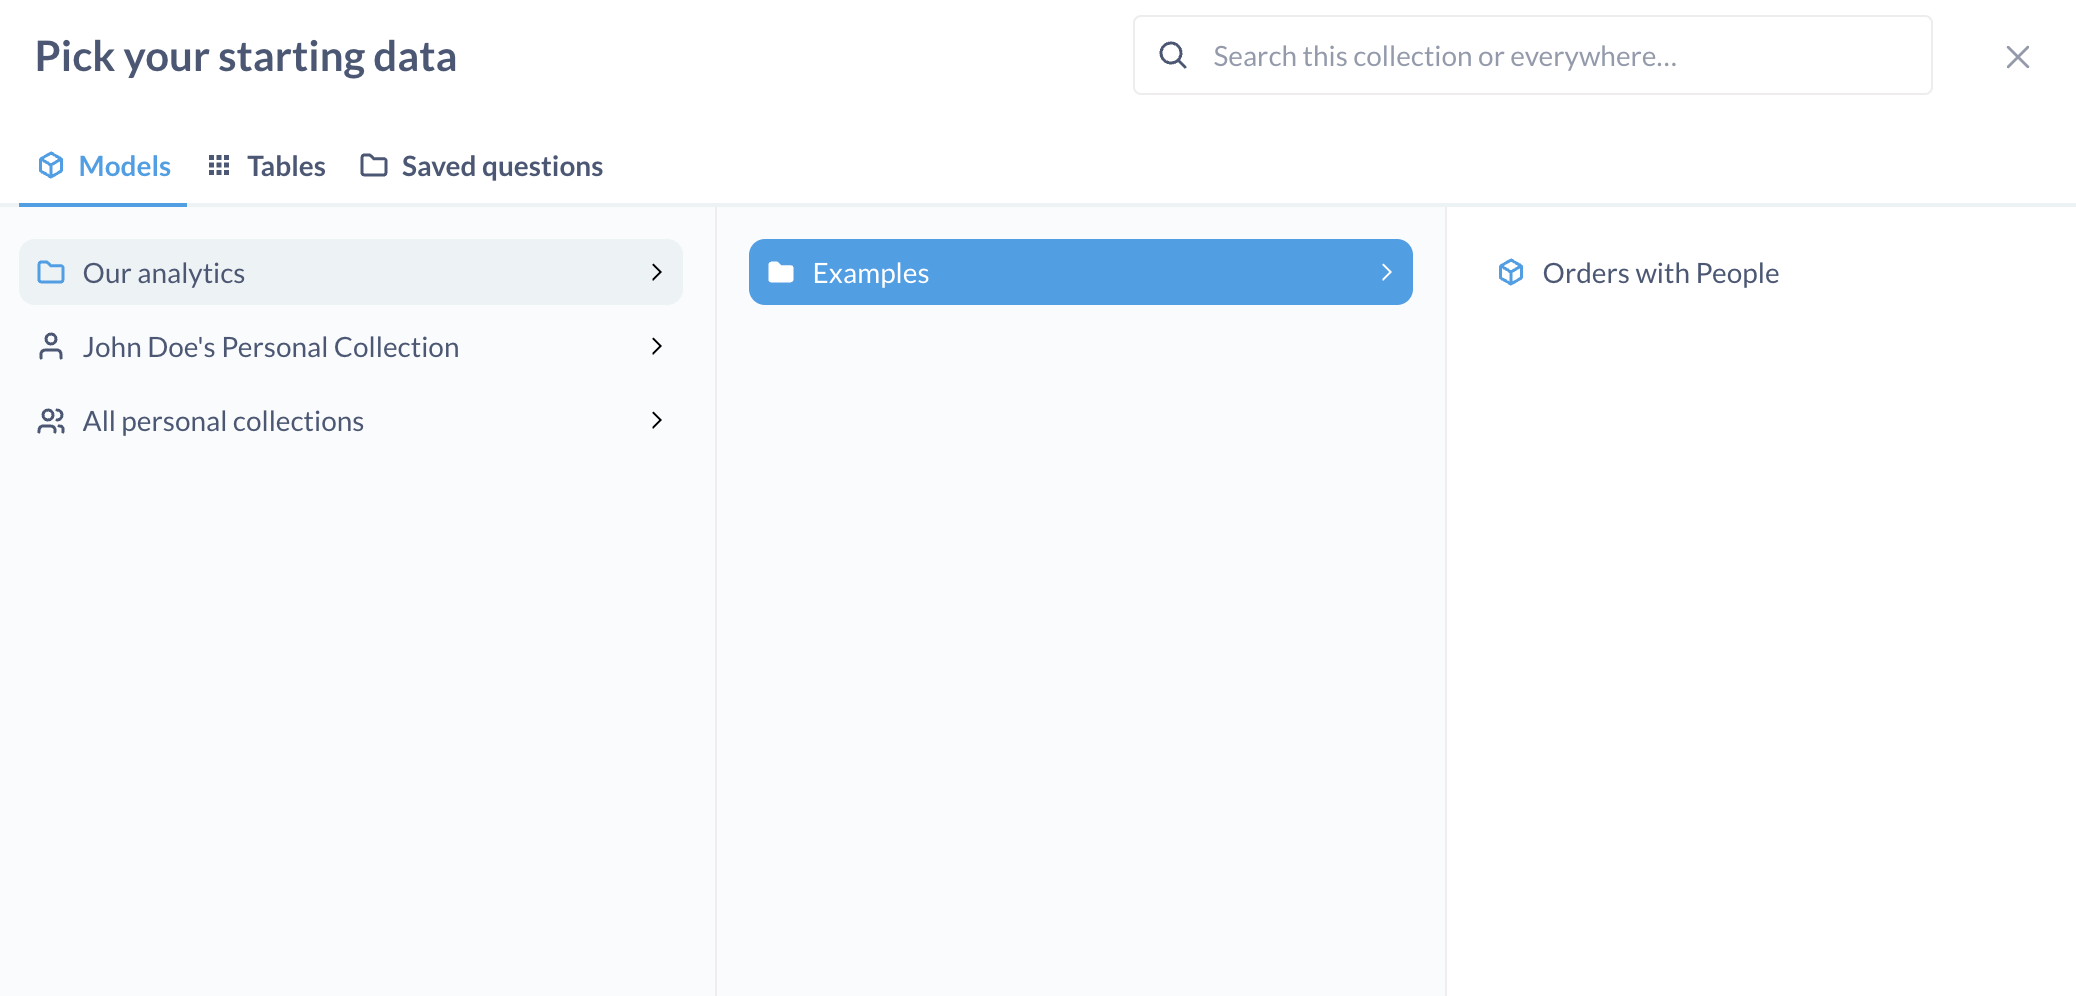
Click the ask a new one link in the center of the new dashboard. In the modal that opens, select Our analytics > Examples > Orders with people.
-
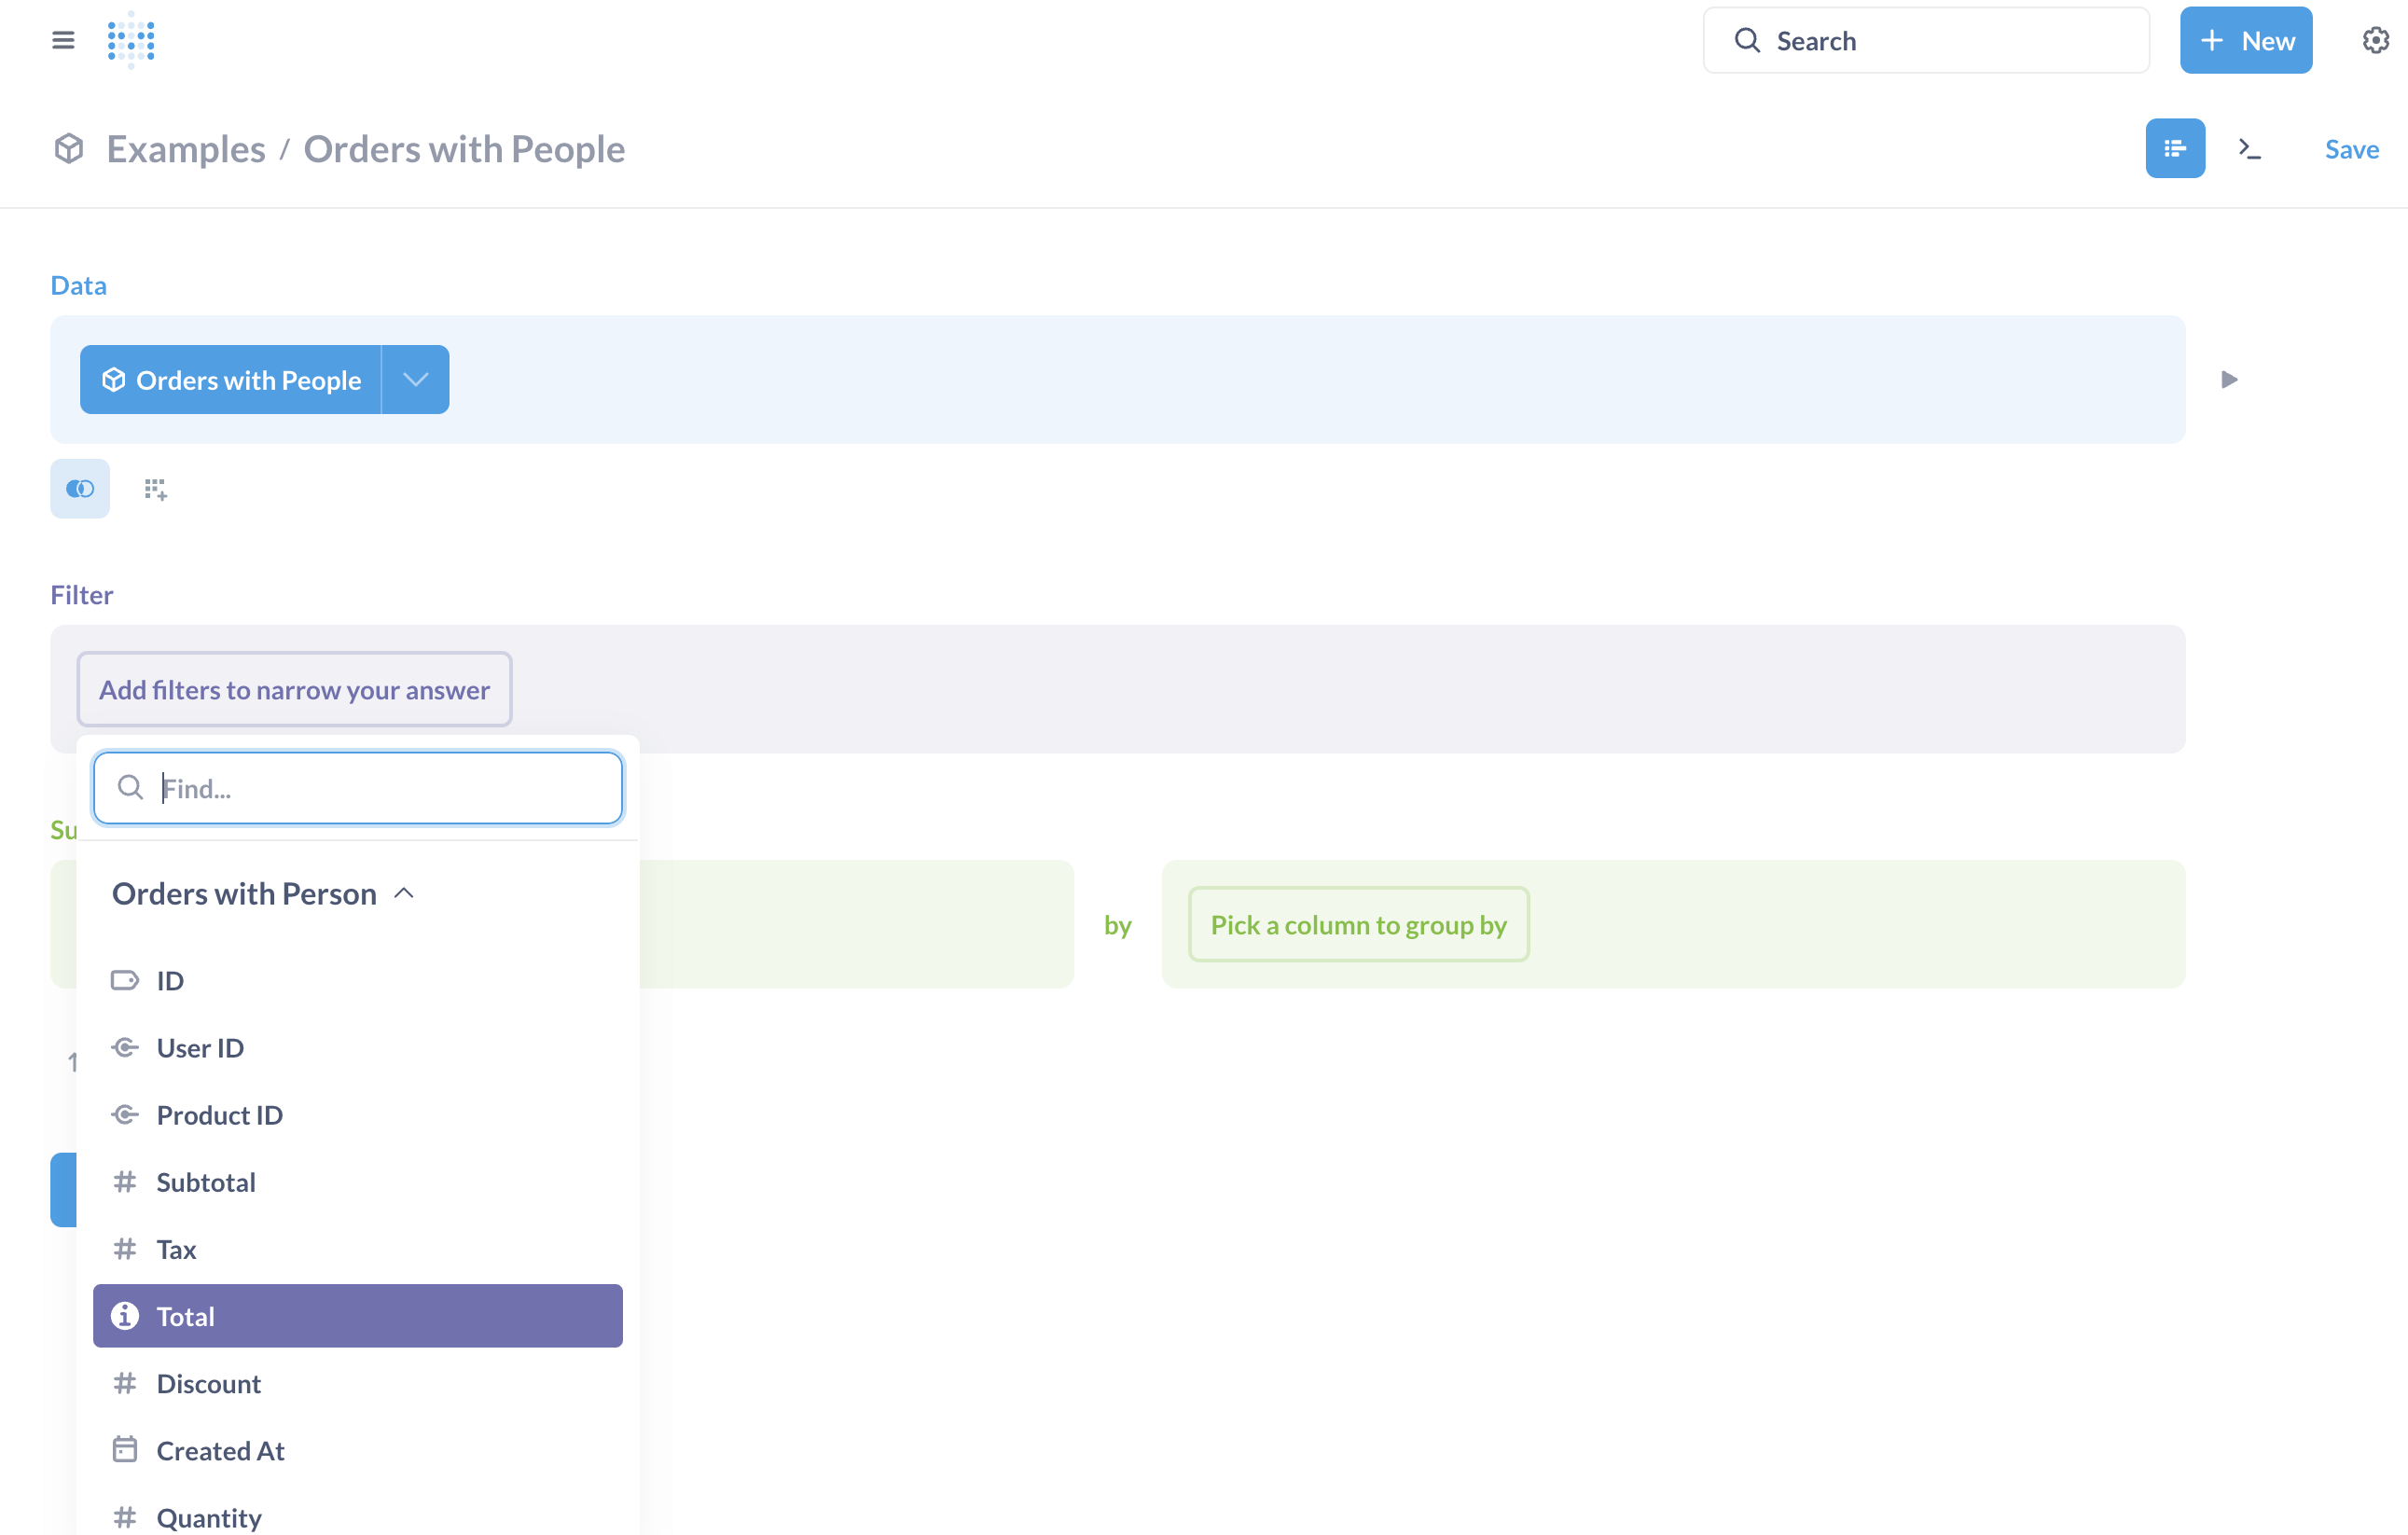
On the next page, select Add filters to narrow your answer and then Total.
-
In the dialog, select Between from the dropdown and enter the values
100and200. Click Add filter.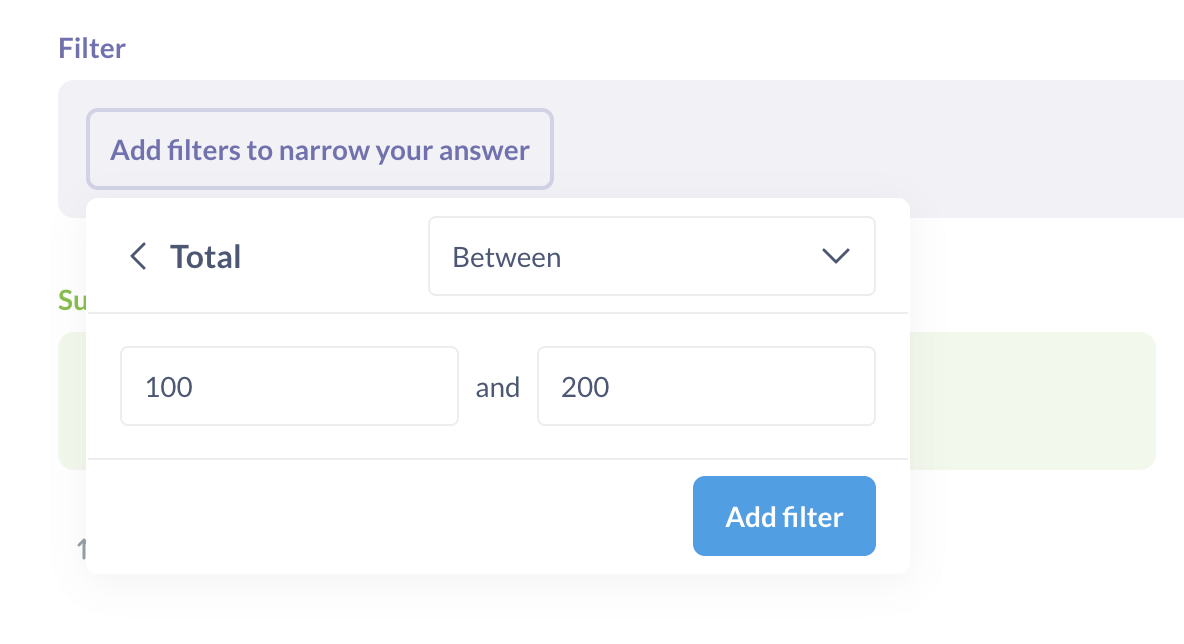
-
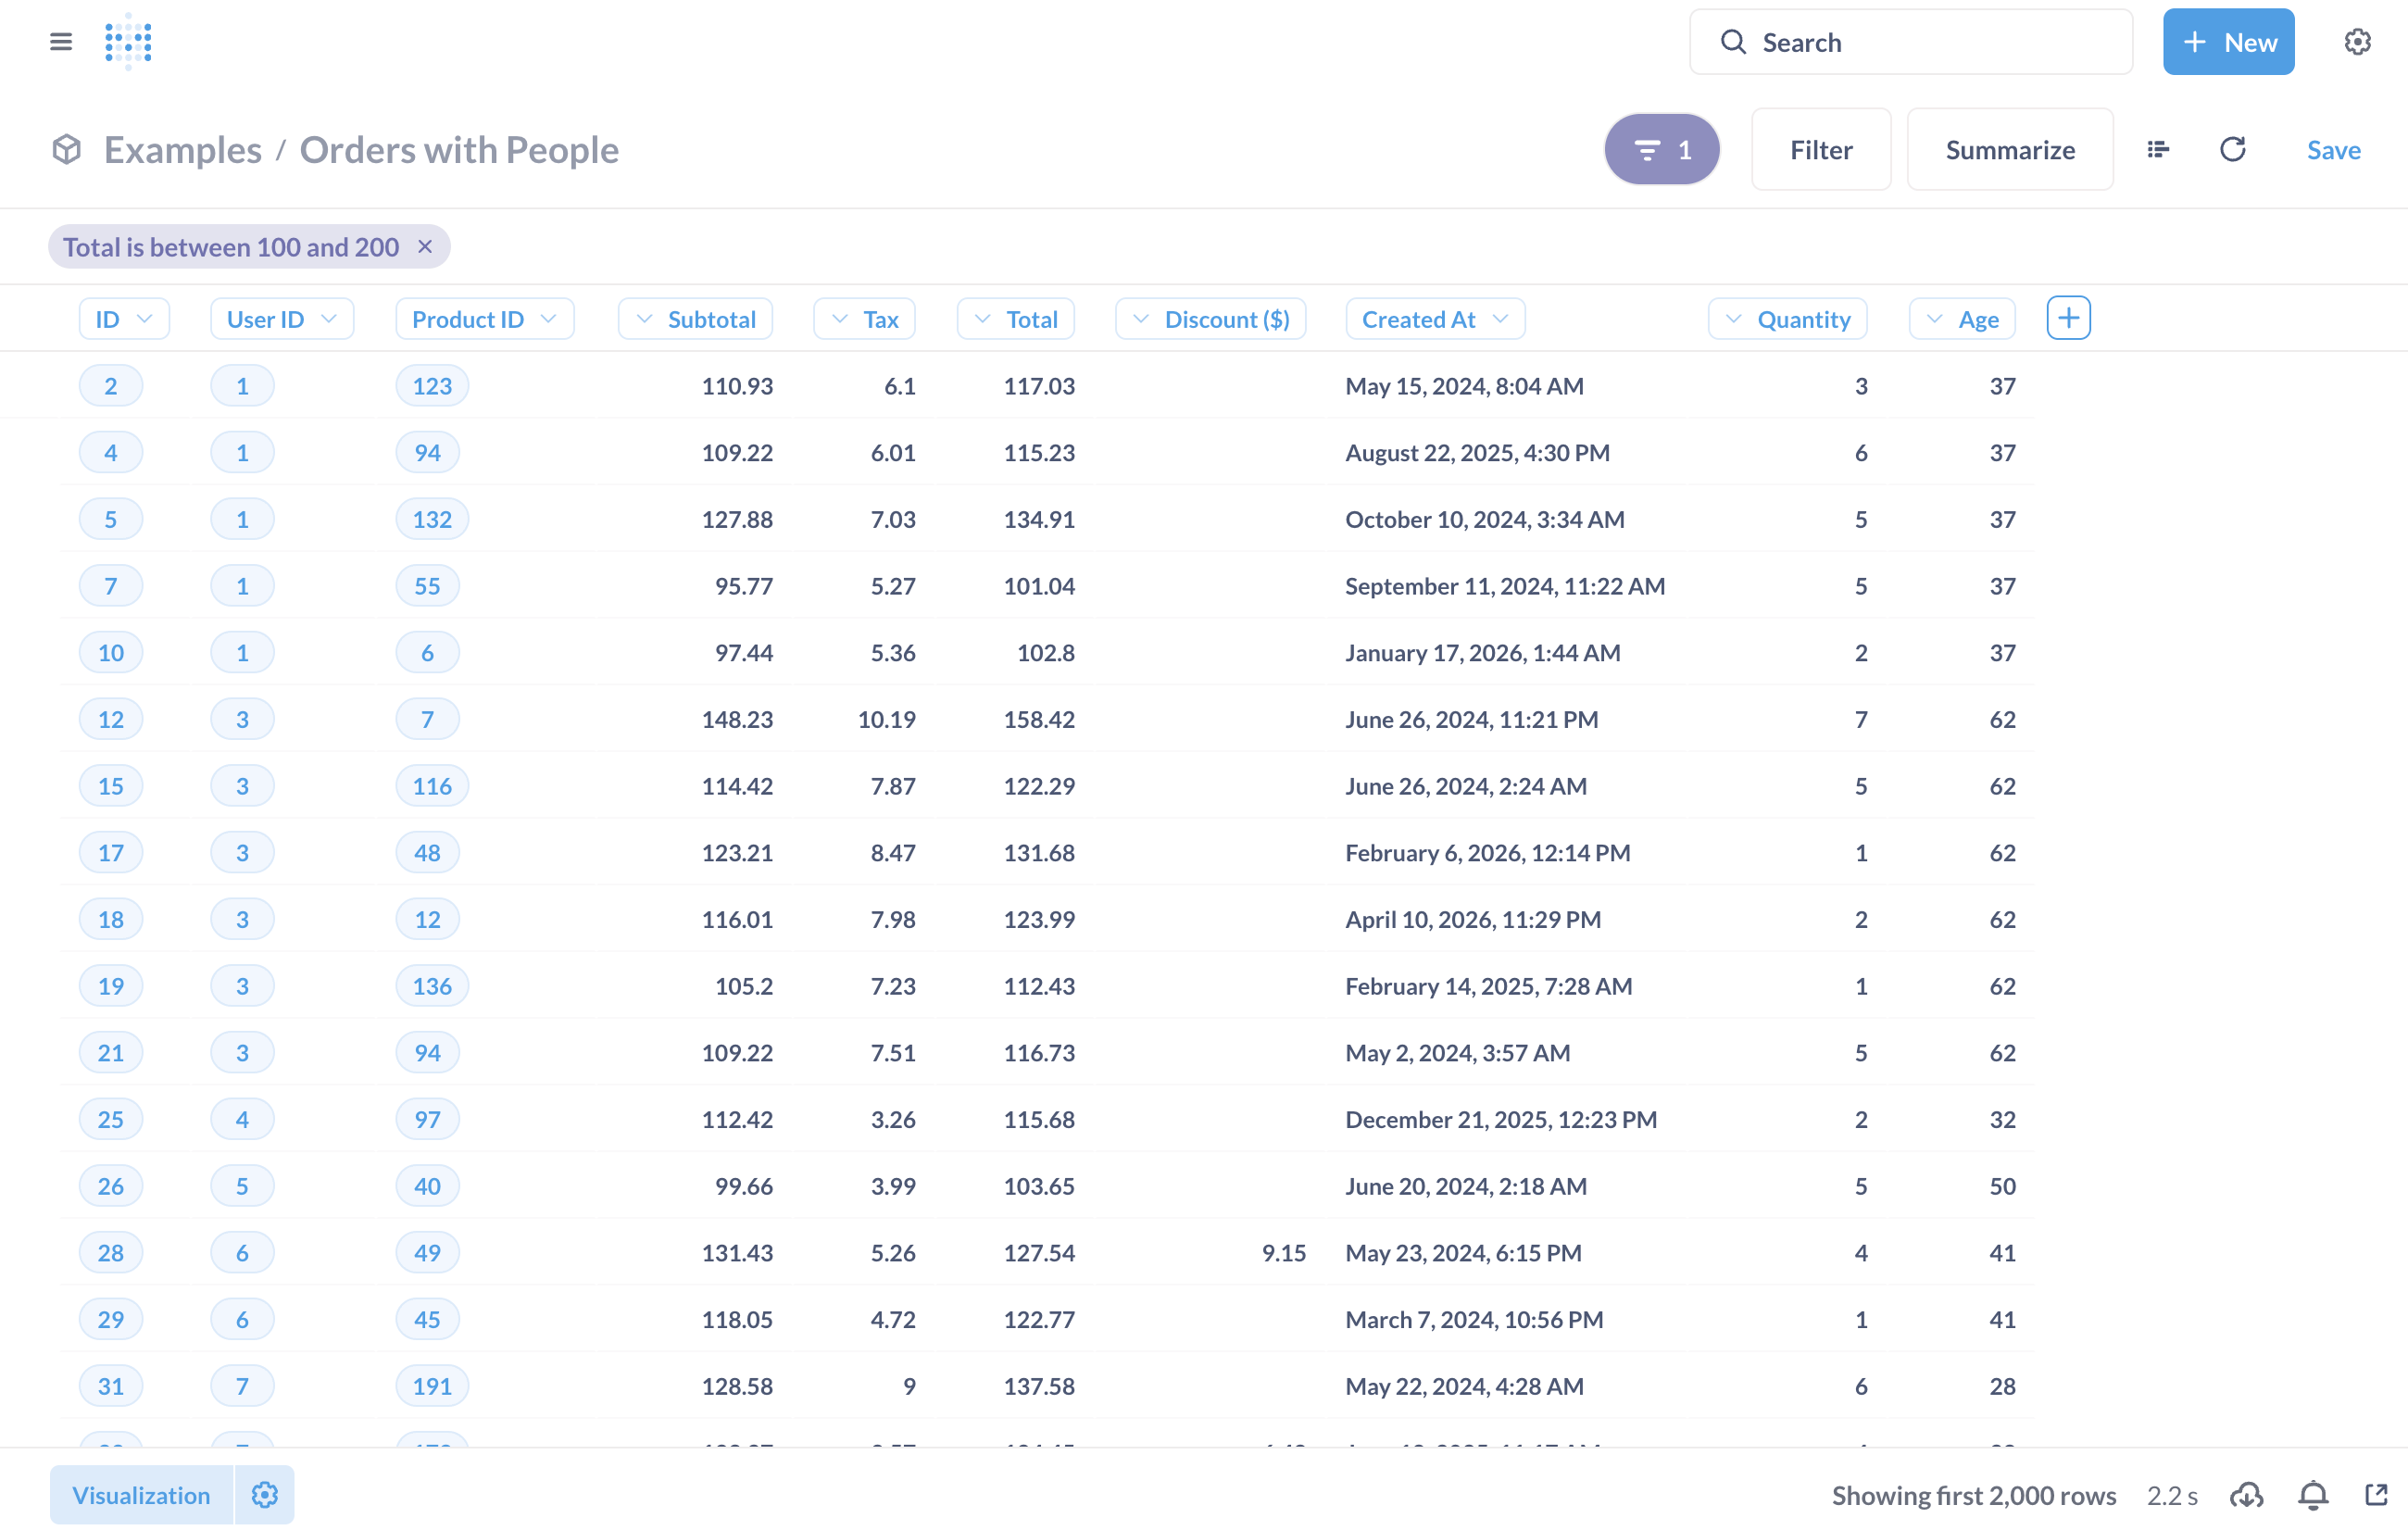
When processing is complete, click the Visualize button to see an example of the data returned from the question you created.
-
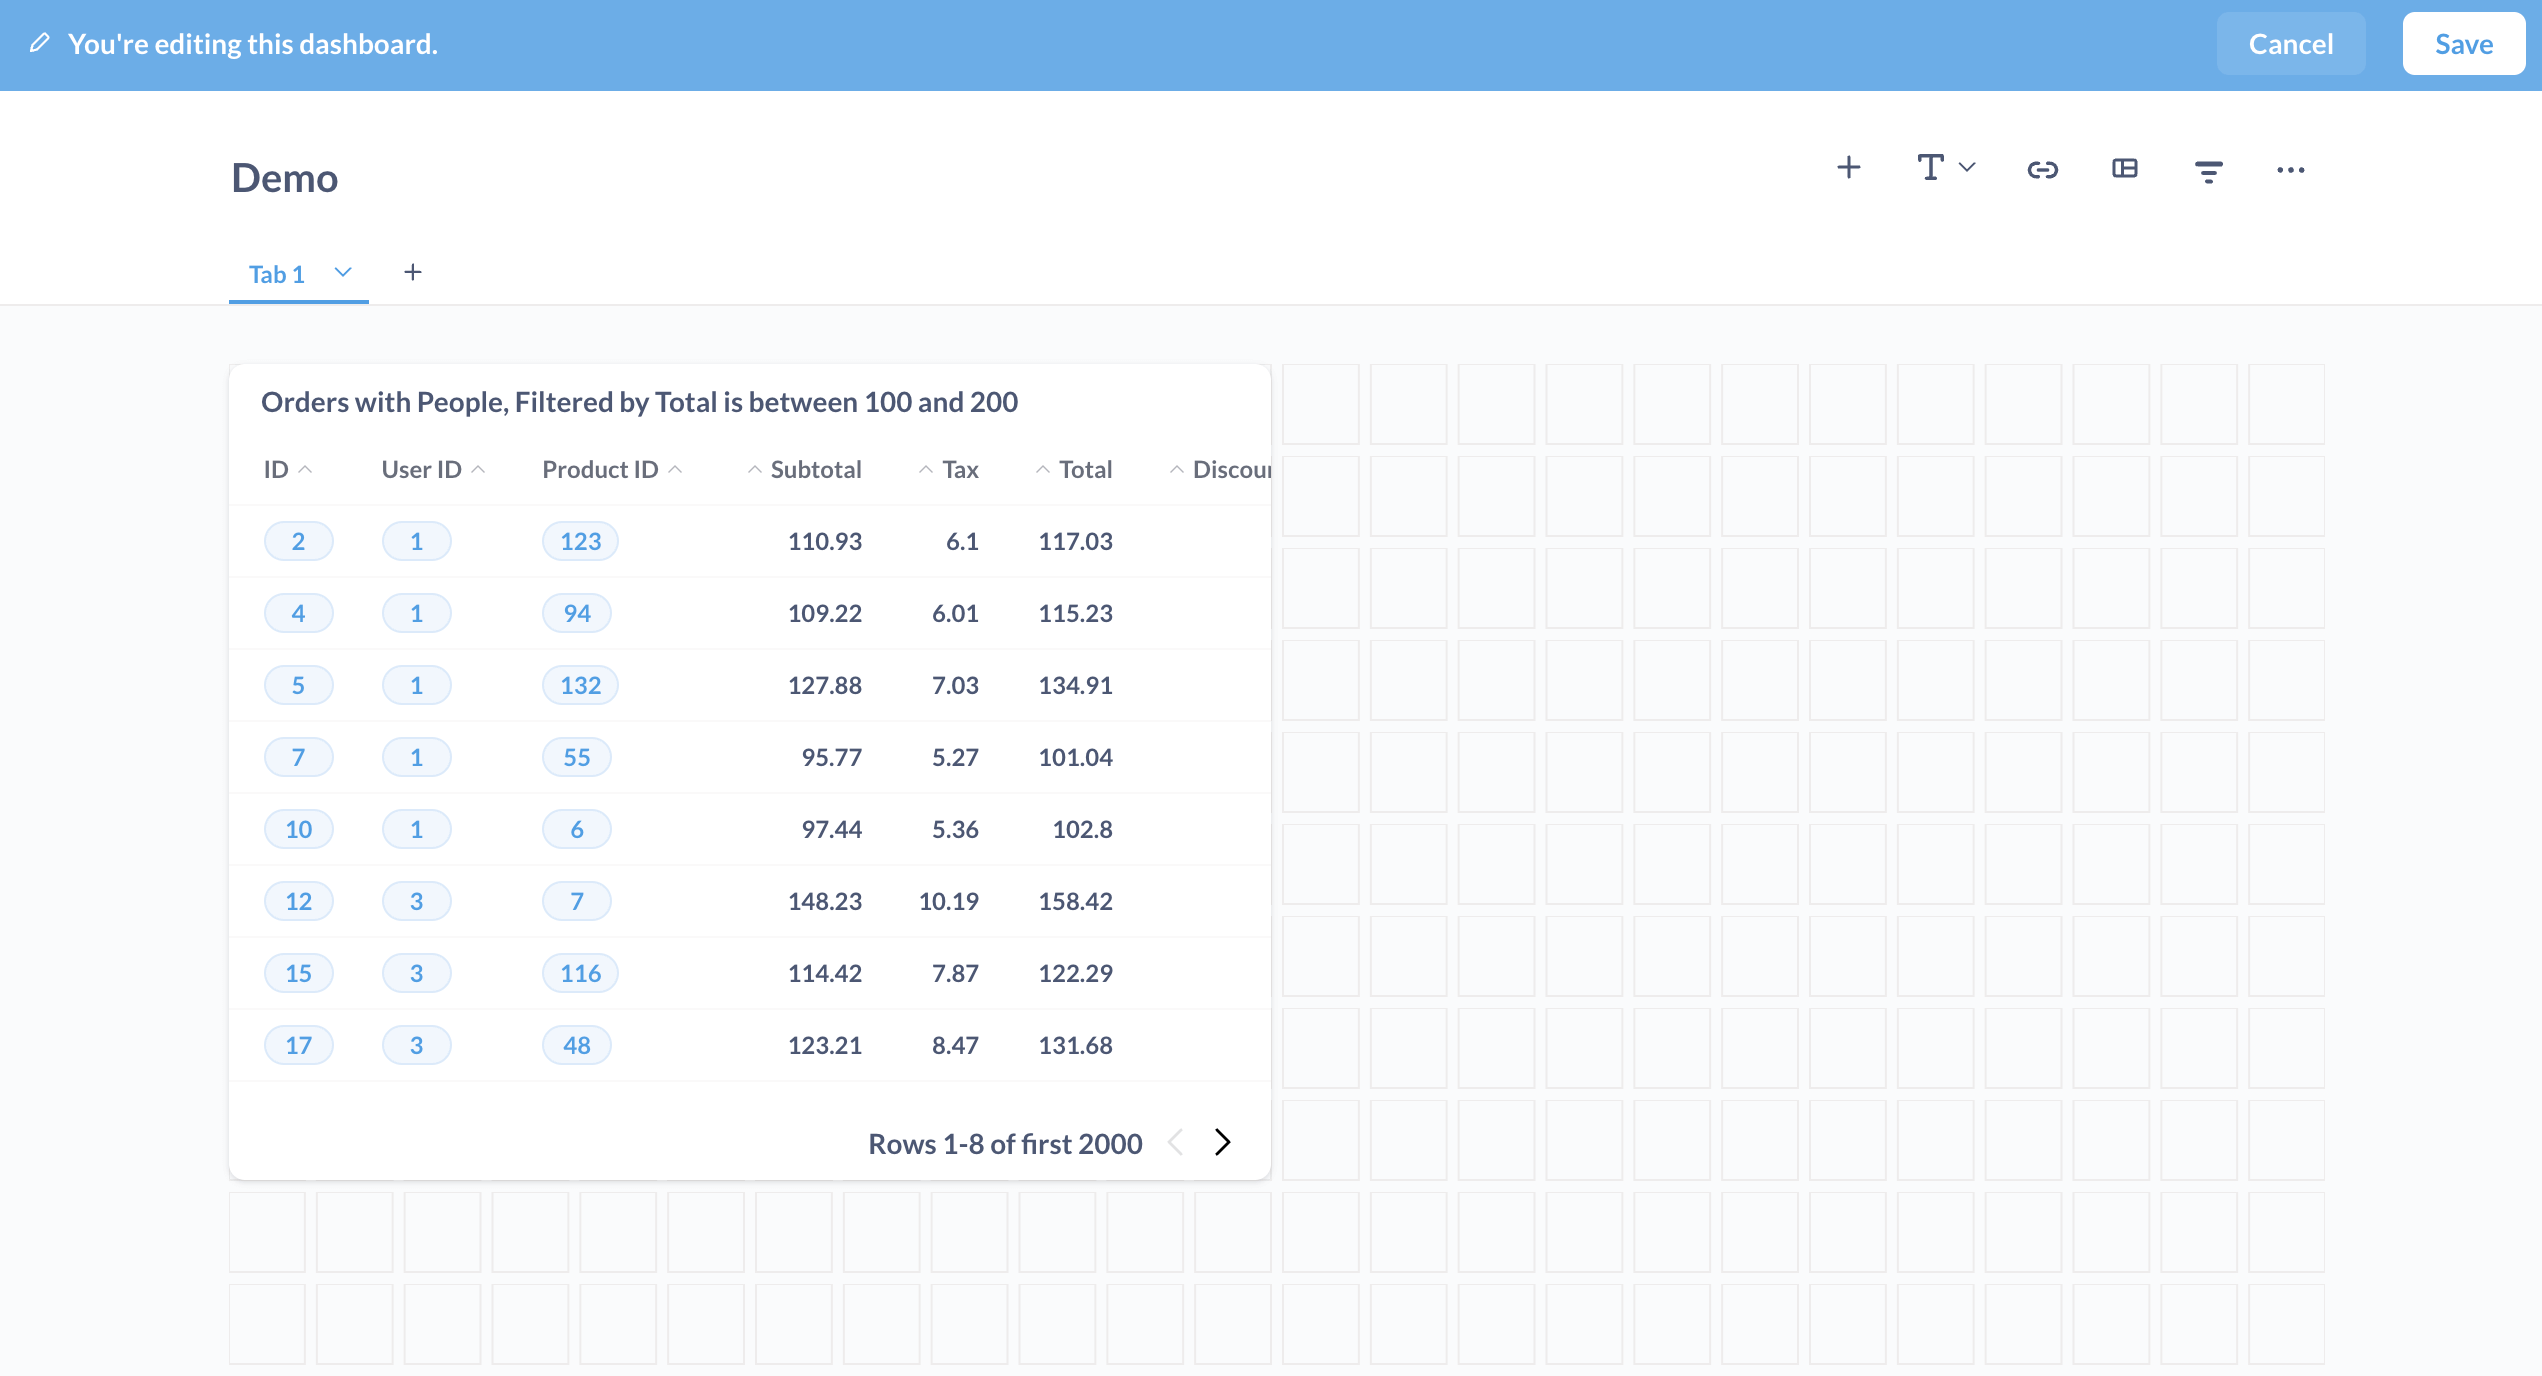
Click Save on the top right of the page and follow the prompts to add the question to the new dashboard. When you're redirected to the dashboard, you'll see the results of the question.
-
Click Save to save the dashboard.
To return to the dashboard at any time, select Our Analytics from the menu and click the dashboard name.
For more information about dashboards and working with Metabase, refer to the Metabase documentation.
7. Give the instance a custom domain
-
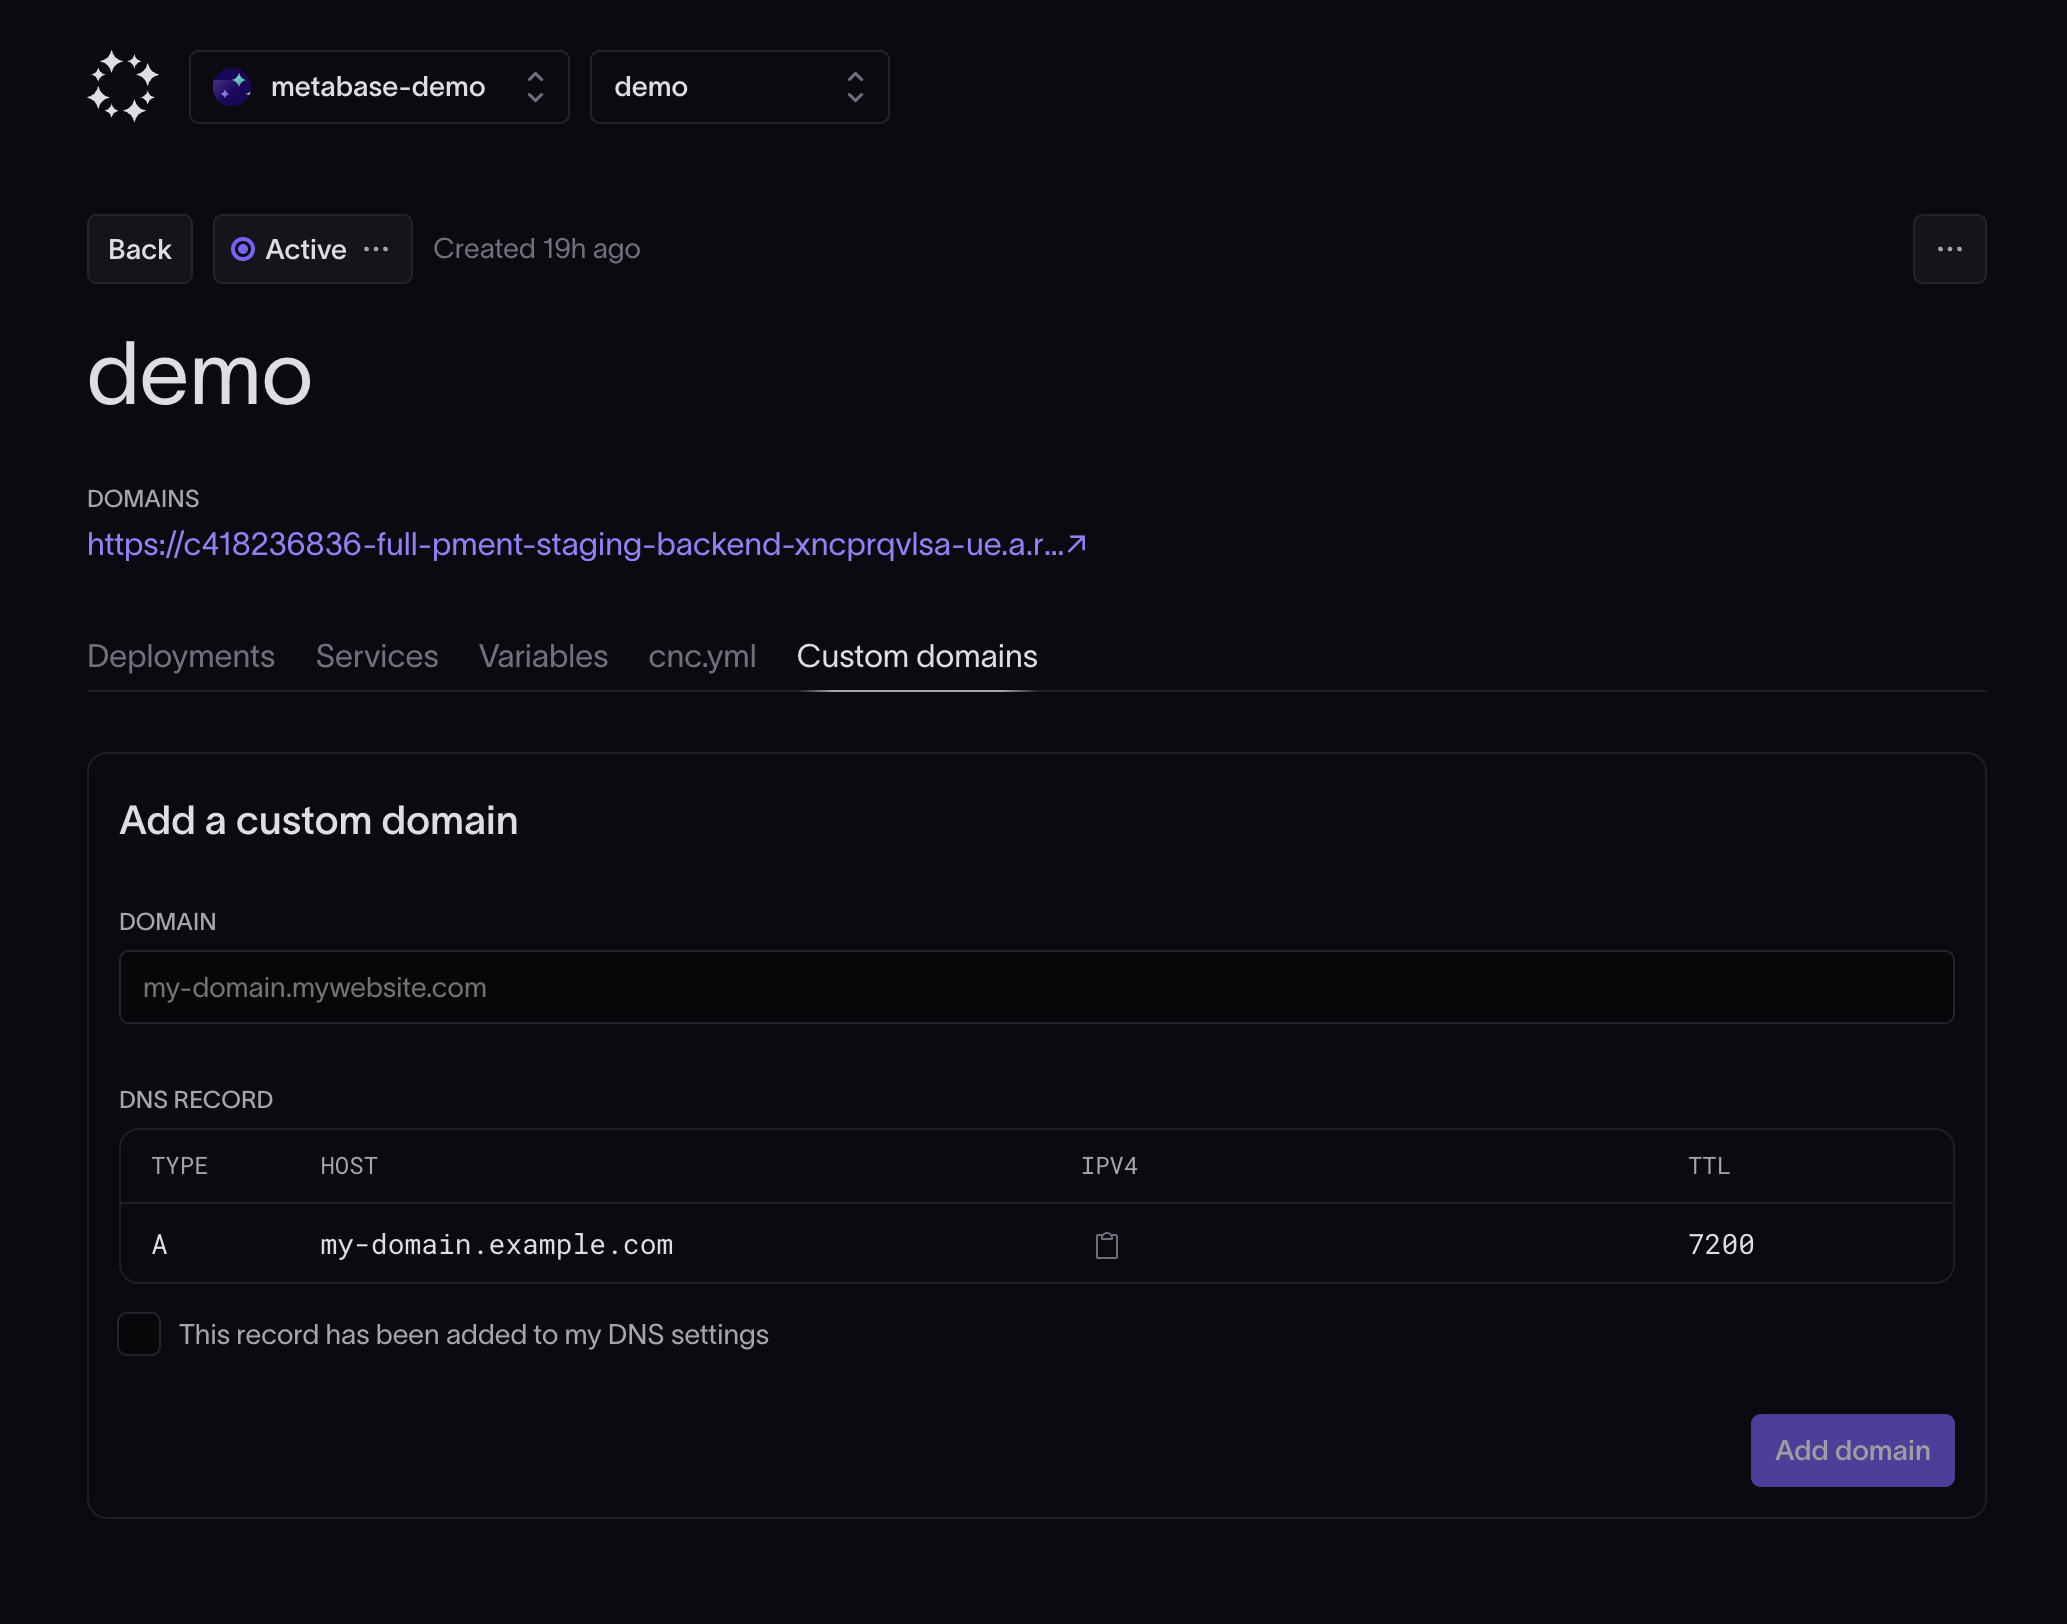
To use a custom domain for the Metabase instance, first navigate to the environment homepage in Coherence and click on the Custom domains tab. Add the custom domain to the Domain field and click Add domain.
-
Copy the DNS record information generated by Coherence and add it to the DNS records for the domain with your hosting provider. Refer to your hosting provider's documentation for more information on how to do this.
Note: If copying the generated DNS record doesn't work, you may need to replace the Host value with an
@symbol for the record to properly direct to the new address. -
When you've added the DNS record, give the changes some time to propagate, then visit the domain to view the Metabase instance.
Use Metabase with an existing application in Coherence
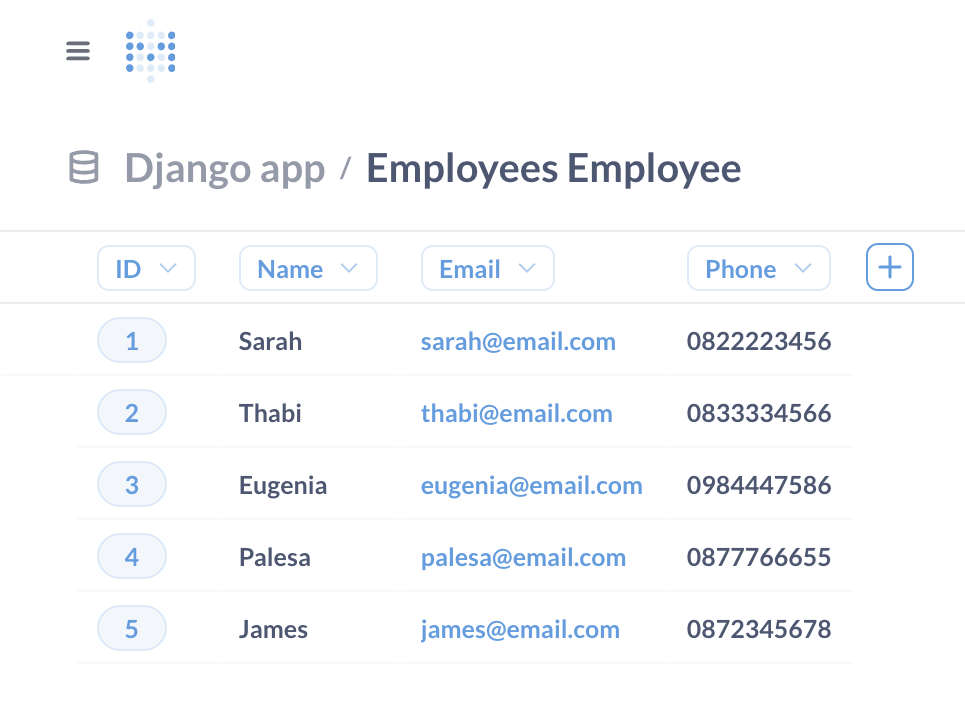
In this section, we'll learn how to connect a self-hosted Metabase instance to an existing application and database service in Coherence.
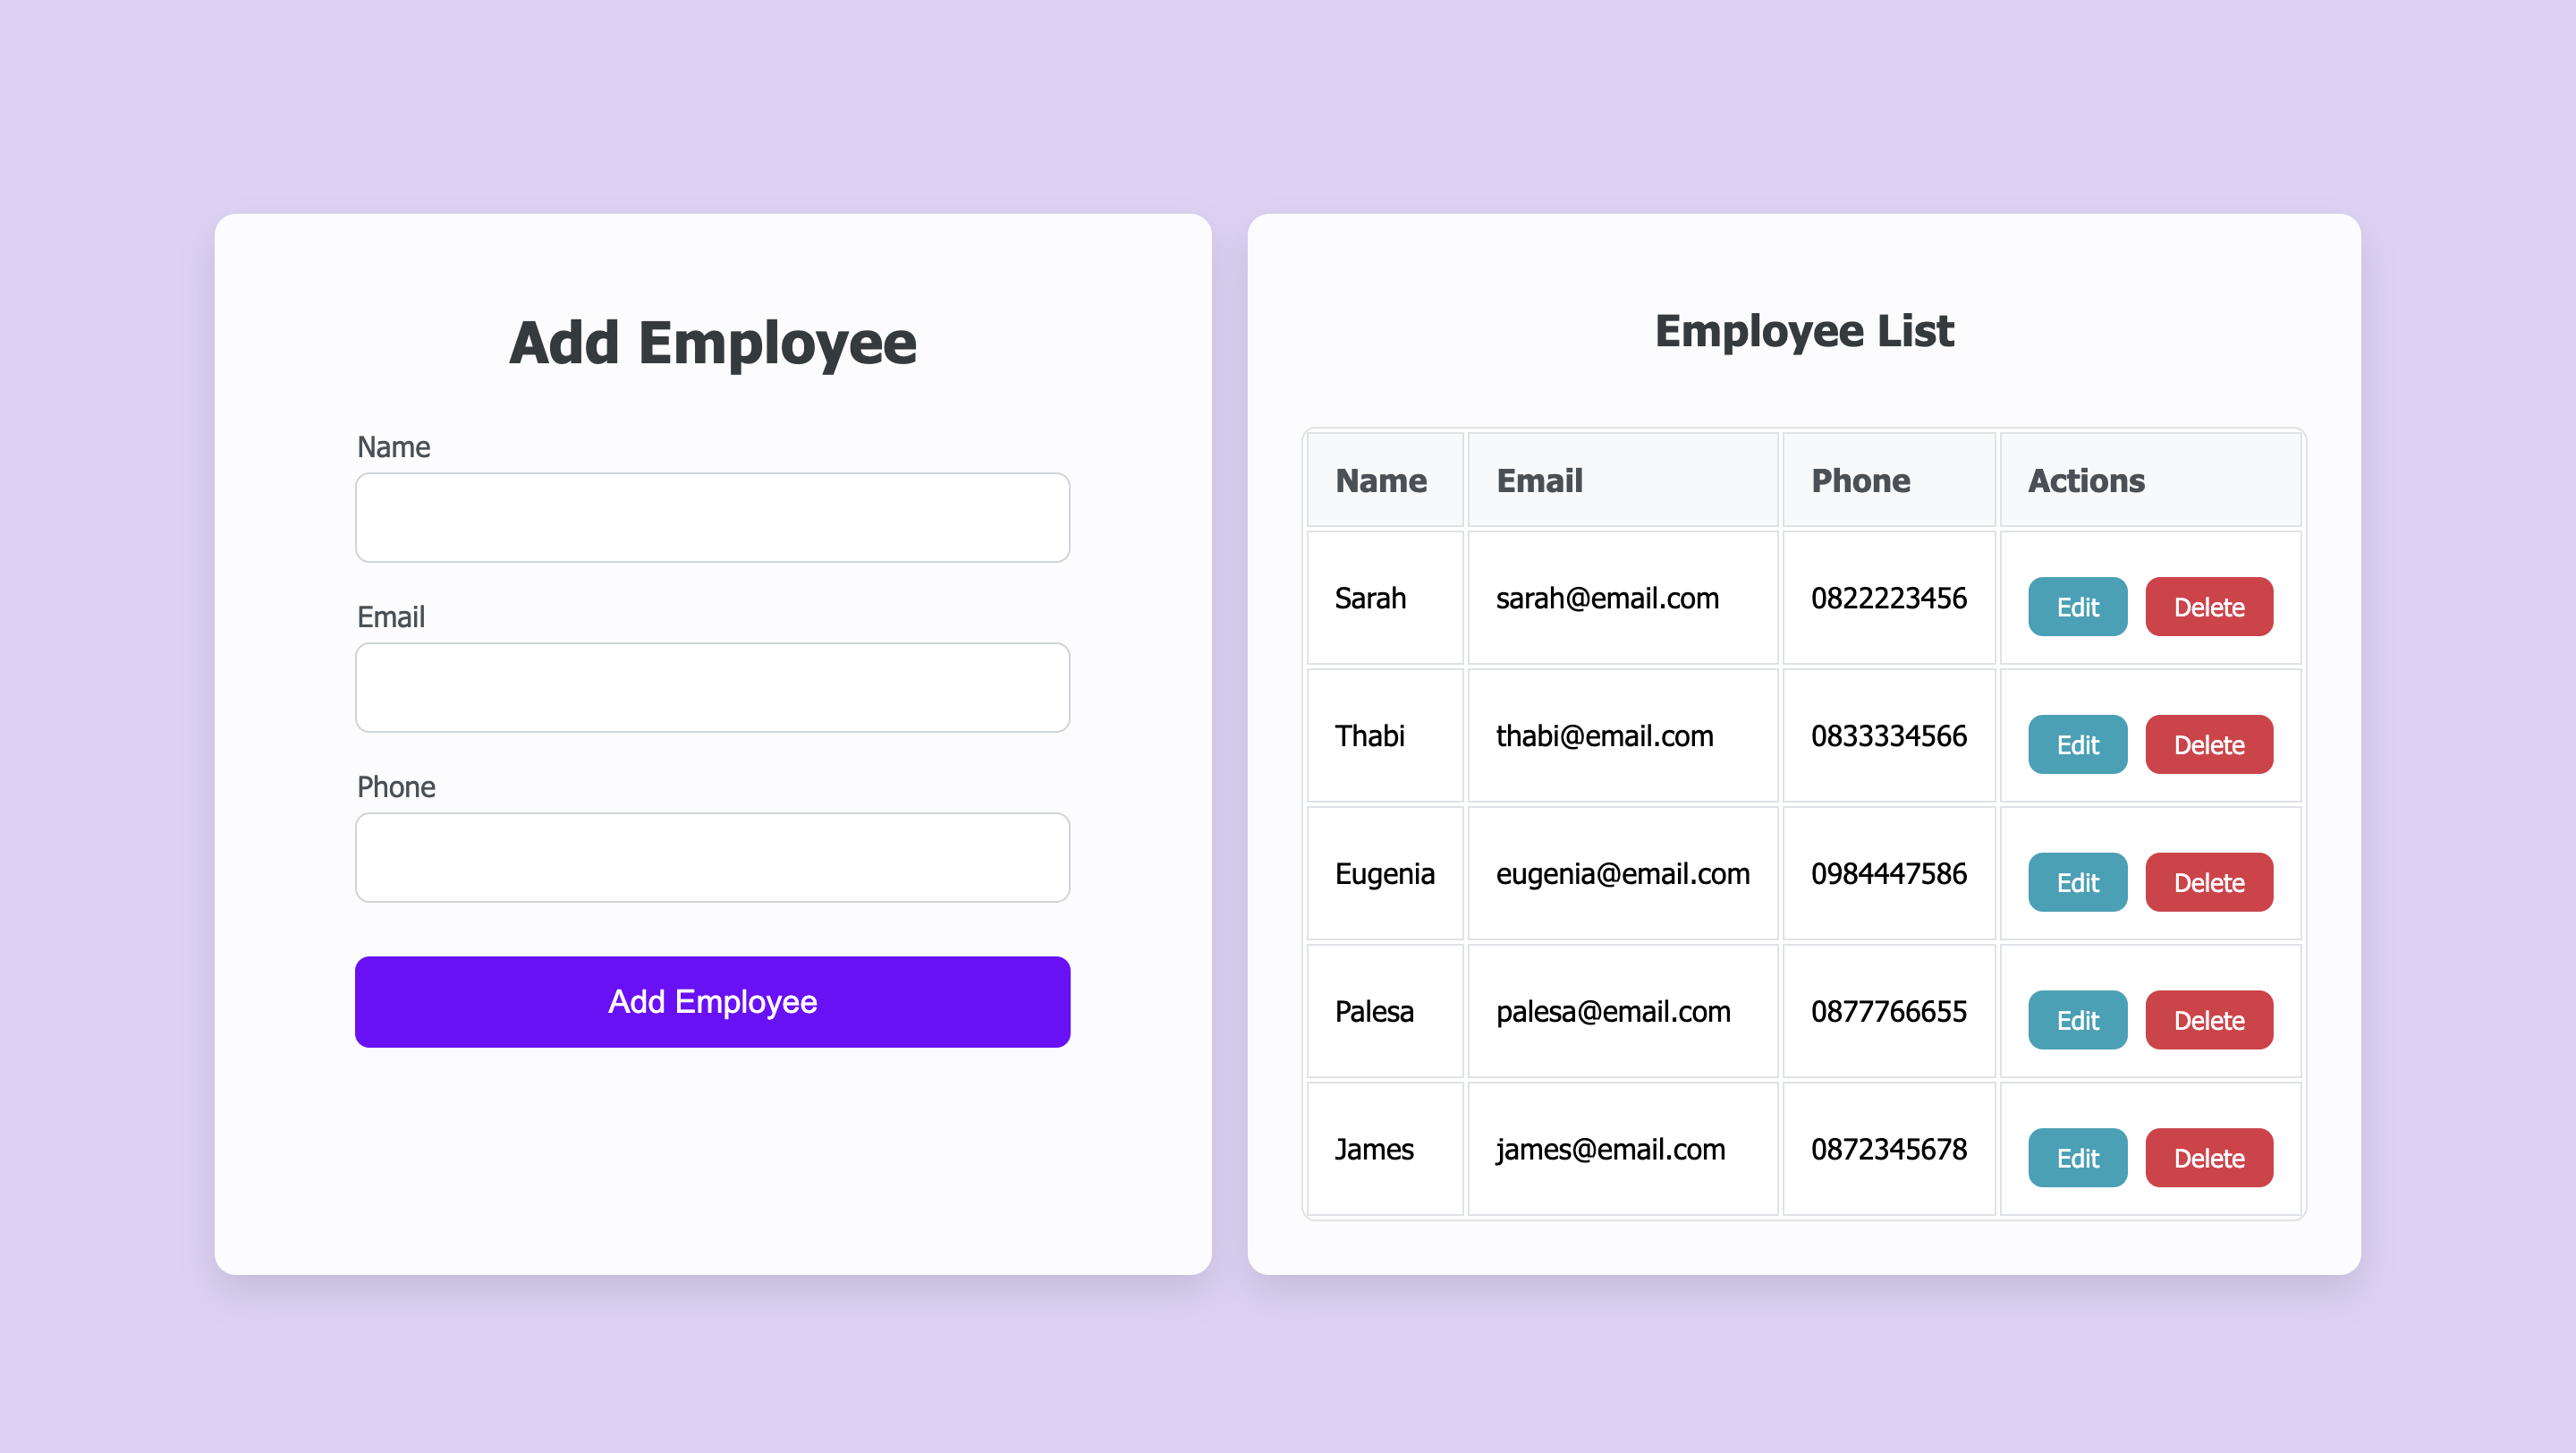
We'll use the example of a Django backend with a Postgres database to demonstrate the process.
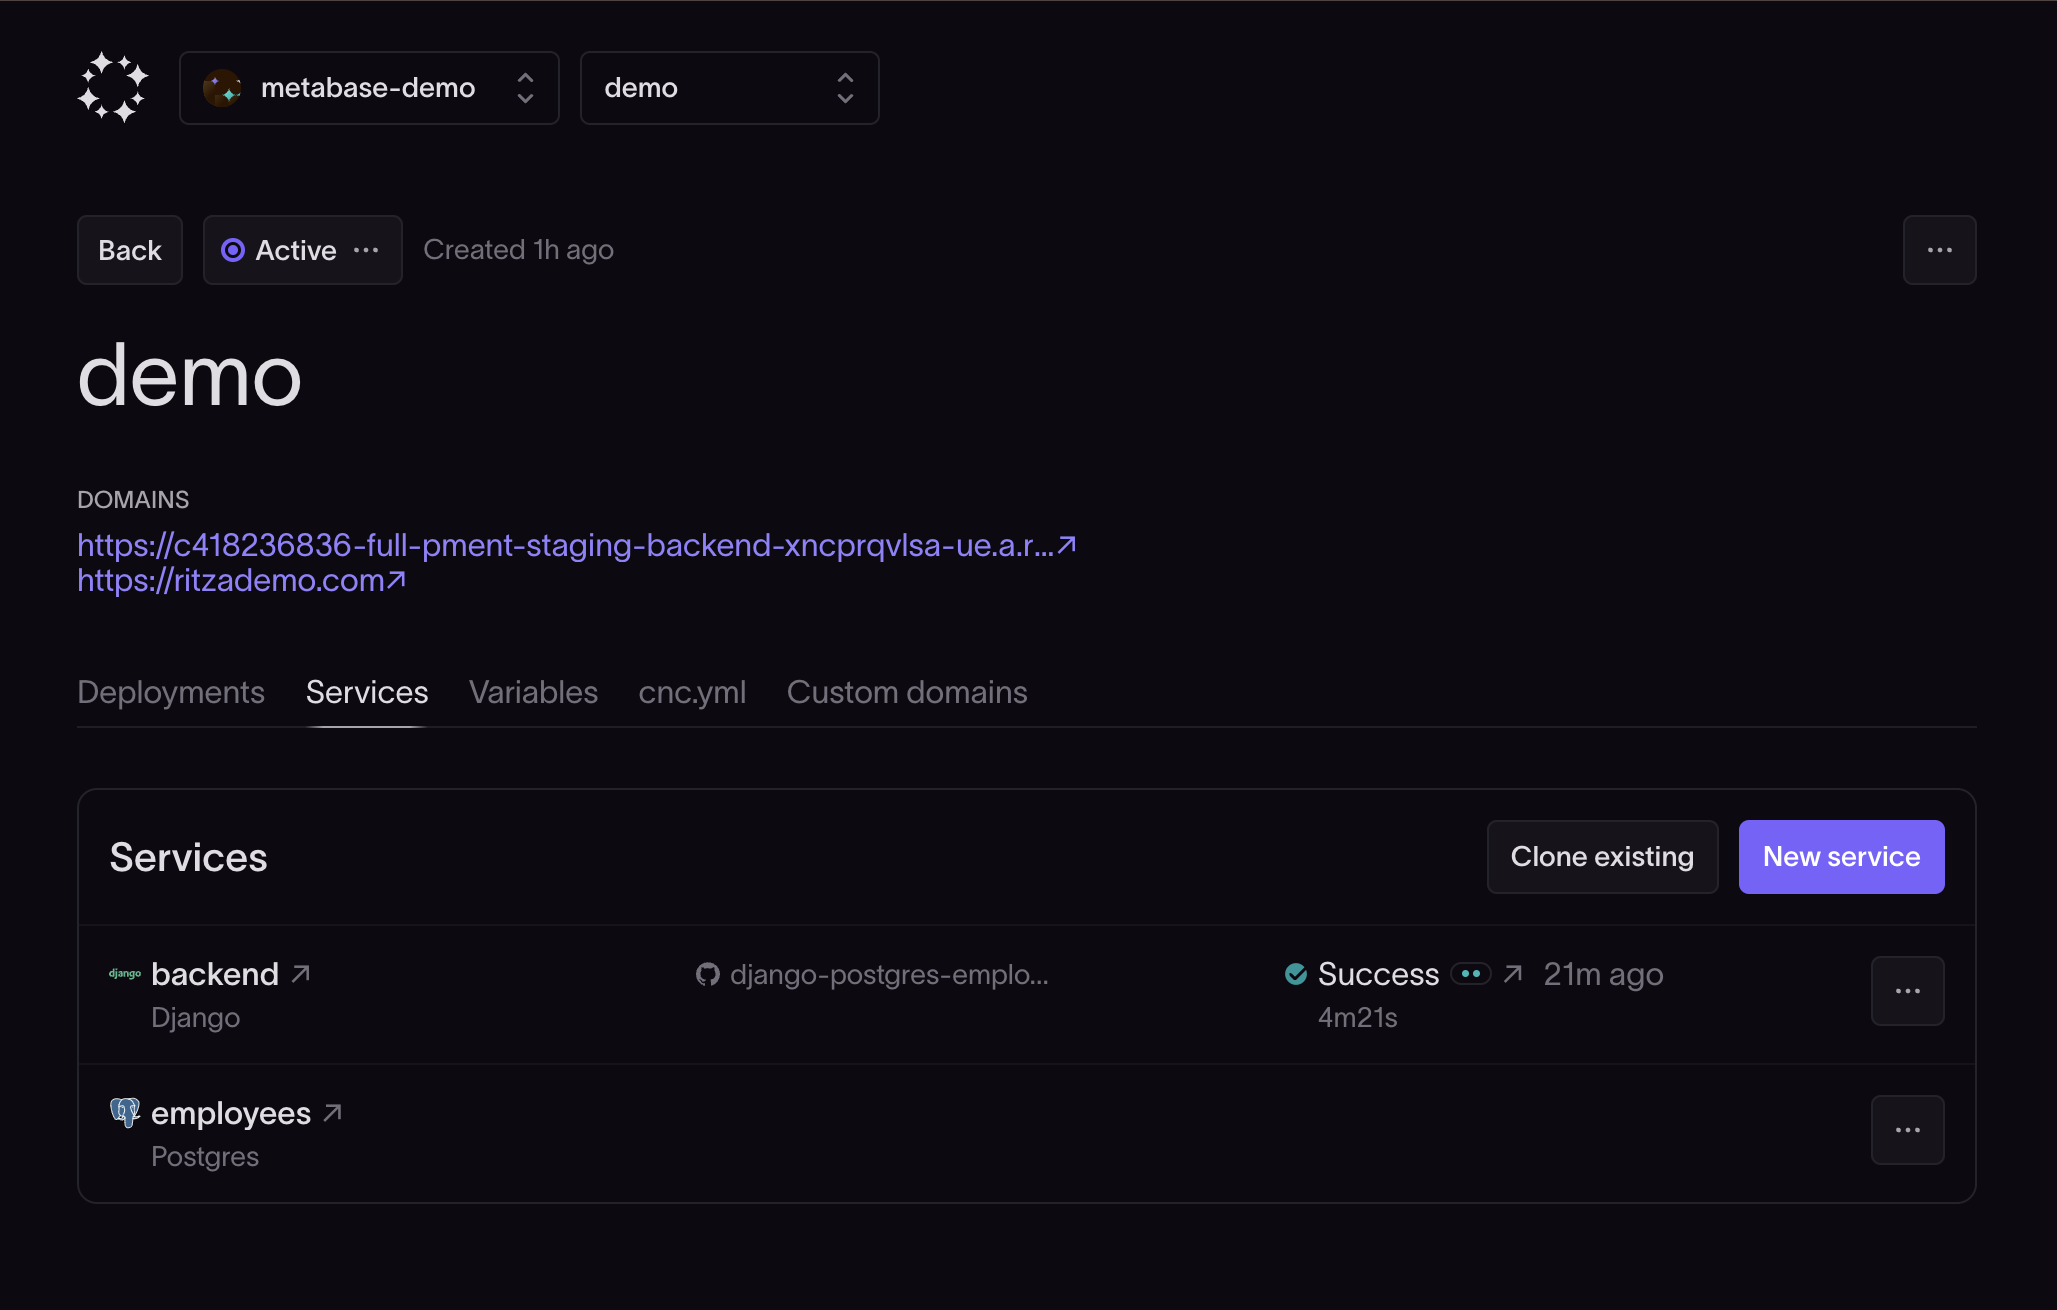
The example application has some data that you would like to analyze.
Set up Coherence
Follow steps 1-5 to deploy a Metabase application in Coherence:
- Set up Coherence
- Connect Coherence to your cloud provider
- Provision new infrastructure
- Configure environment variables
- Build and deploy a Metabase instance
Note: Depending on your cloud configuration, you may encounter the following error when you attempt to provision the Metabase service in the same region as the existing application.
Error: Error creating WorkerPool: googleapi: Error 429: project <Project_Id> has insufficient quota to create a new worker pool; see https://cloud.google.com/build/quotas For more help, please contact support at support@withcoherence.com
This error is caused by a limited number of pools per region. To resolve the issue, you can increase your quota or select a different region for the Metabase application.
Link your Coherence database to Metabase
Follow the instructions in step 6 to set up a Metabase user account. When you are prompted to link a database, you will see that Metabase requires the public IP address of your database.
If you're using AWS, you can copy the public IP from the Variables tab of your environment homepage in Coherence.
If you're using Google Cloud Platform (GCP), you need to ensure your database is configured to allow public connections before configuring the IP:
- In the GCP project connected to Coherence, navigate to the SQL menu option, select the database, open Connections from the menu, and select the Networking tab.
- In the Authorized networks section, click Add a network.
- Name the network
remote connectionand enter0.0.0.0/0in the Network field. -
Find the remaining values required to link the database in the Variables tab of the existing application (in our case, the Django backend):
<db_service_name>_PORTDB_NAMEDB_USERDB_PASSWORD
-
Use these values to complete the form and set up the connection to the application's database.
- Consult the GCP documentation for configuring a public IP.
When you've linked the database, it will appear in Metabase.

You can then view and create questions based on the data in the database.
