Setting Up Previews
Overview
This guide demonstrates how to set up branch preview environments for a full-stack Python application that stores its PostgreSQL database on Cloud SQL and runs out of a monorepo, with a different directory for each of its three services (the frontend, backend, and database services) within that repo.
Although this example uses a monorepo, Coherence also supports multi-repo applications. You could set up branch previews for a multi-repo app, with the frontend in one repo and the backend in another (or any other combination of repos your environments need). You would need to lightly modify the steps below, using the repo option when setting up your services.
This example assumes the following about the application being previewed:
It uses a Python backend.
- The backend app container is built using a Dockerfile for total control.
- The DATABASE_URL environment variable, which is automatically added to each environment using cnc, is used to access the database.
It uses a static, single-page app frontend.
- Its build process is simple, but it can easily run any command needed.
- It uses two variables, CNC_ENVIRONMENT_NAME, which shows the name in the title, and CNC_ENVIRONMENT_DOMAIN, which fetches the API URL for the backend for each environment.
It generates a new environment, including a new database instance, for each pull request (PR) on GitHub with the preview label applied to it.
- The URL for the preview will also be generated in a bot-authored comment in your GitHub repo.
It runs database migrations on a new database in each environment.
It deletes the environment when the PR is closed in each repo.
Set up the repository
See the example repo here.
backend/contains the backend.frontend/contains the frontend.
Set up Coherence
Create the app and set up the environment
Once your Coherence has been set up, create the application and collection, and then add your first repo. You can consult the quick start guide for a detailed demonstration of how to do this.
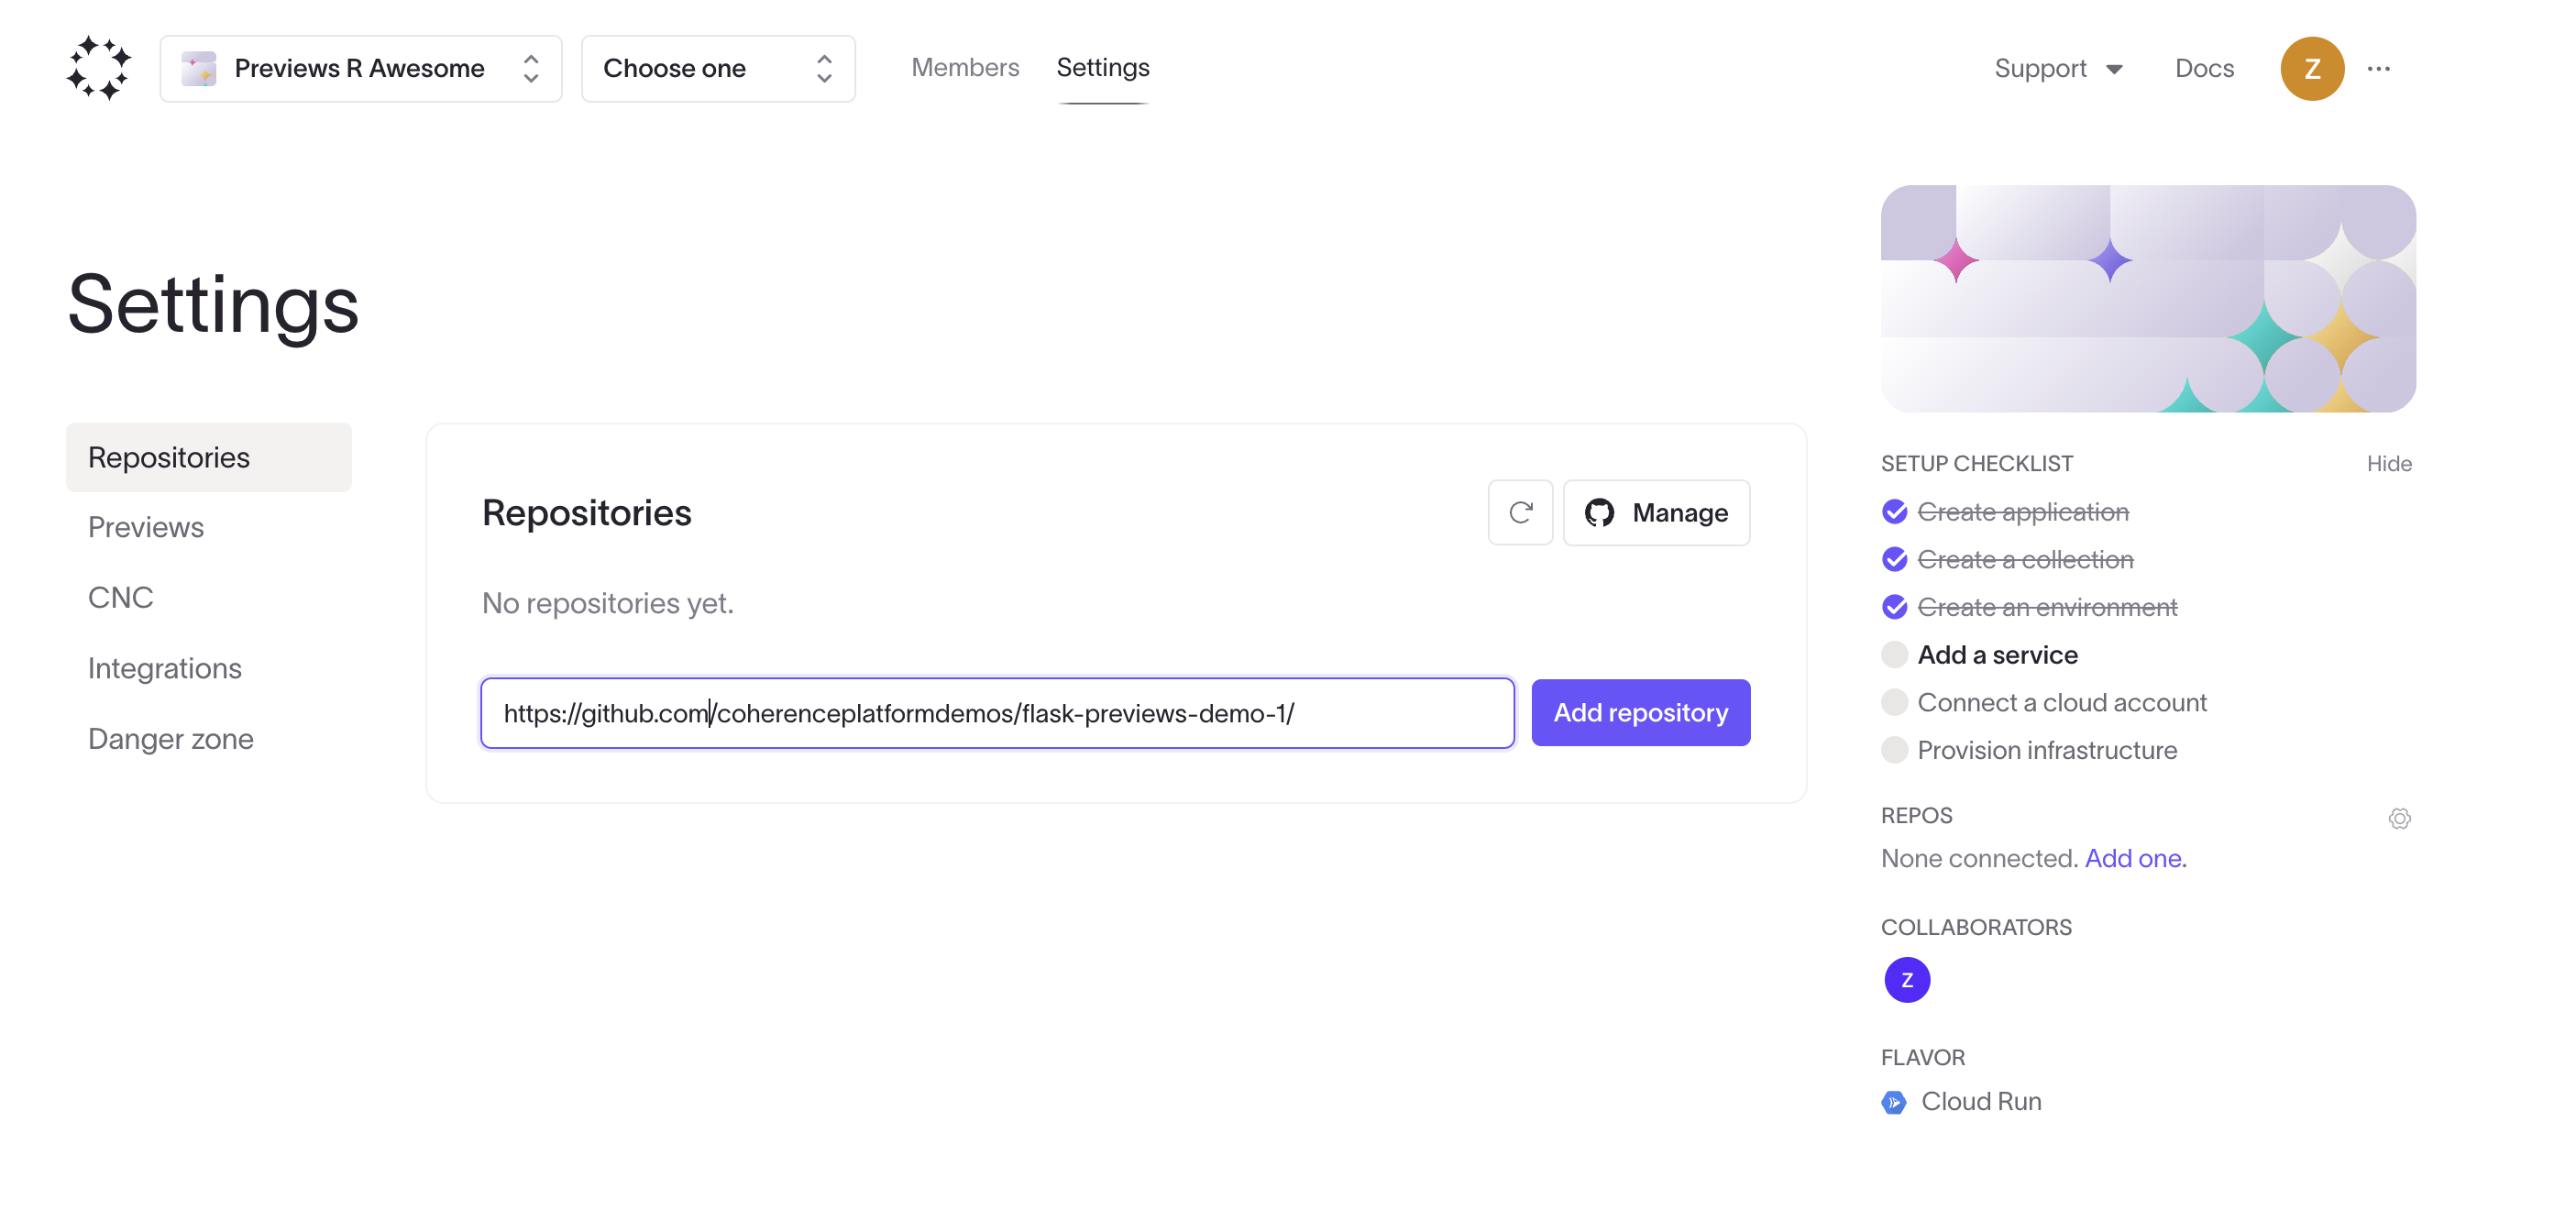
Next, add an environment called "template" (or any other name you prefer), and configure the three services.
There is no need to create tracking branches for the services in this environment, it is simply the template that will be used to generate the previews.
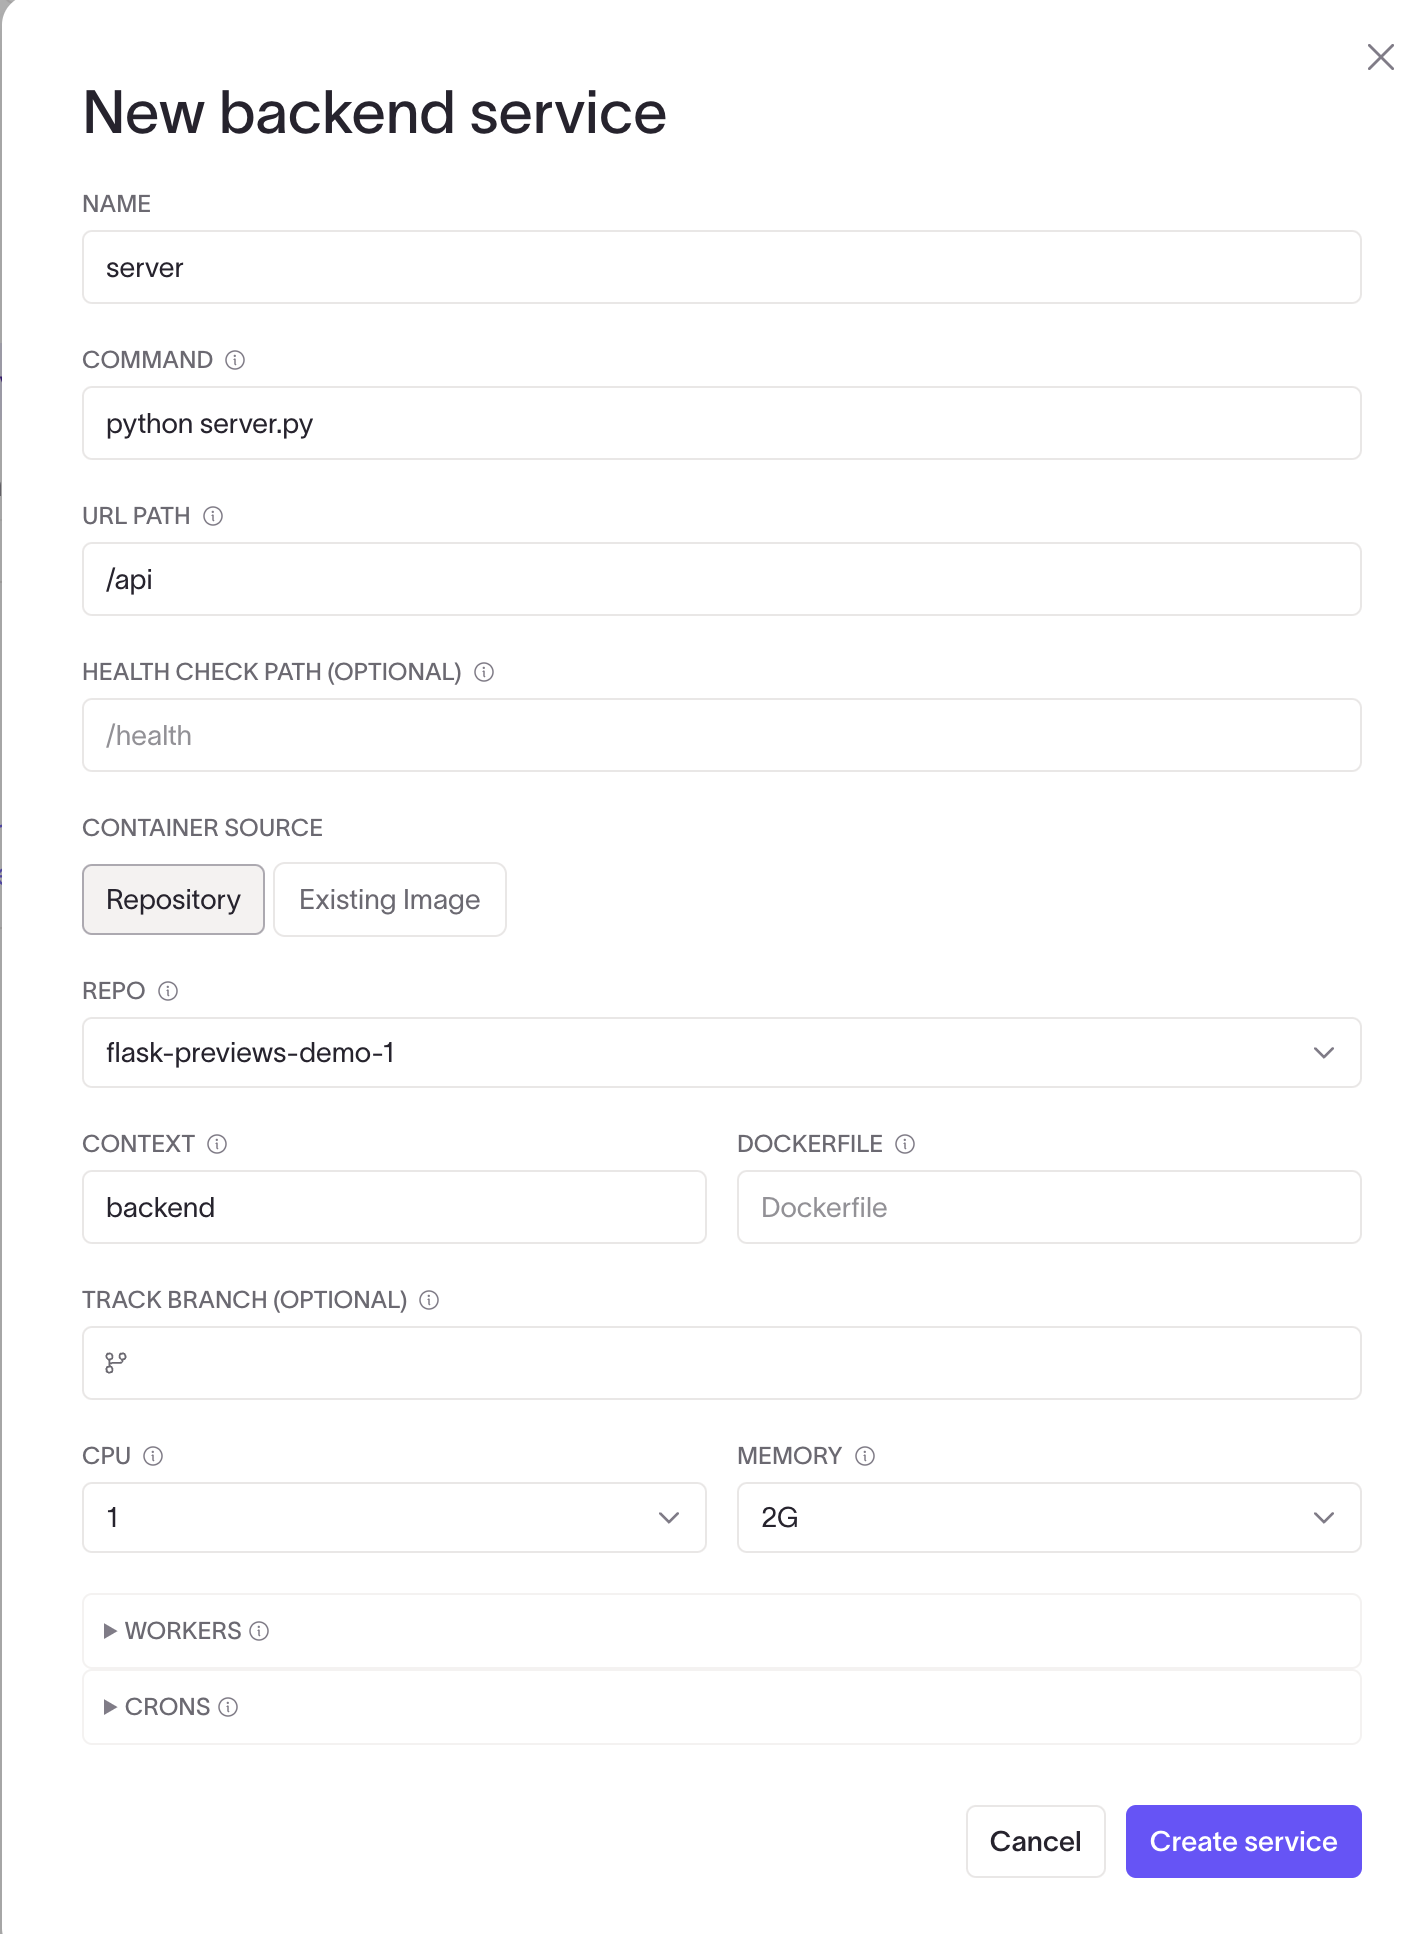
Add the backend service
Add the backend service to the environment.
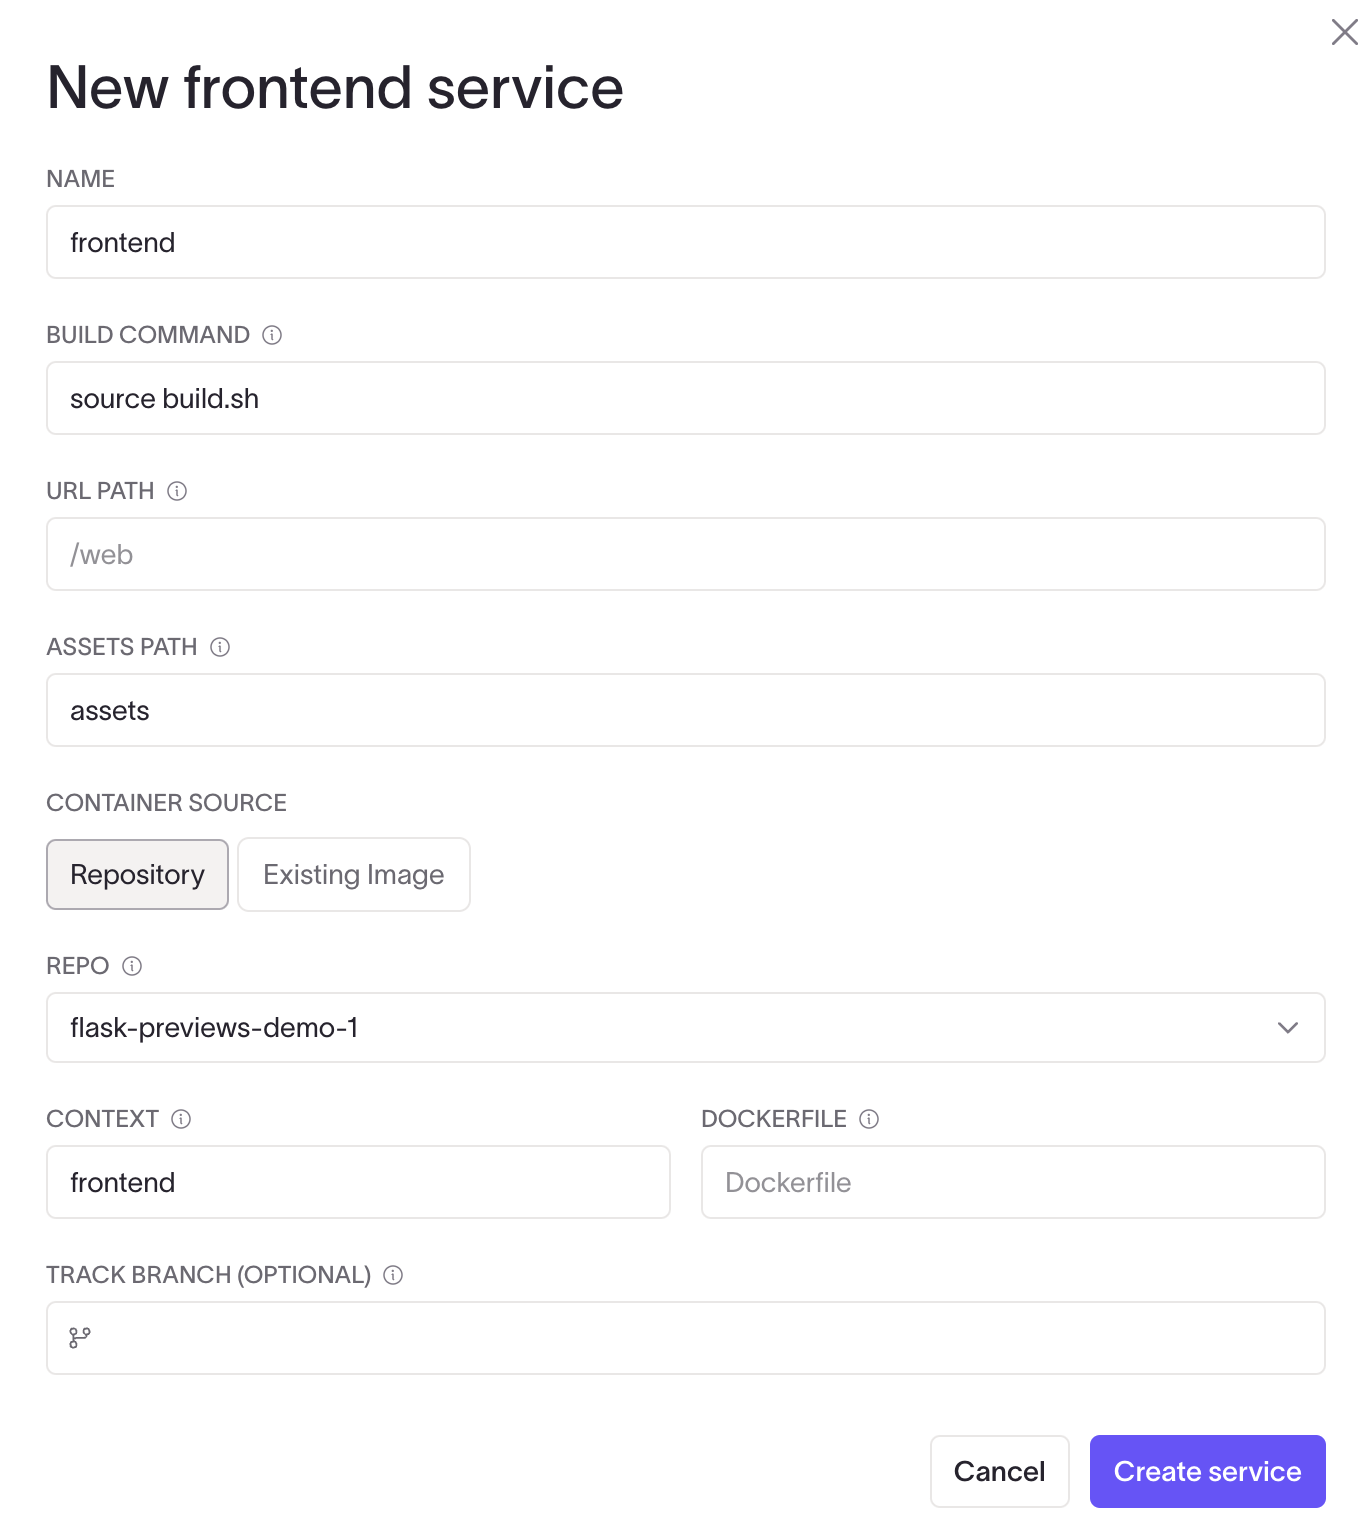
Add the frontend service
Add the frontend service to the environment.
Regardless of which build process you use, everything in assets/ (or whatever you define) will be served on the content delivery network (CDN) for each deployment. For this example, the build.sh script is used, but you could run yarn build or something similar.
You can also define a Dockerfile here, which would manage the build environment for your application. The newly built assets directory then goes to a managed serving environment (for example, S3) and is served on a CDN.
You can modify the headers for your app using cnc.yml if needed. You can review the custom_headers section in the CNC example.
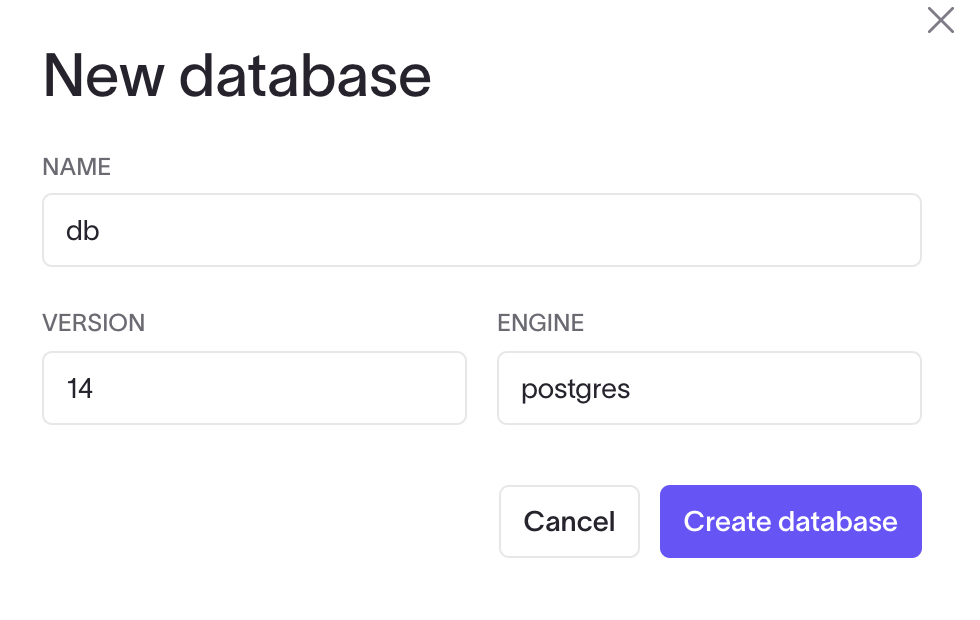
Add the database service
Choose the right version and engine for your application. Anything supported by the SQL in your cloud (whether Google Cloud SQL or Amazon RDS) should be supported by Coherence and CNC. If not, a PR to CNC is welcome!
The cnc.yml file
Here's the complete cnc.yml for the app environment, which you can find by navigating to the cnc.yml tab from your template environment details page. If the service edit forms don't include the settings you need for advanced controls, you can edit the file directly right here.
services:
  db:
    x-cnc:
      name: db
      type: database
      engine: postgres
      version: '14'
      adapter: postgresql
  frontend:
    build:
      context: frontend
      dockerfile: ''
    x-cnc:
      type: frontend
      build: ./build.sh
      url_path: /
      assets_path: assets
    deploy:
      resources:
        limits:
          cpus: 1
          memory: 2G
    x-coherence:
      repo_id: 13
  server:
    build:
      context: backend
      dockerfile: ''
    x-cnc:
      type: backend
      system:
        health_check: ''
      migrate: alembic upgrade head
      url_path: /api
    deploy:
      resources:
        limits:
          cpus: 1
          memory: 2G
    command: python server.py
    x-coherence:
      repo_id: 13
In this example, two things are done directly to the cnc.yml files:
- In the
cnc.ymlfor the backend service, the following code is added to enable database migrations using Alembic:
migrate: "alembic upgrade head"
cnc.yml for the database service, the adapter for x-cnc is changed from postgres to postgresql to specify the database URL scheme.
This will run the migrations as part of the deploy step in each build for the environment.
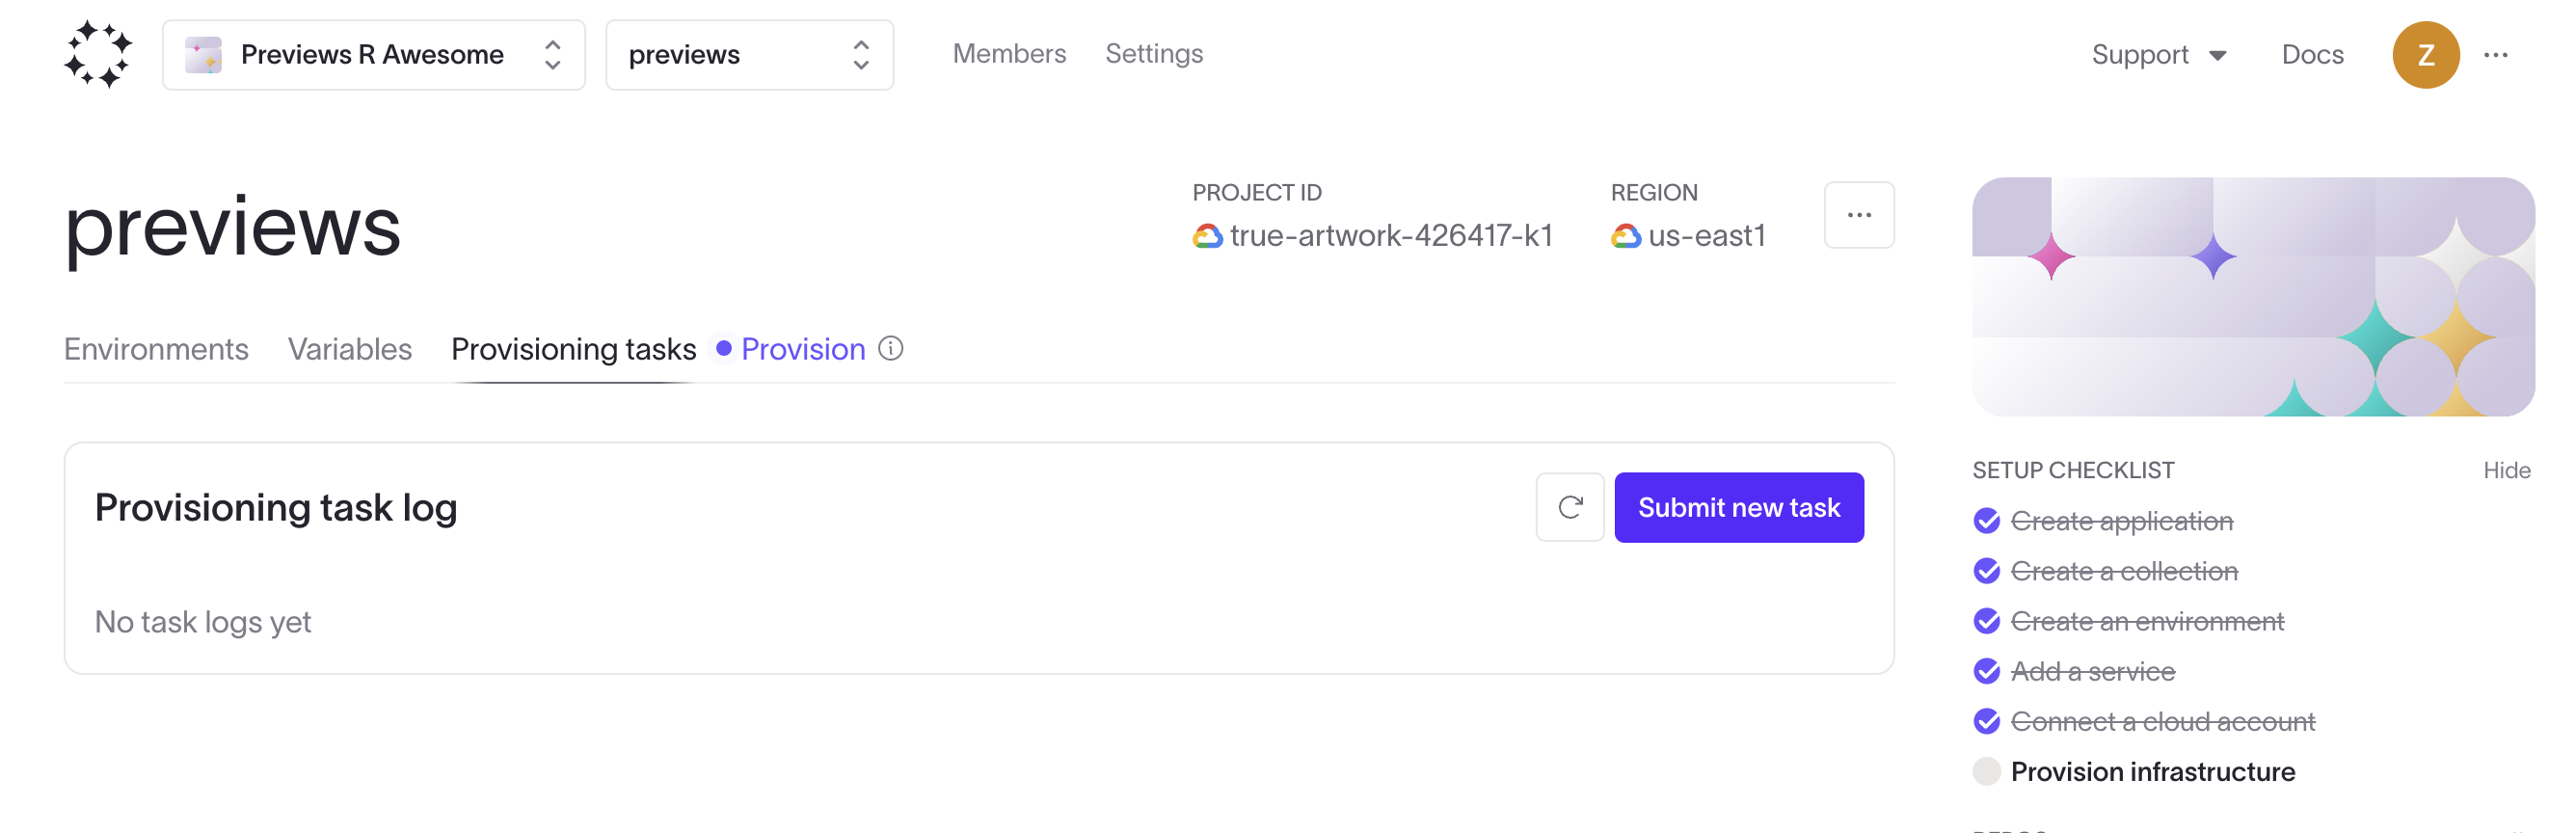
Provision the collection
Provision your initial collection in the Provisioning tasks tab on the preview collection page.
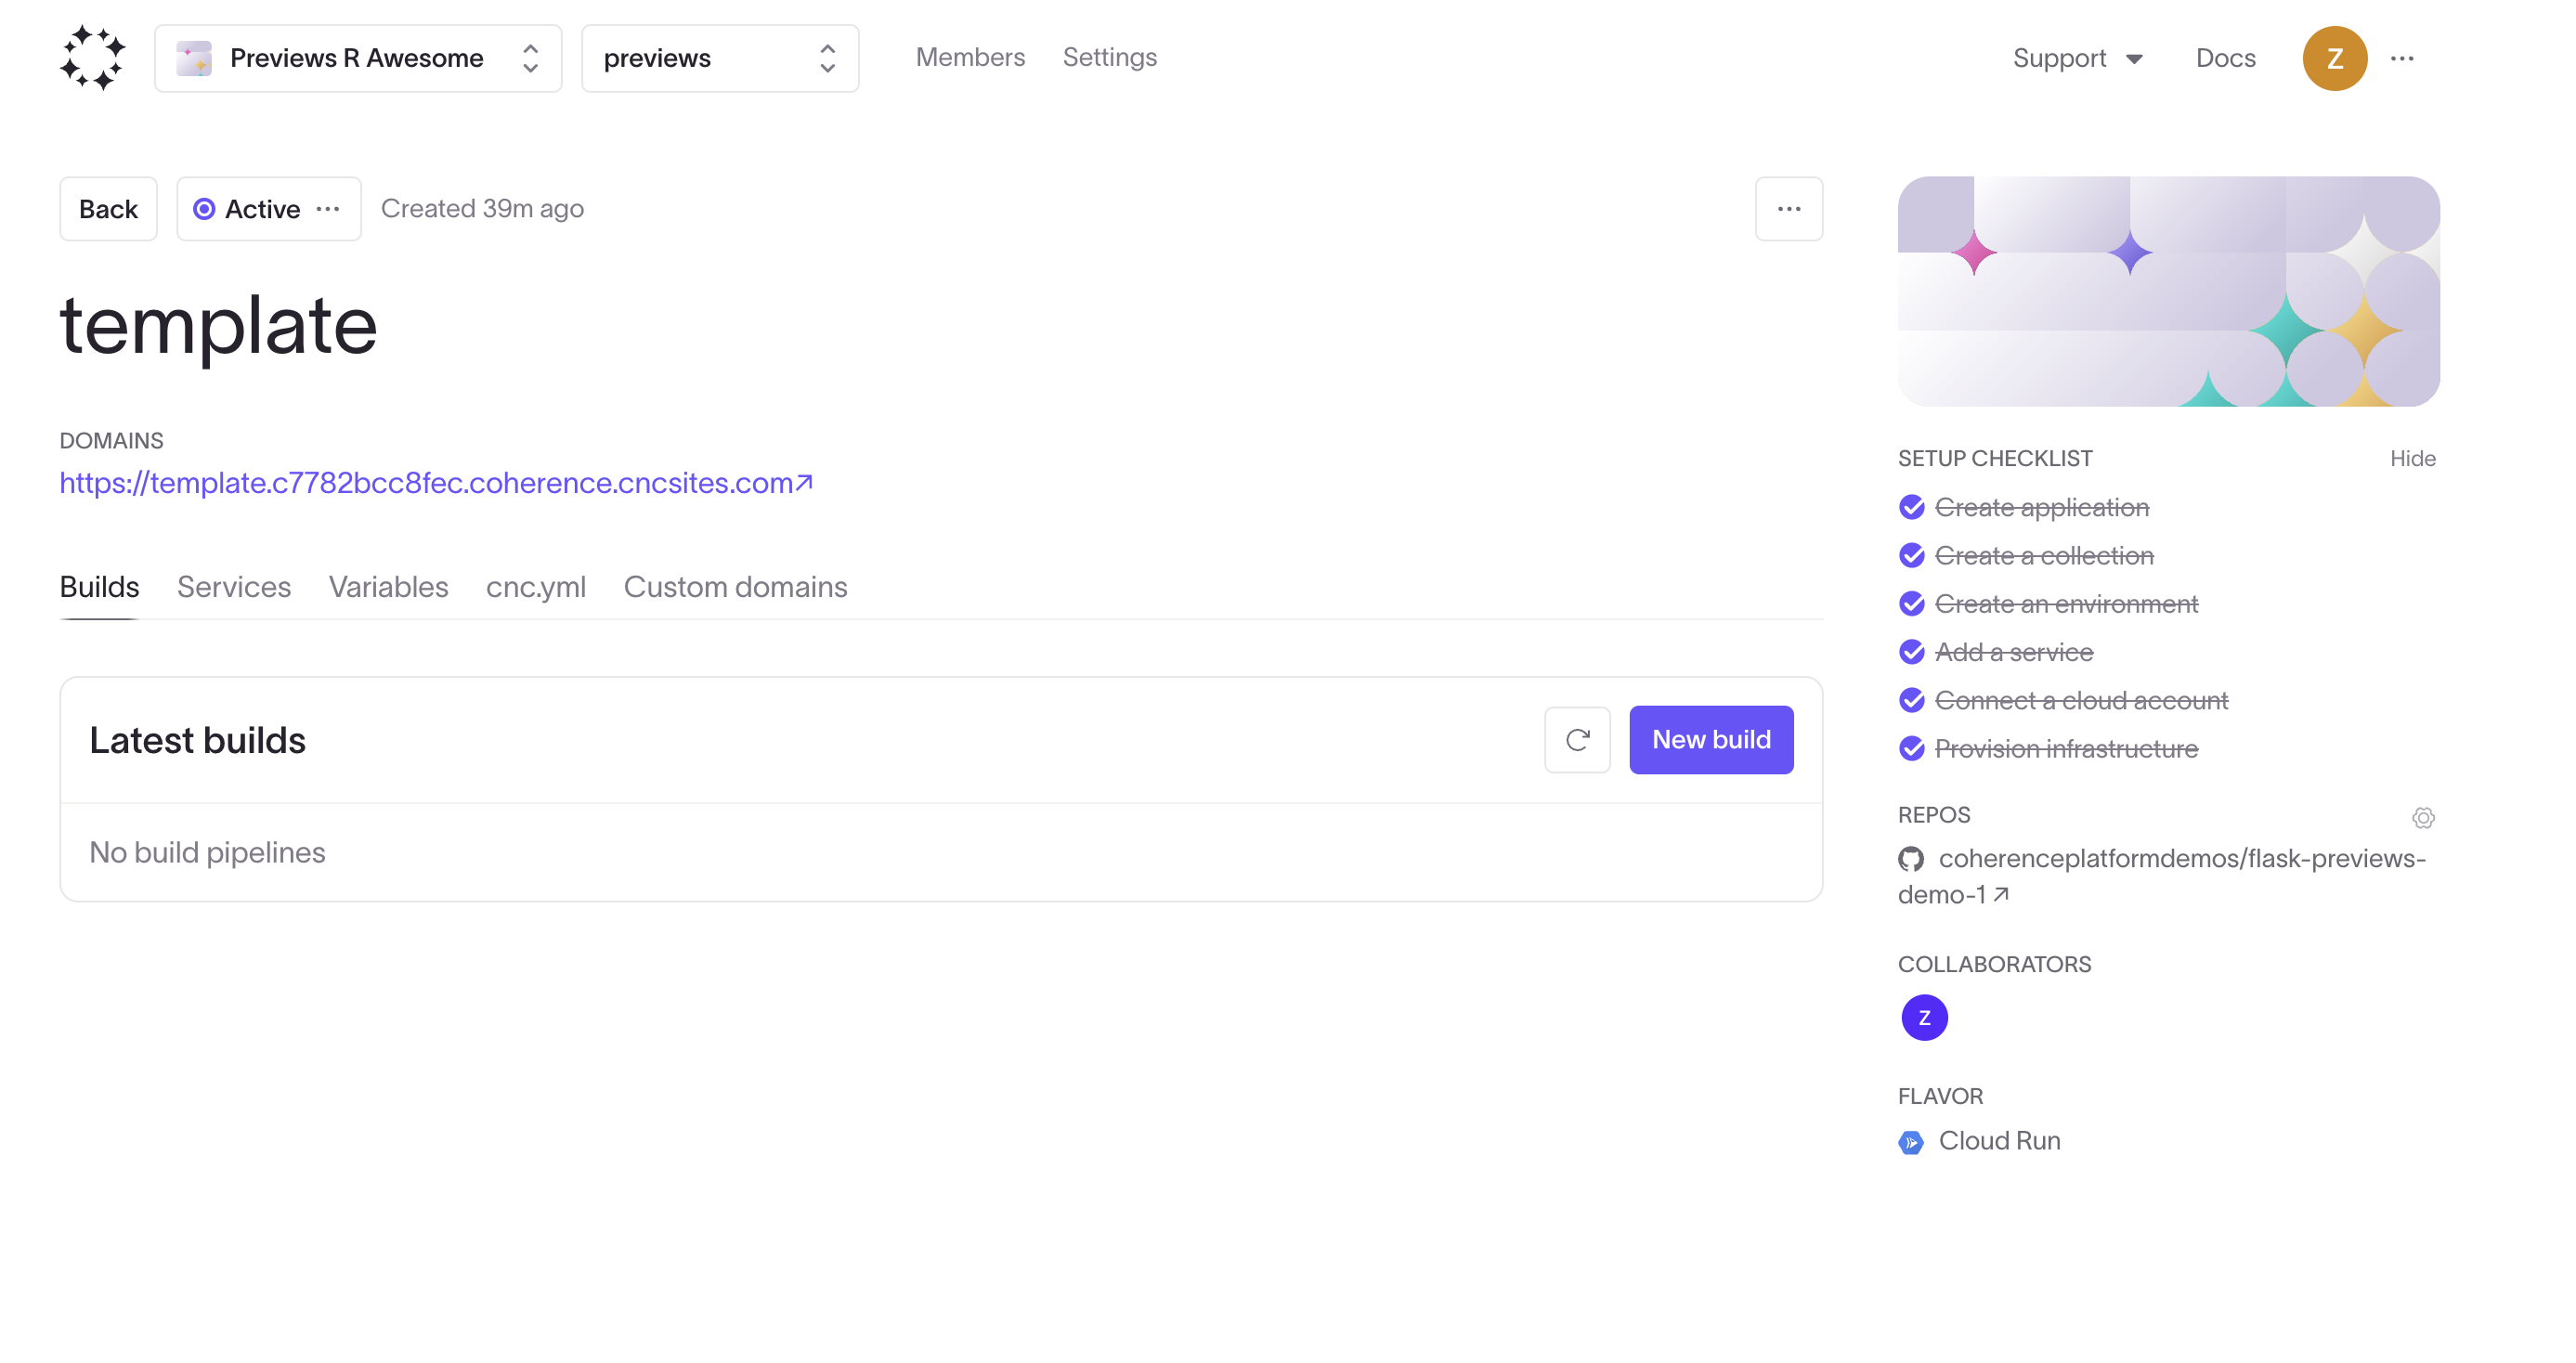
Deploy and test the environment
Make a new build on the Builds tab for the template environment.
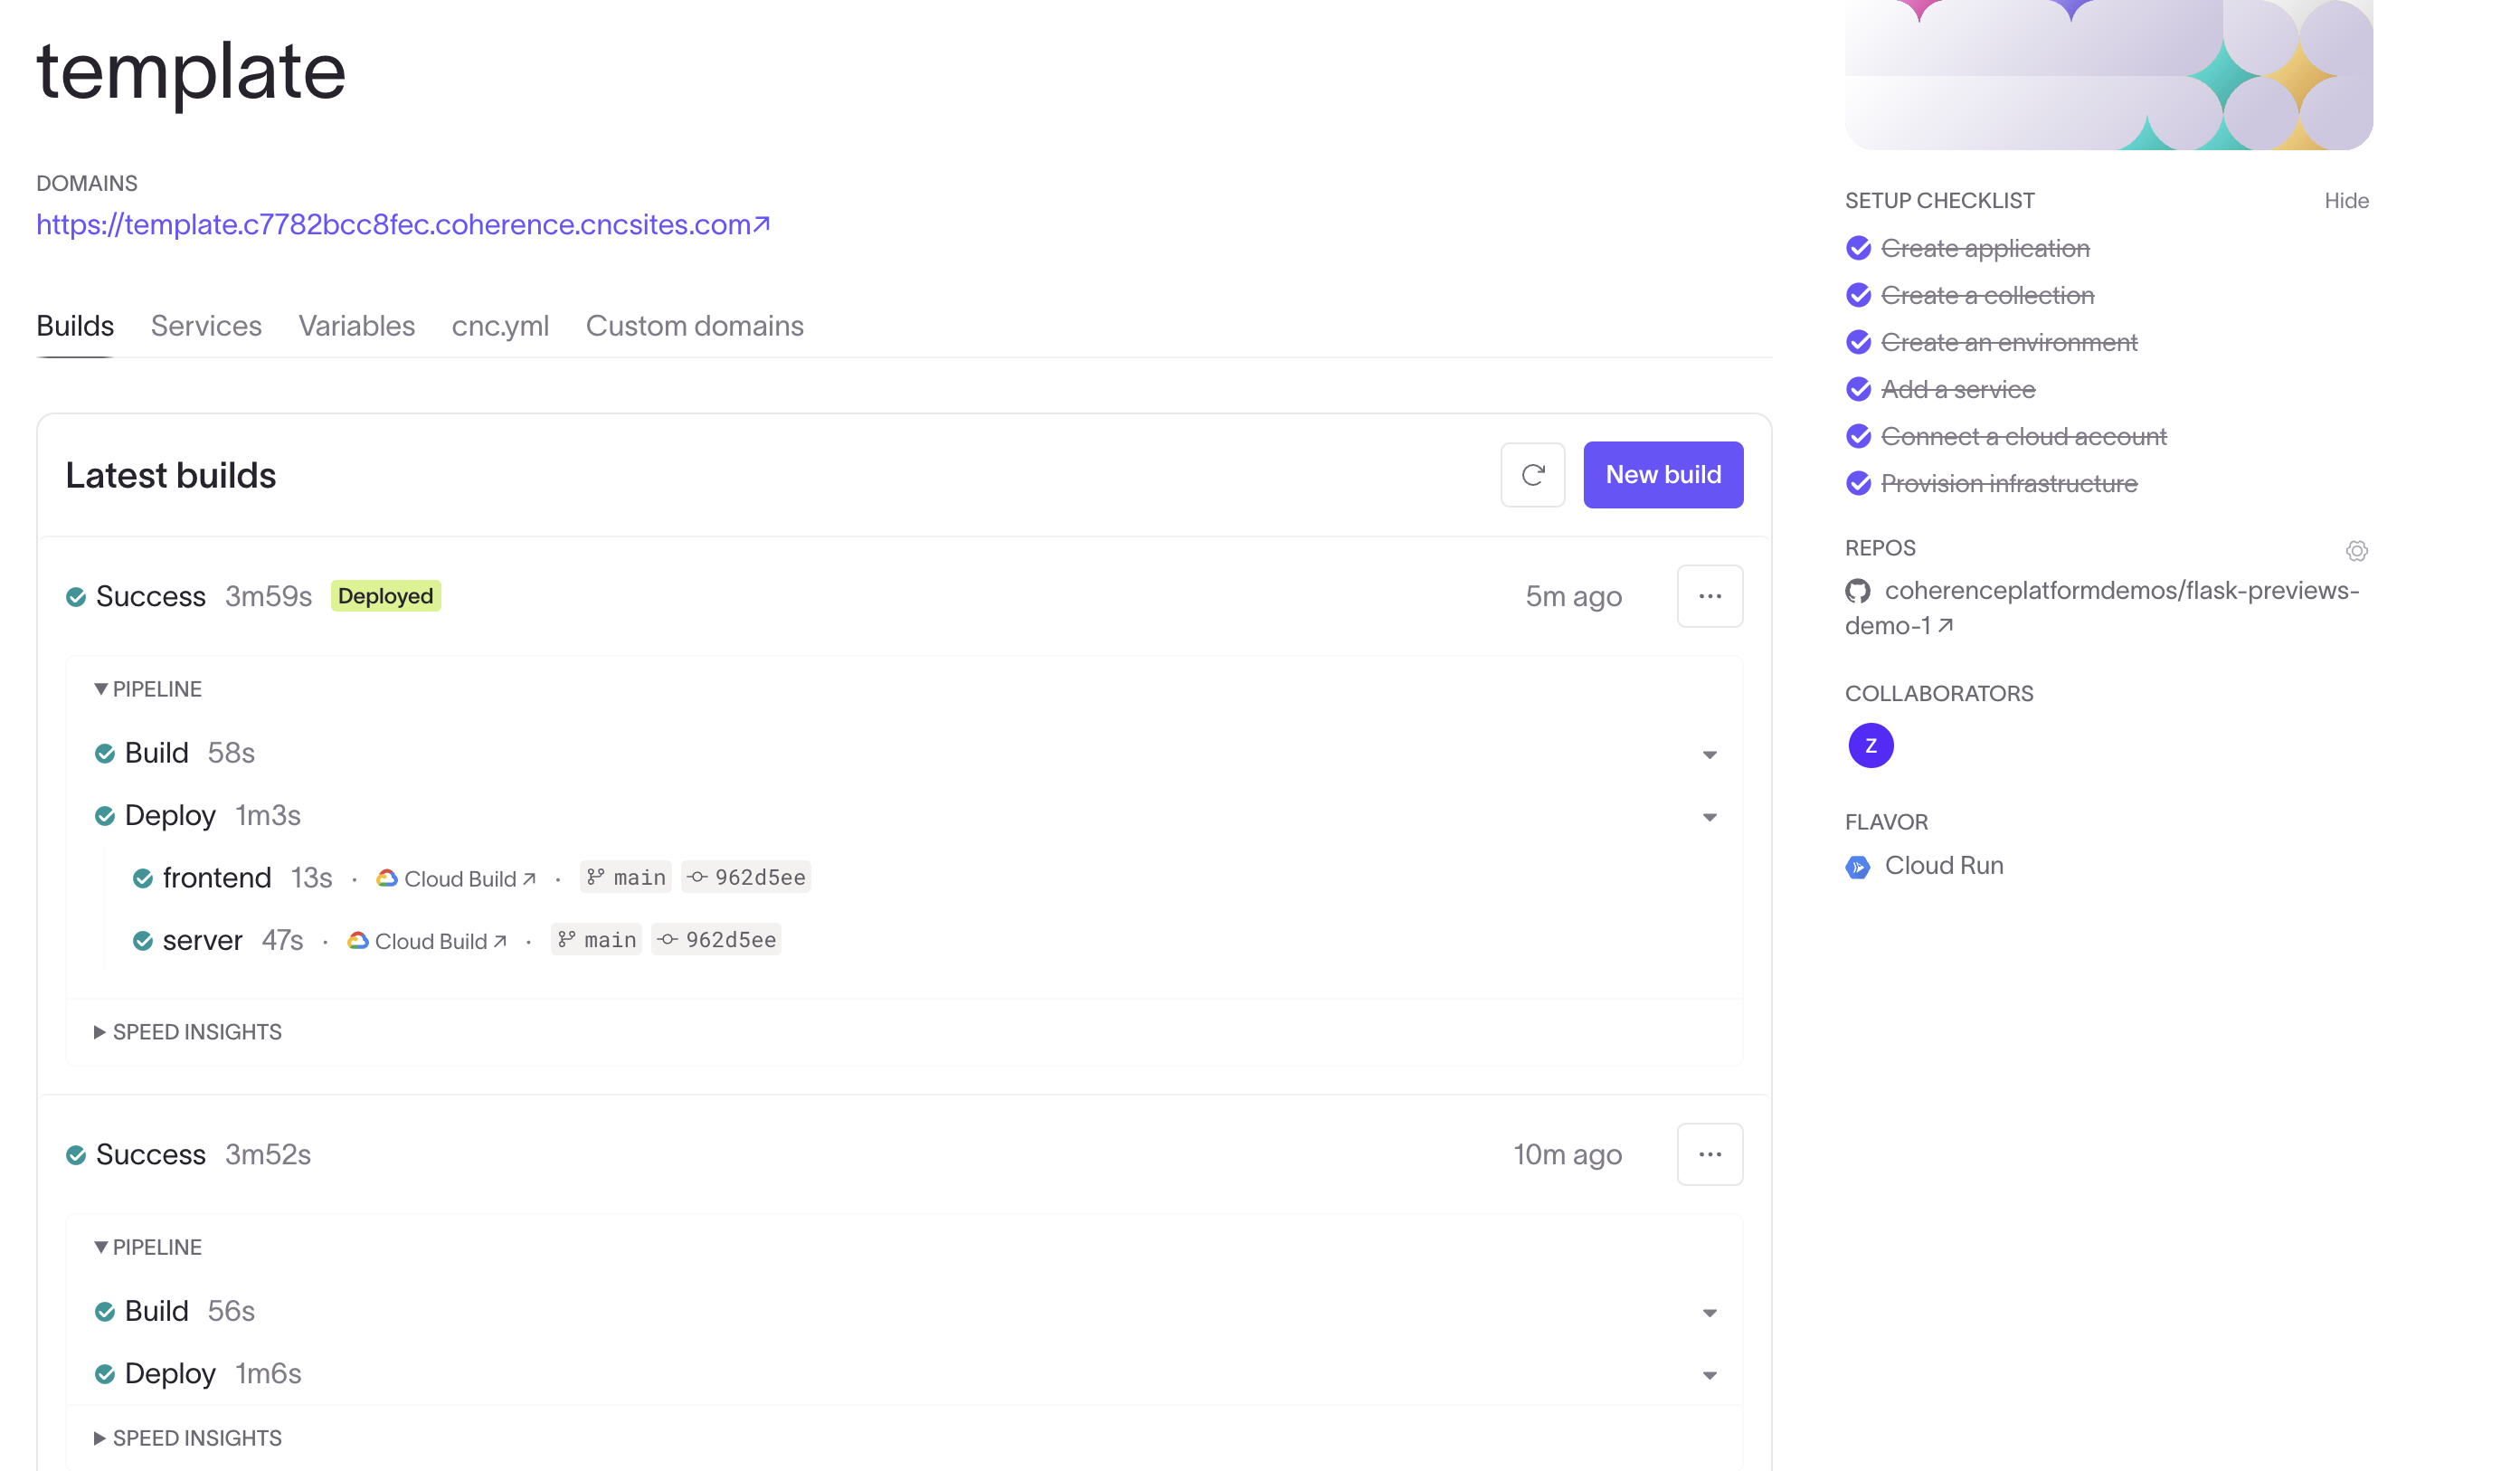
When the build succeeds, you should see a green Deploy step for both services in the Builds tab.
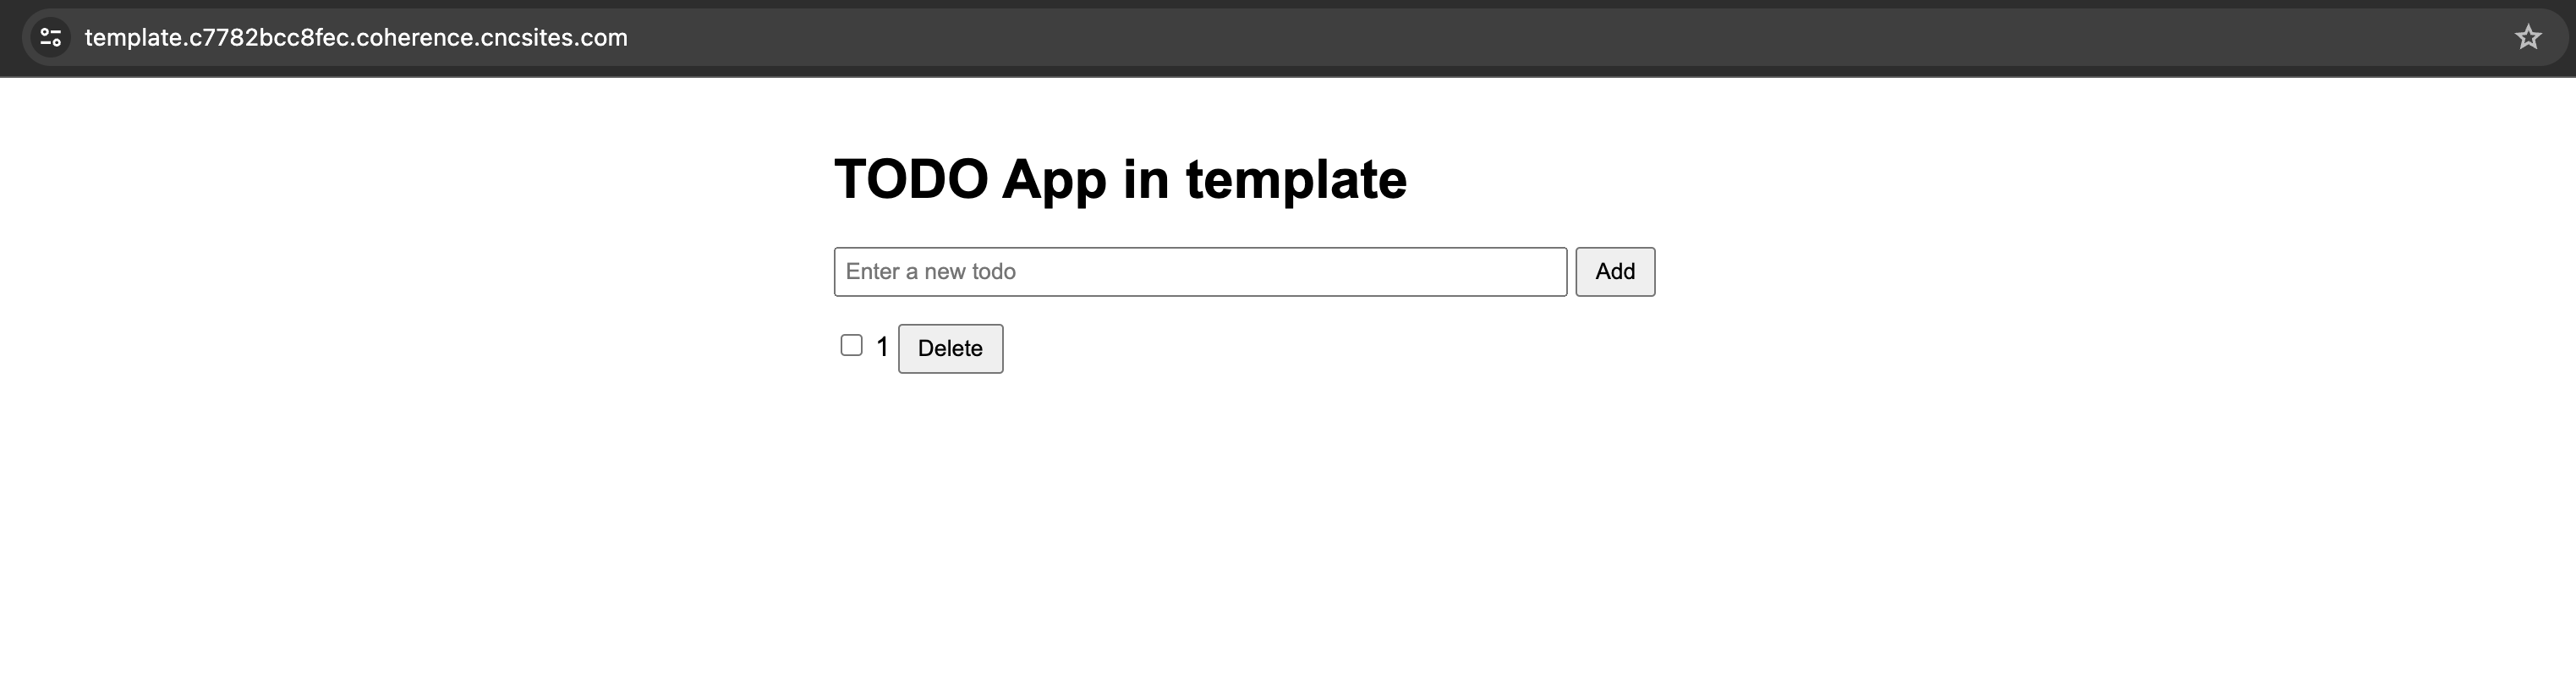
Visit the environment's URL and test the app. You should see something like this:
Set up preview settings
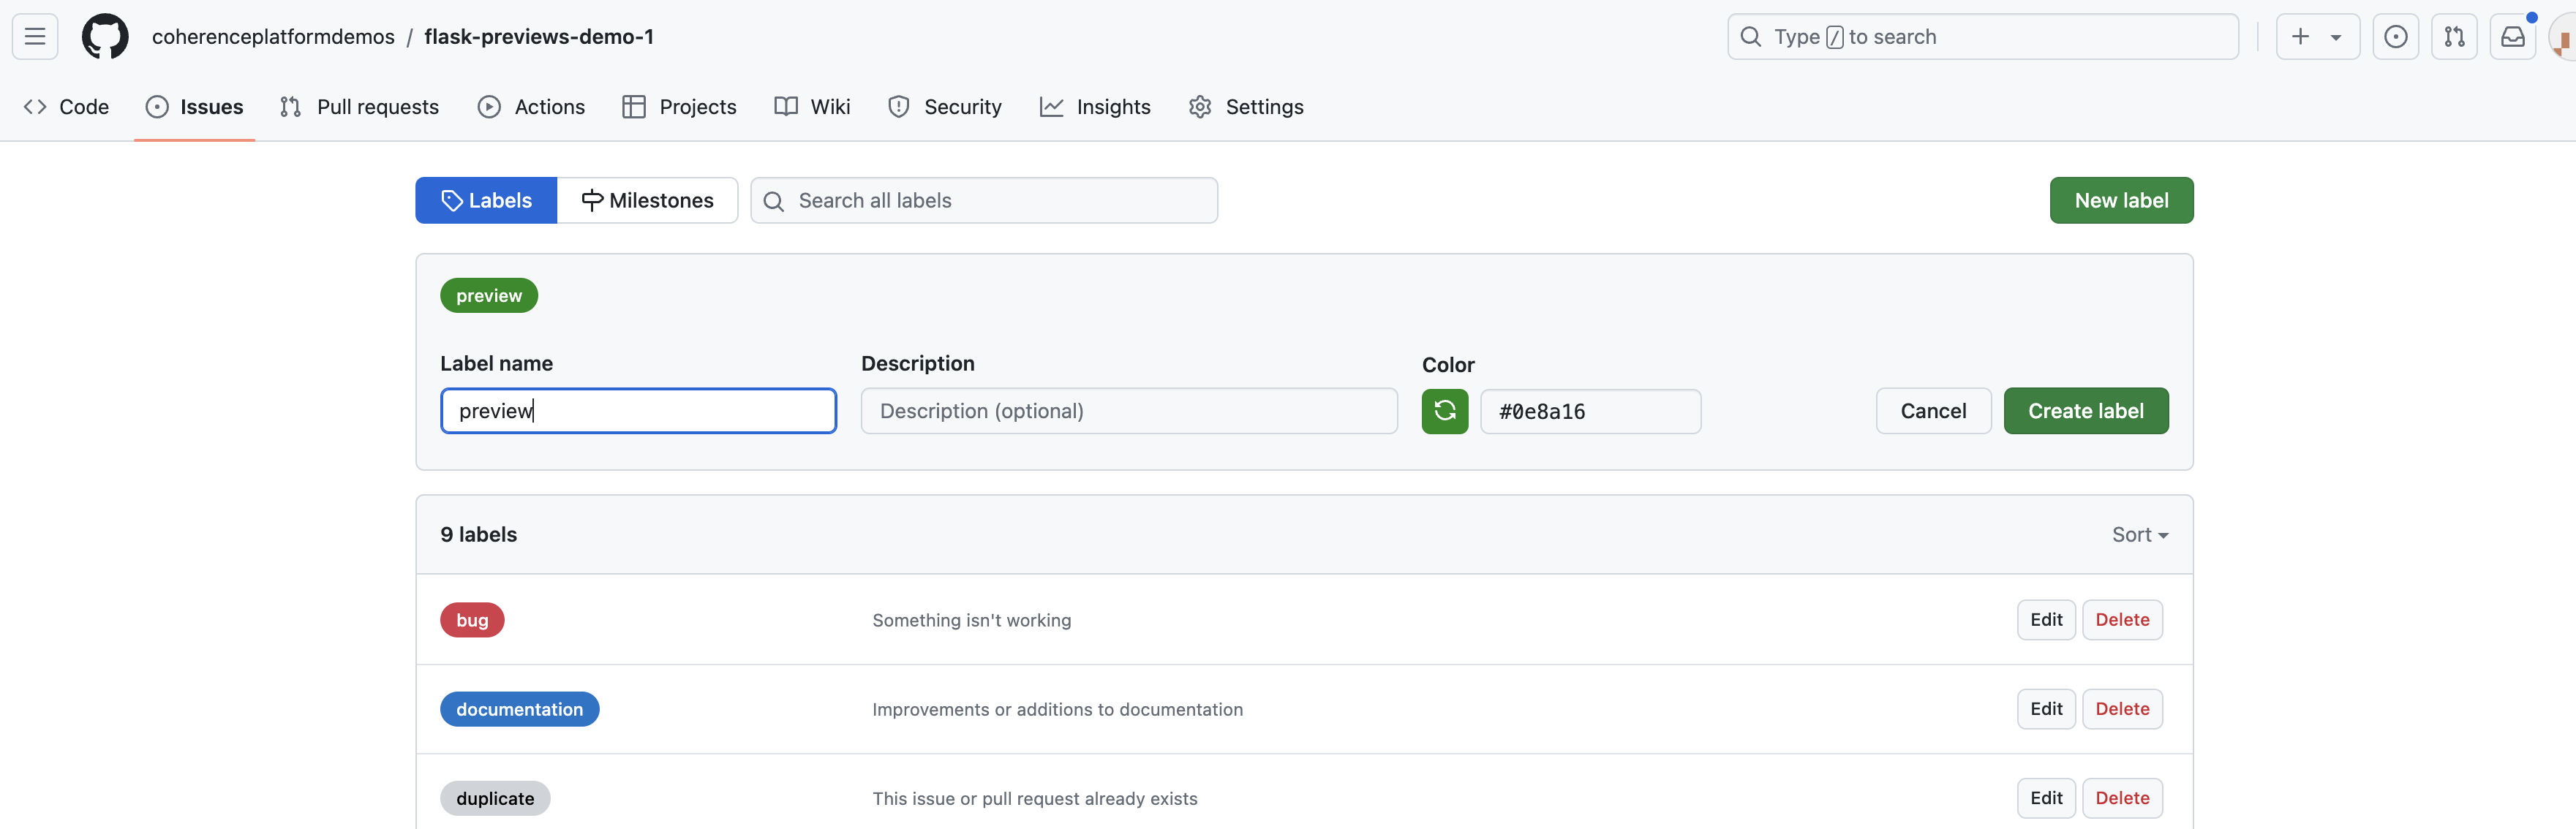
Add GitHub label
Create a "preview" label on GitHub.
Configure the settings for the app
Navigate to the Application settings and click the Previews tab.
- Choose a template environment. You can use any environment, but for this example, use the environment created in the previous steps.
- Turn on previews for GitHub PRs.
- By default, previews will be generated for all PRs. Limit previews by specifying a label, and Coherence will only generate previews for PRs with that label.

Make your first preview
Create a preview by following these three steps:
- Make a branch.
- Make a change.
- Open a PR, and apply the preview label to it.
A new environment based on the branch name will be displayed:
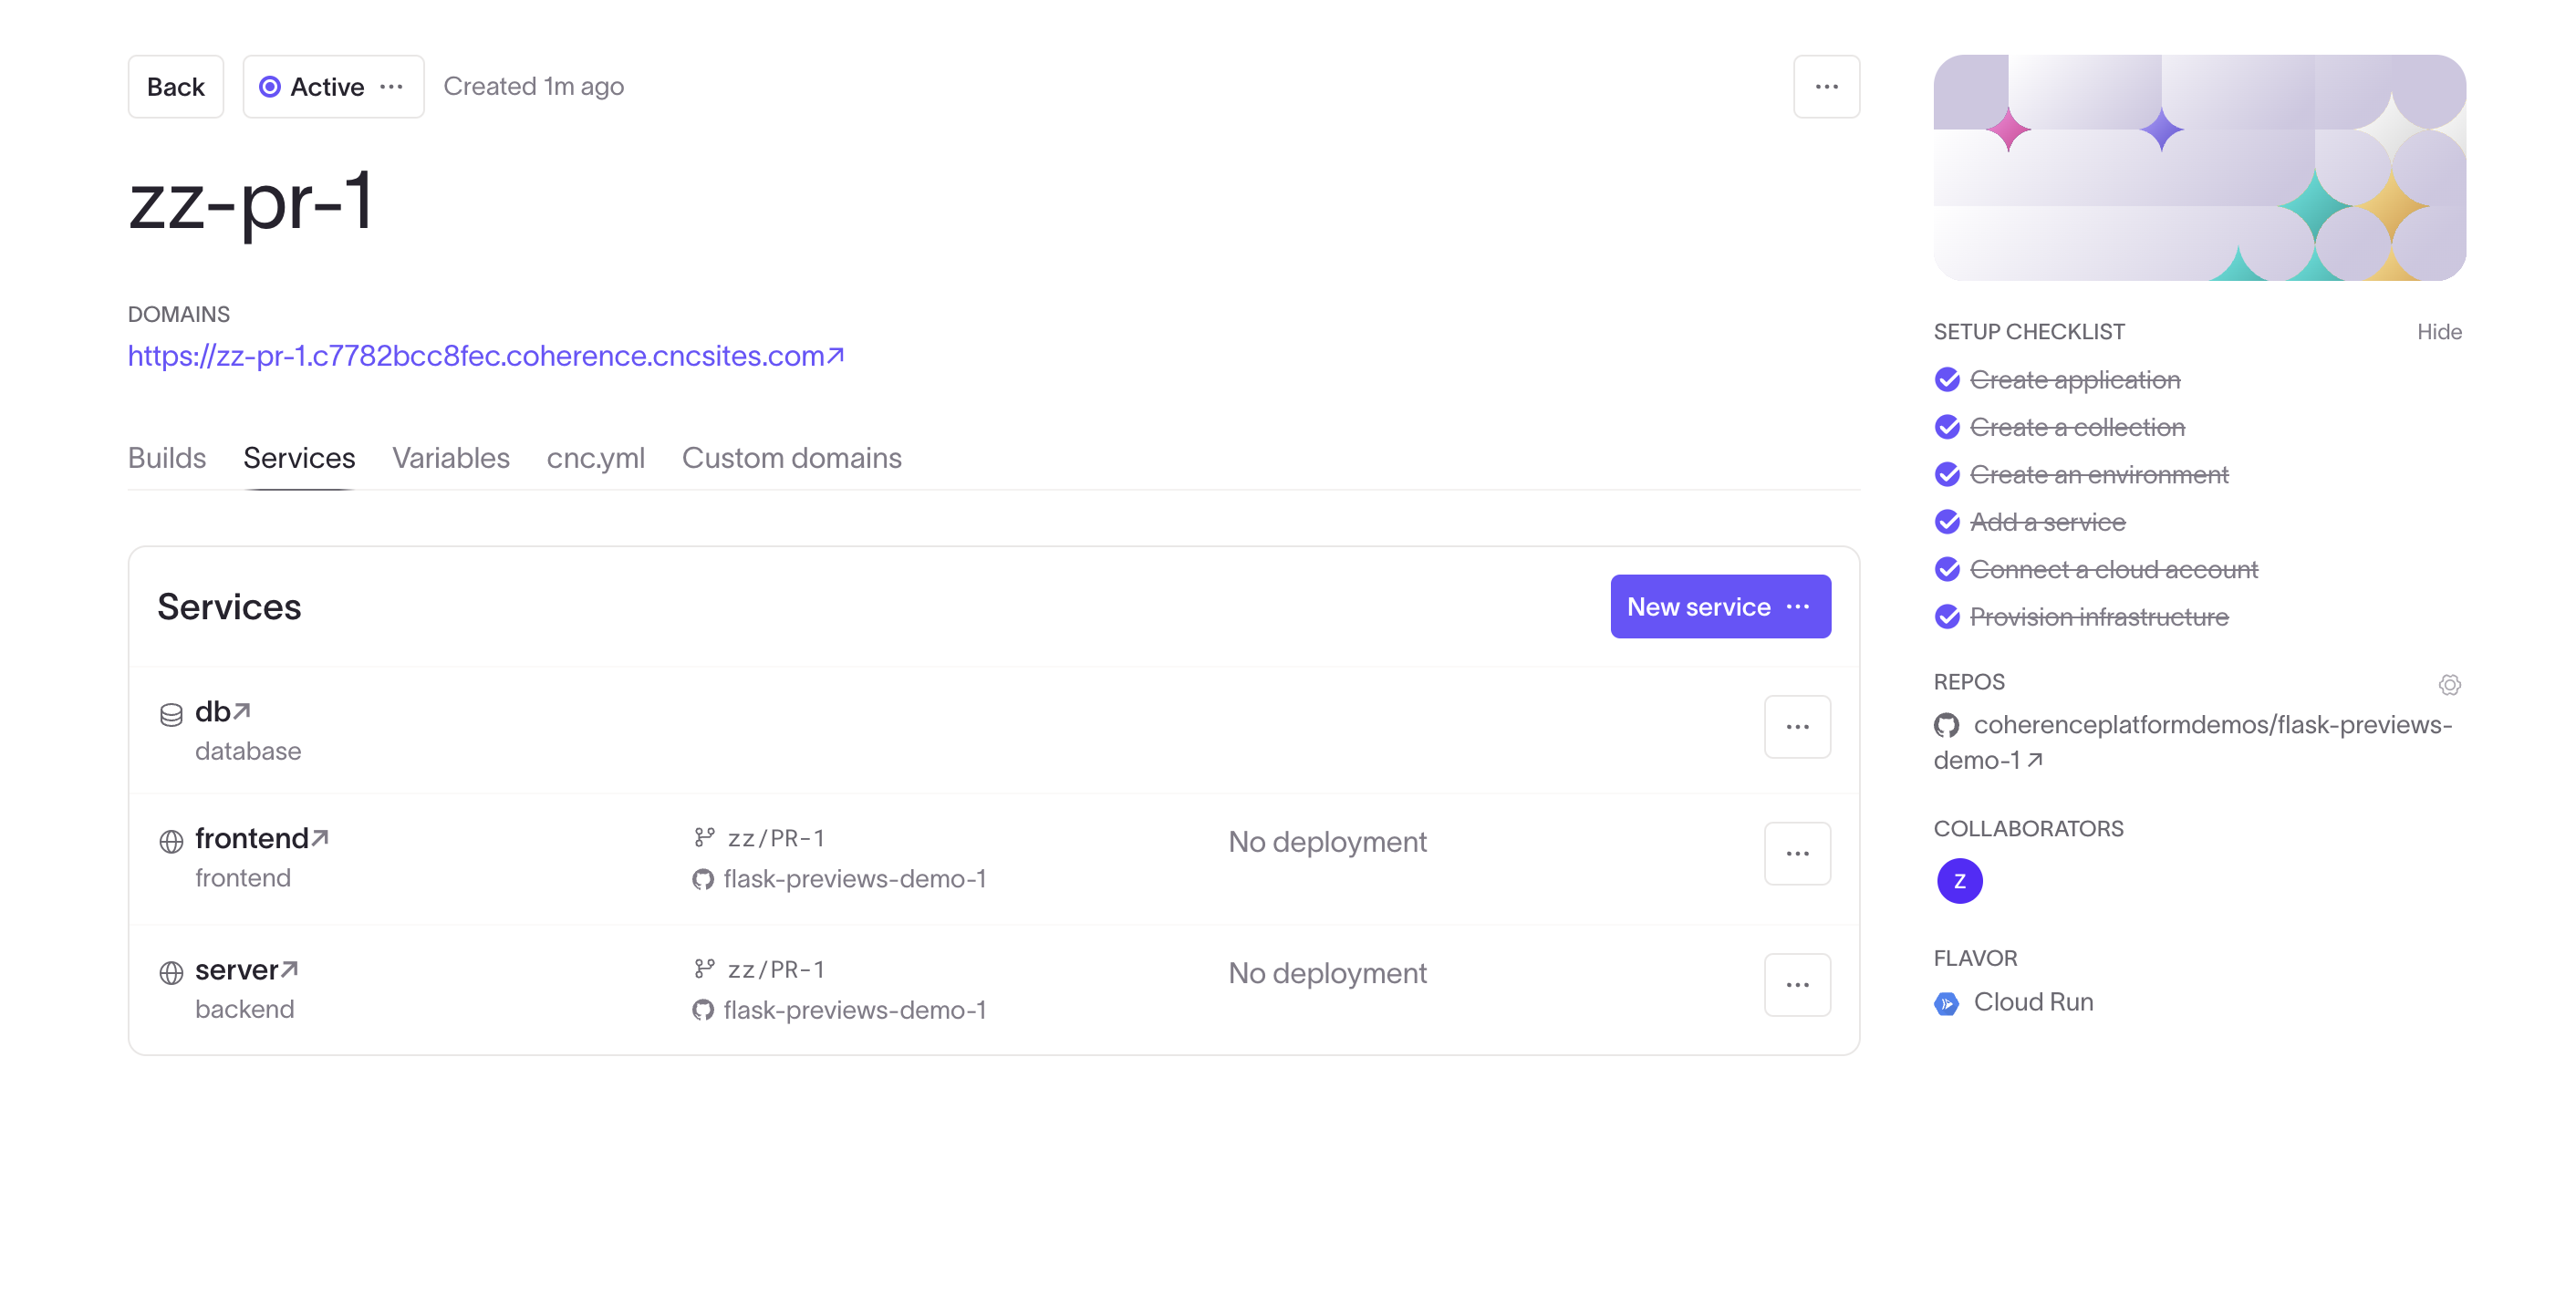
Notice how the environment has the same services as the template, but is set to track the new branch from the PR. Once the environment is provisioned, you'll see a comment appear, looking like this:

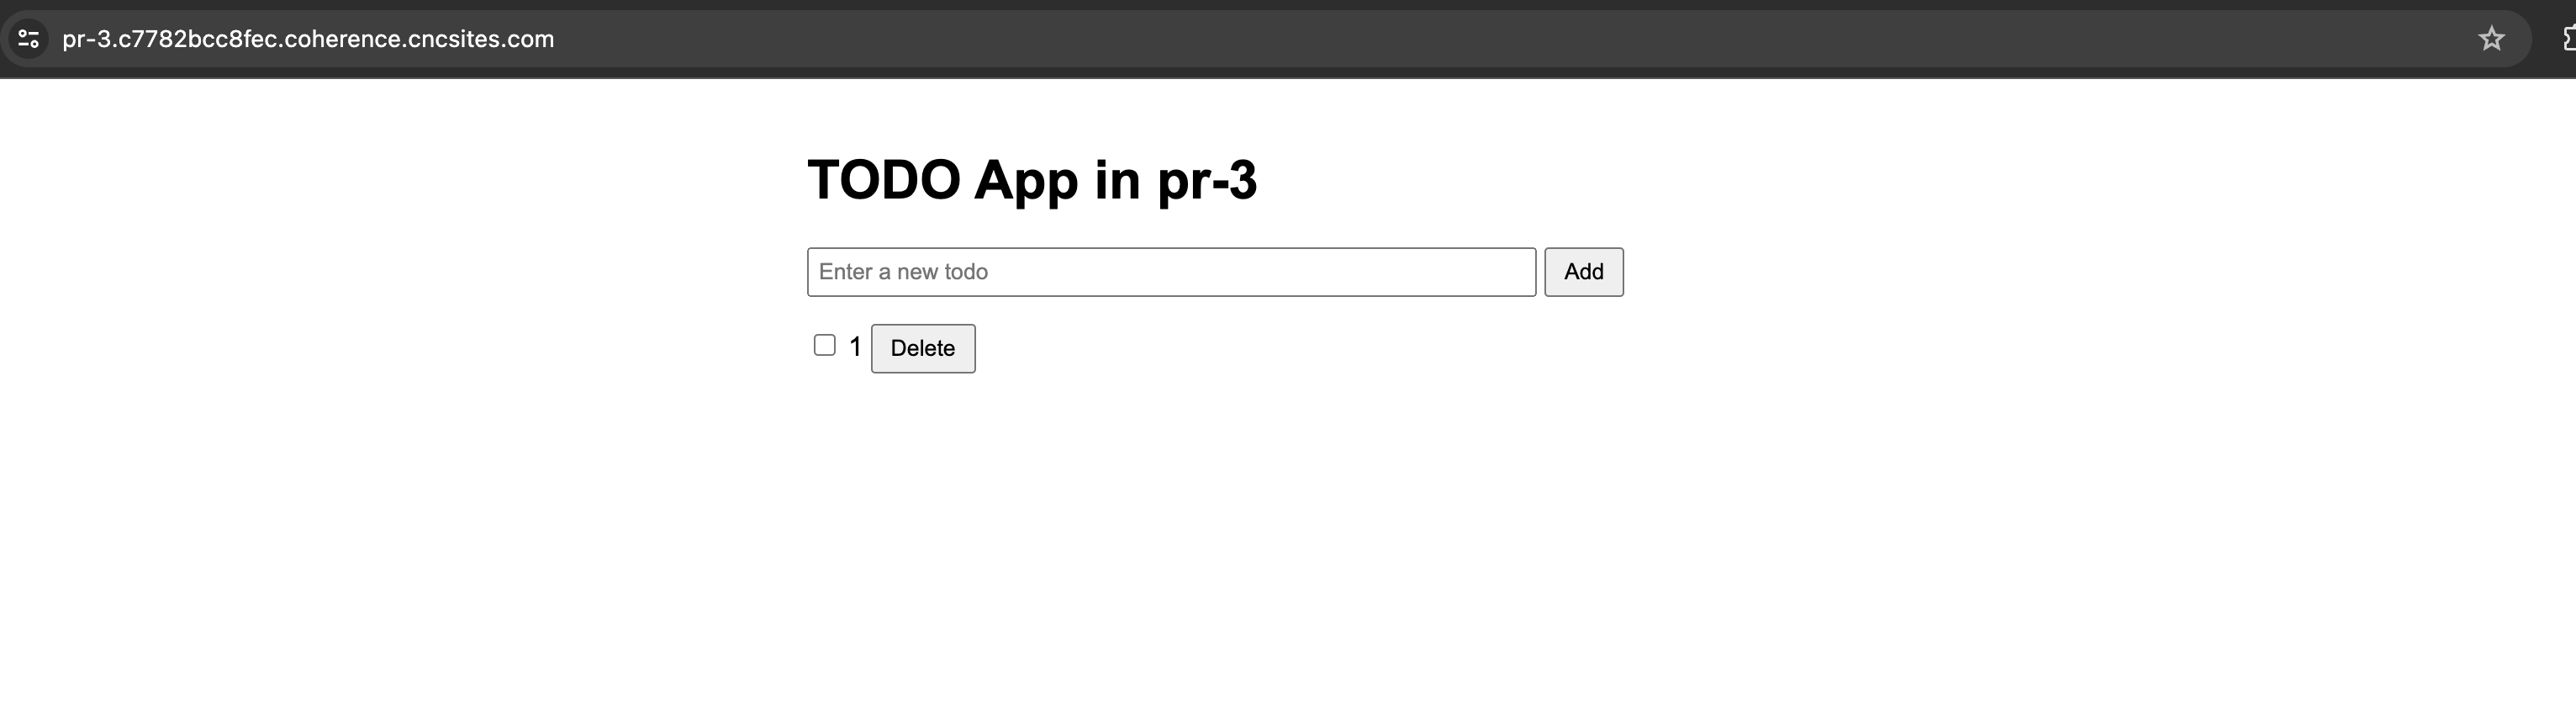
Click the URL (either in the GitHub comment, on the Coherence UI, or in Slack, if you have that integration configured), and you'll see a working preview environment with its own database and services, all configured and working. Migrations have been run as configured, too. The HTTPS for the domain is automatically configured, along with the rest of the load-balancing infrastructure for the environment.
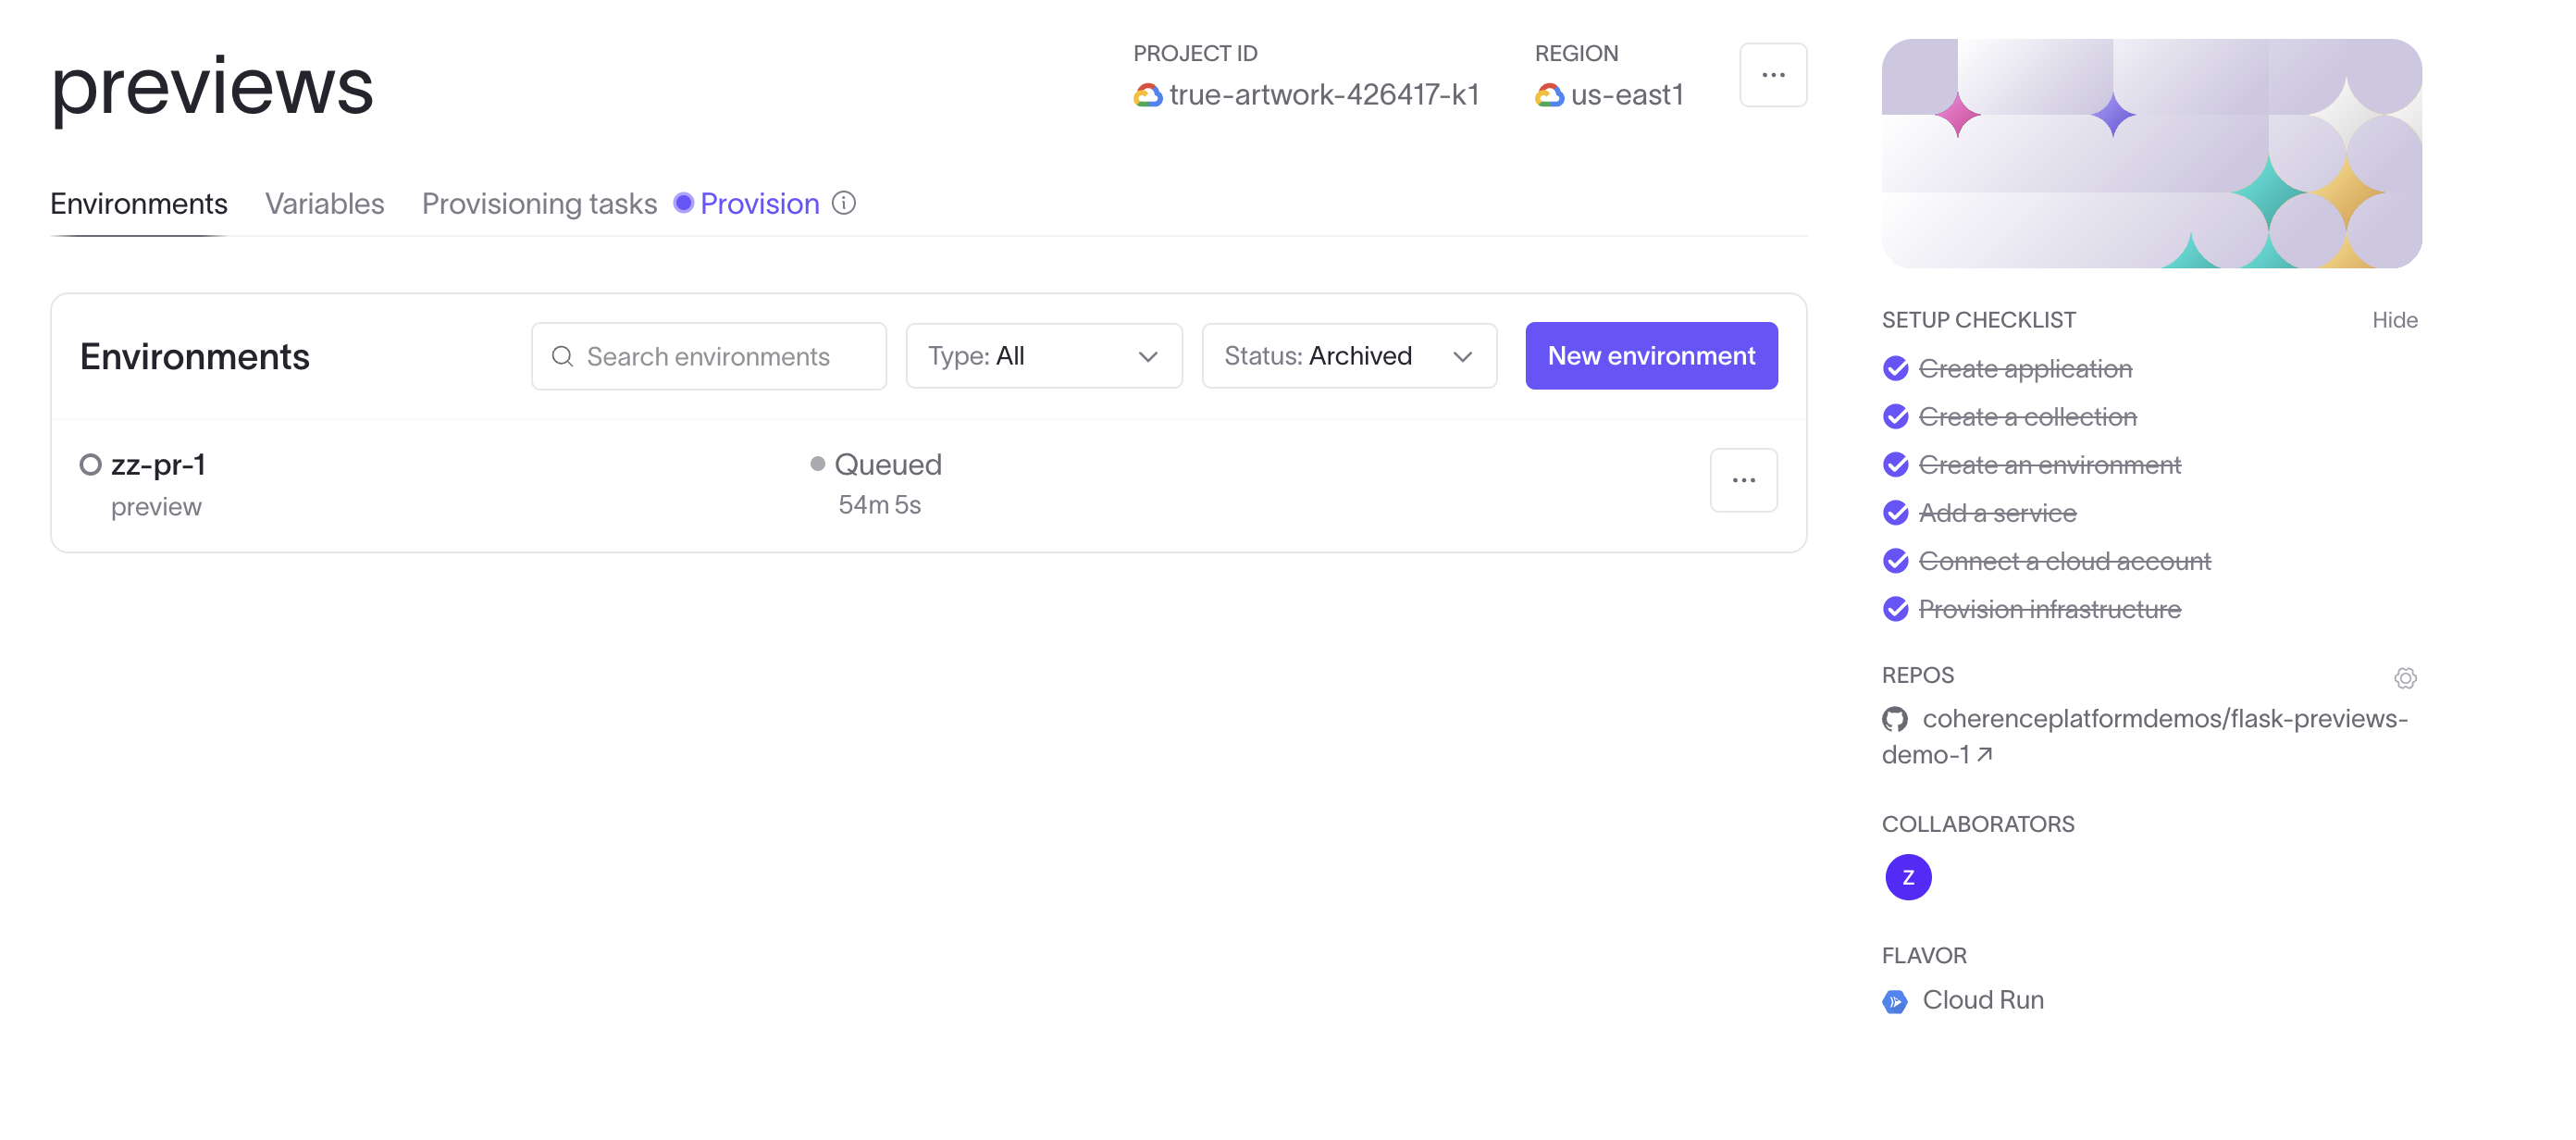
Archive the environment by closing the PR
Close the PR on GitHub (whether by merging or by using the Close action). The branch delete event will be treated the same by Coherence. You'll see the environment is archived, the infrastructure is torn down, and the database is deleted. You'll then only be able to view the environment in the Archived section of the UI.
If you have multiple services from different repos, this will only occur when the last PR the environment is tracking is closed.
Use previews to make your SDLC better
Read more about the benefits of preview environments here. In short, they allow you to:
- test earlier
- collaborate more
- keep staging clear
- run integration tests, using frameworks like Playwright or Cypress, earlier in your working cycle!
Let us know how we can make this work better for your team! Reach us at hello@withcoherence.com.