Learn how to use Coherence
What you will learn
This tutorial will teach you how to use Coherence in a typical software development lifecycle (SDLC). You will learn how to create a feature, use a workspace or cloud IDE, preview a feature, and deploy to production.
Video
Dashboard overview
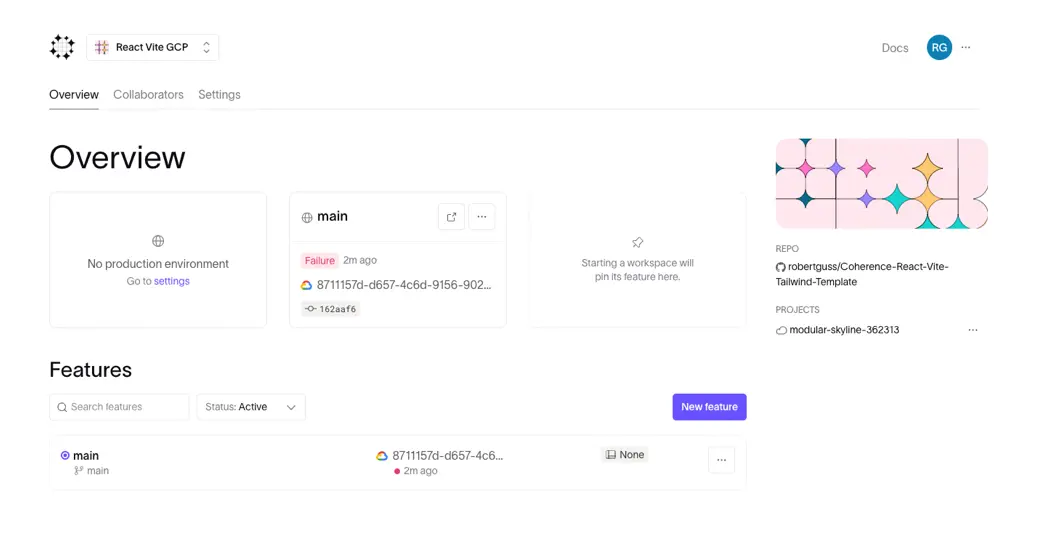
The Coherence dashboard is a single place where developers can go through the entire software development lifecycle (SDLC) from development to production. The dashboard comprises three sections, Overview, Features, and Repo/Cloud.
Overview section
The overview section displays the various starred environments for your application. You can manage these on the Environments tab at the top of the page.
Branch Previews section
The Branch Previews section is where all of your Branch Previews for your application are listed.

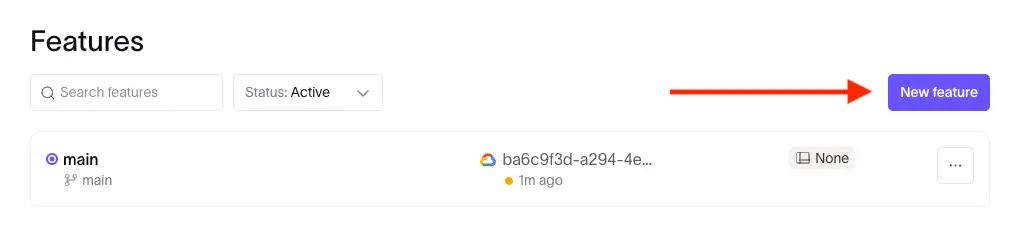
Clicking on the “New preview button will present a simple form that allows you to create a new branch or point to an existing one.
Creating a new feature
Now that we better understand the Coherence dashboard, let’s learn how to use it.
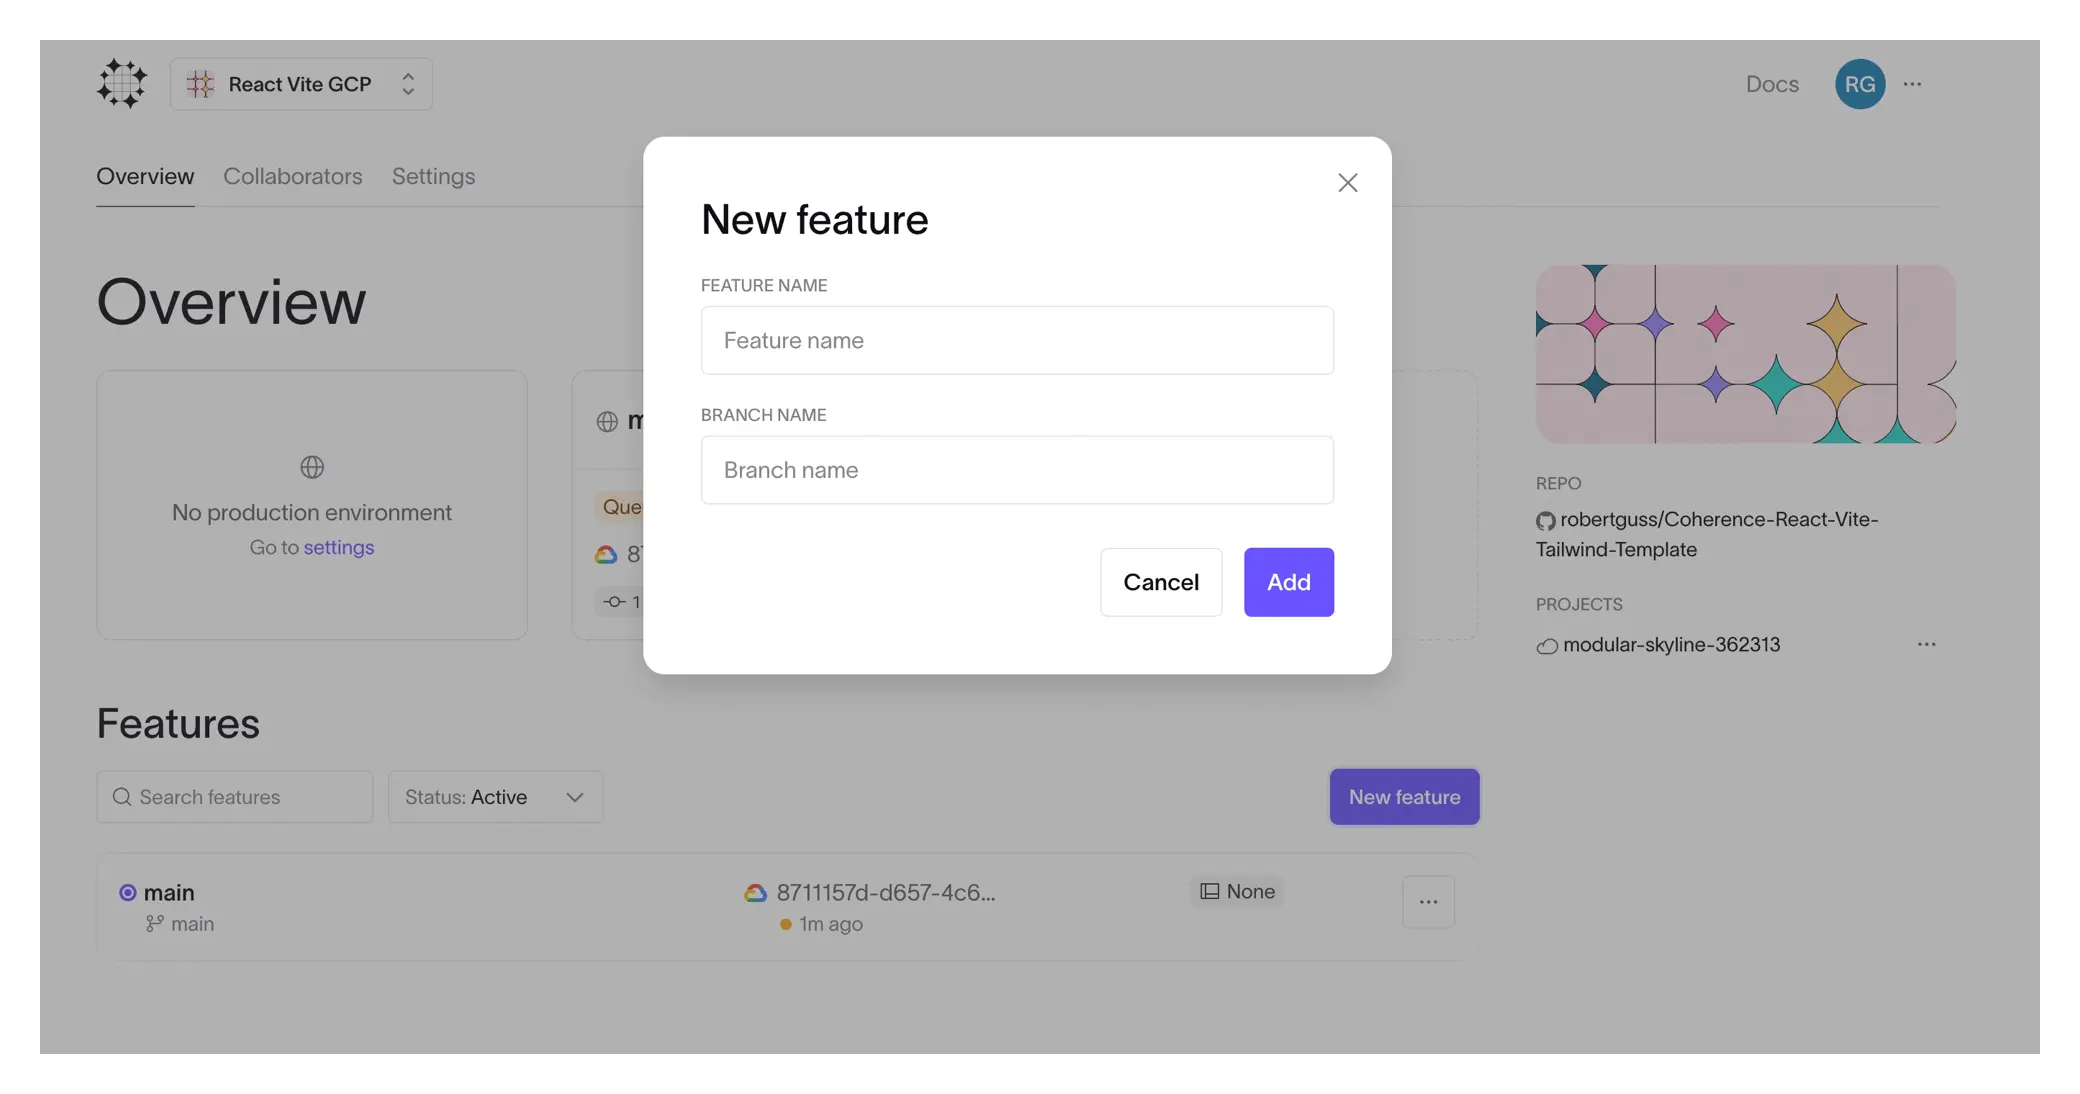
First, click on the “New preview button.
Next, give your new feature a name. Coherence will use this name to create a new git branch for you.

After creating your new feature, it will be added to the top of the Features list.
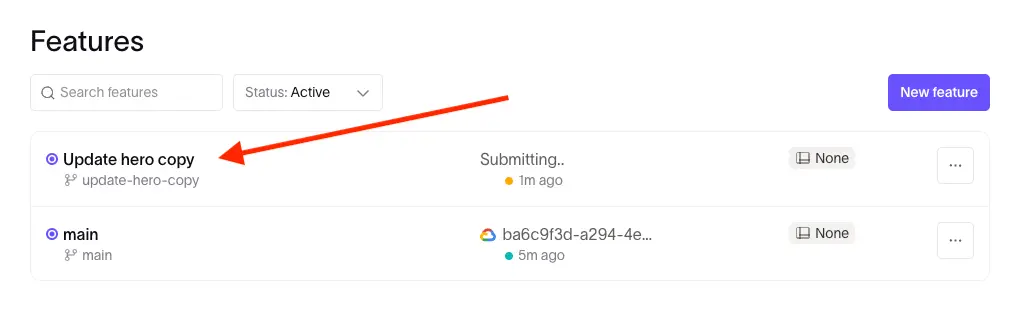
Behind the scenes, Coherence is spinning up all of the infrastructure necessary for your new feature. This feature environment is completely isolated from all other environments like staging and production.
Click on the name of your feature to go to the features dashboard.
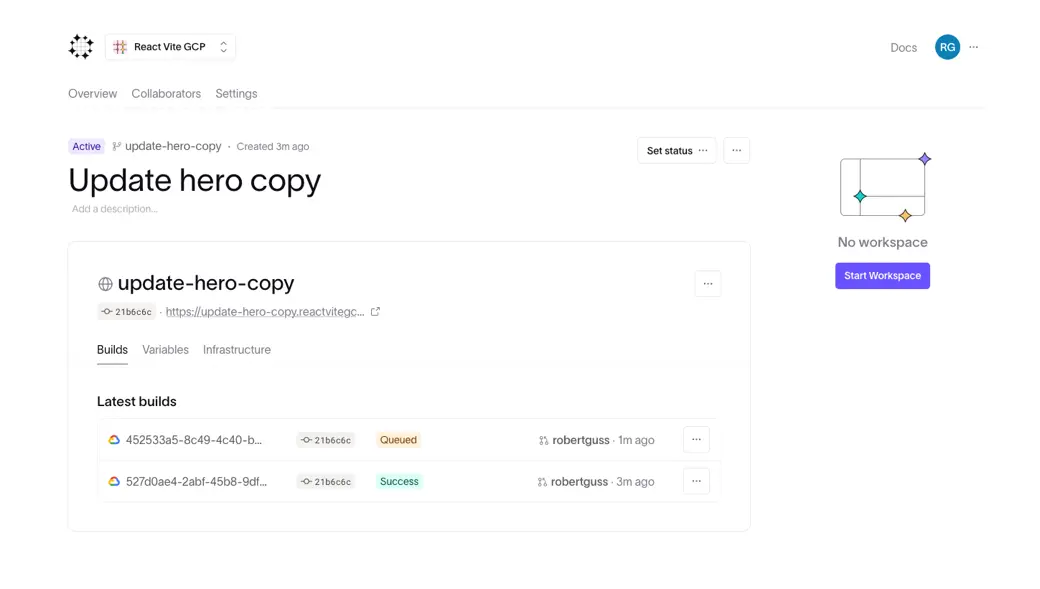
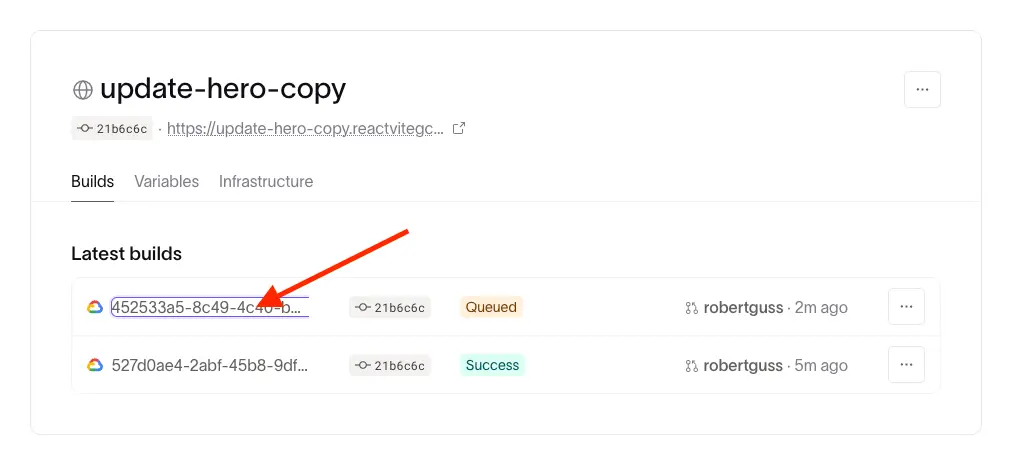
From here, we have access to everything we need to implement our new feature. You can see that Coherence is currently building a new build of our application. You can click on the build ID from your cloud provider to be taken to your cloud providers console to inspect what is currently going on.
These are production quality preview environments that are spun up on demand and configured using infrastructure as code that we’re automating for you.
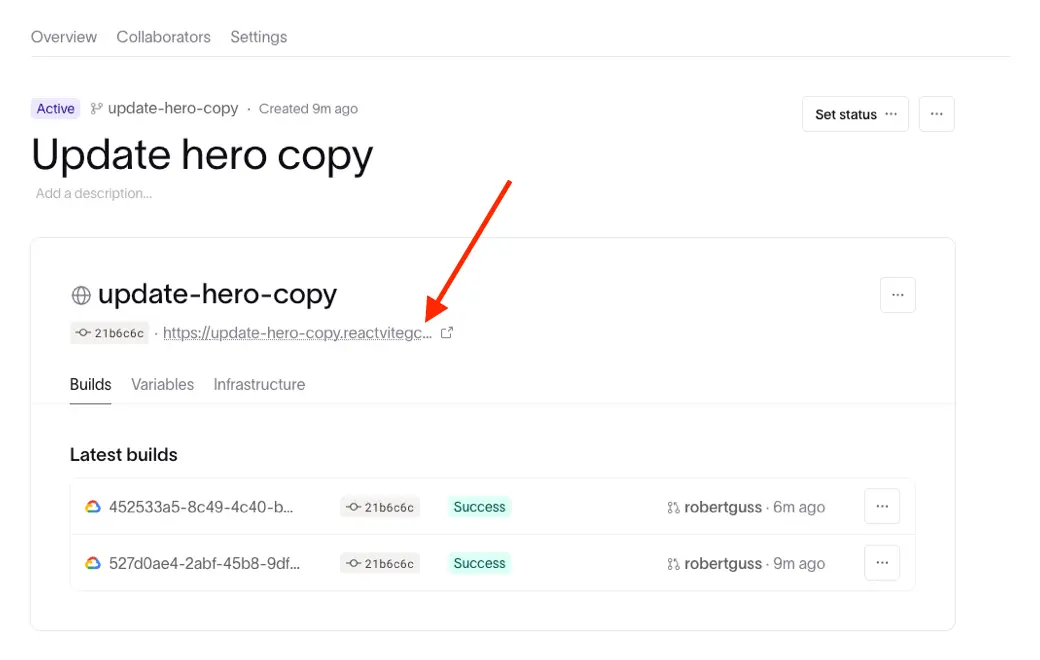
Once the build is complete, you can also click on the preview link to see a preview of this feature environment.
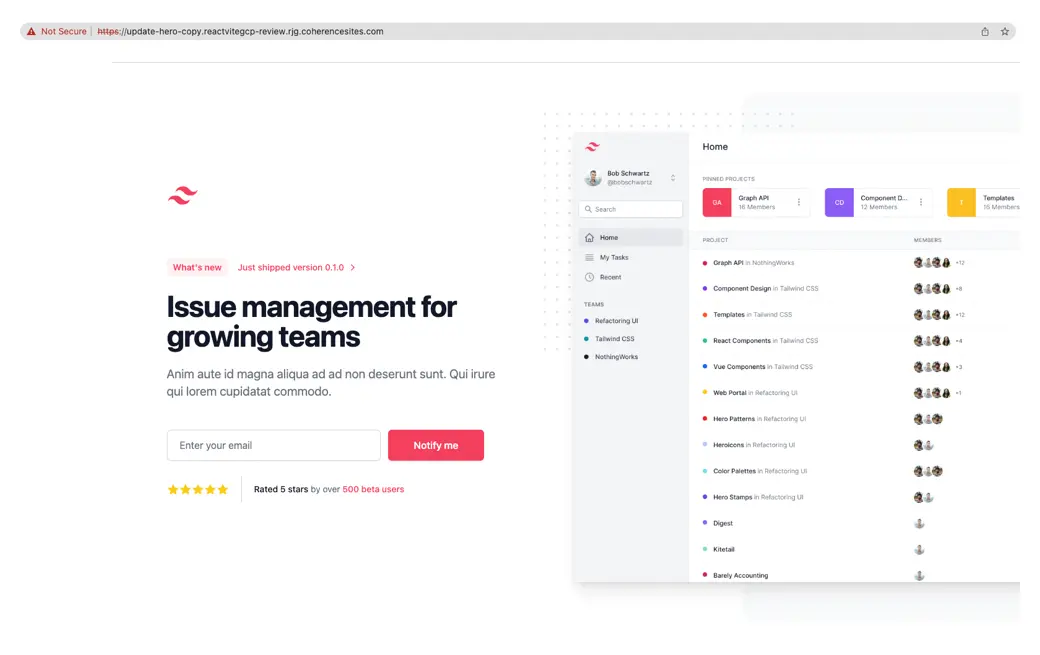
The preview environment replicates what we have in our staging environment and our production environment. Each preview environment is created per feature for increased testing and collaboration.
You may see a warning that SSL is still pending when you do this, as this can take a little bit for your cloud provider to setup. Not to worry, however, you can still access the preview while it is in process.
Close this tab and head back to the Coherence dashboard.
Development environments
Now we will learn how we can actually work on our new feature. Start by clicking on the “Start workspace” button.
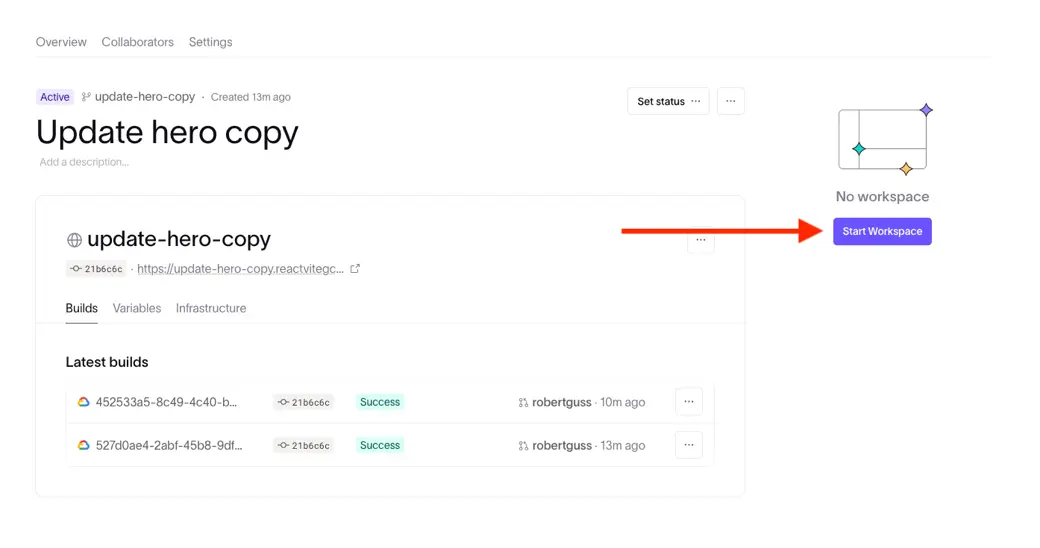
This will create an isolated ephemeral development environment for your automatically. These are hosted VSCode instances. We also support VI and emacs.
Once your workspace has been created, you will see two new buttons.
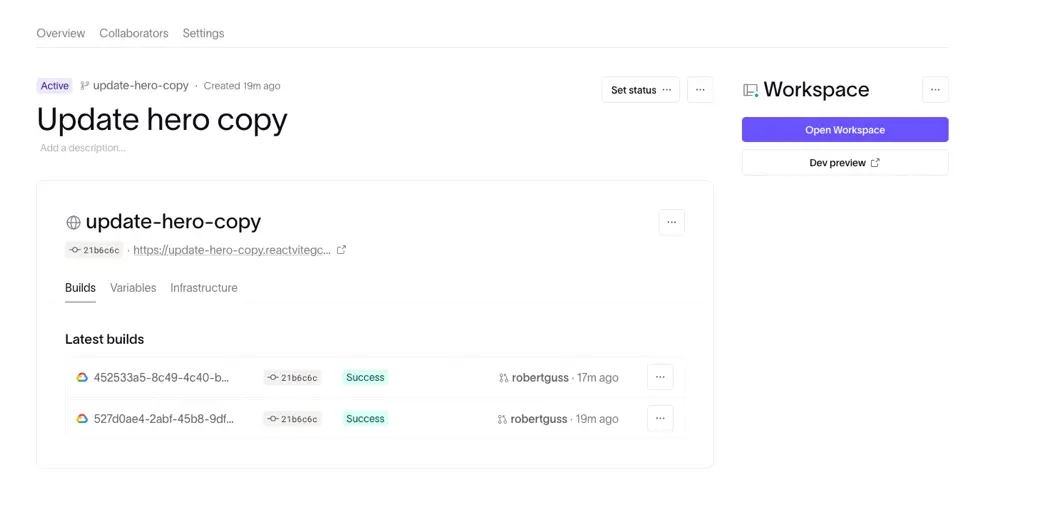
The Open workspace button launches the hosted VSCode instance and the Dev preview button launches the preview environment for the workspace/development environment.
Click on the Open workspace button to launch VSCode. This is where you will make changes to your code and implement your new feature. As you are working on your feature your changes will be saved automatically and the Dev preview will be automatically updated to reflect the latest changes.
VSCode settings and extensions
If you would like to customize the settings and extensions installed within your VSCode workspace, those can be added to your profile. You can how to do this here.
Once your new feature is complete, you can commit your changes with Git using VSCode’s built in terminal.
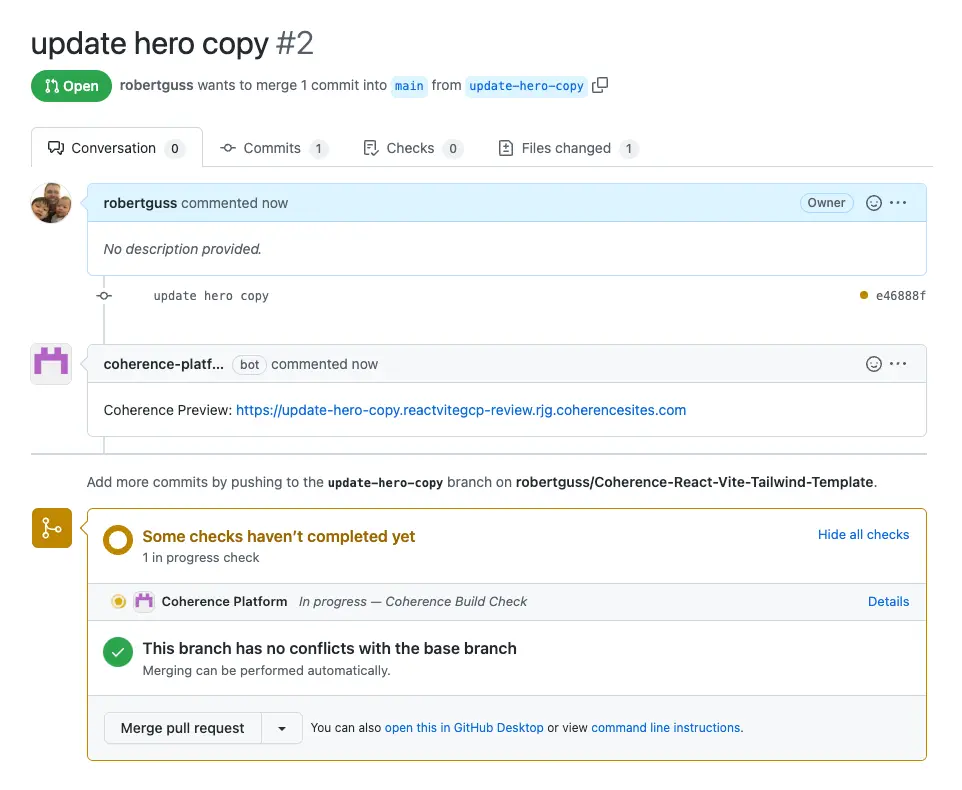
GitHub and pull requests
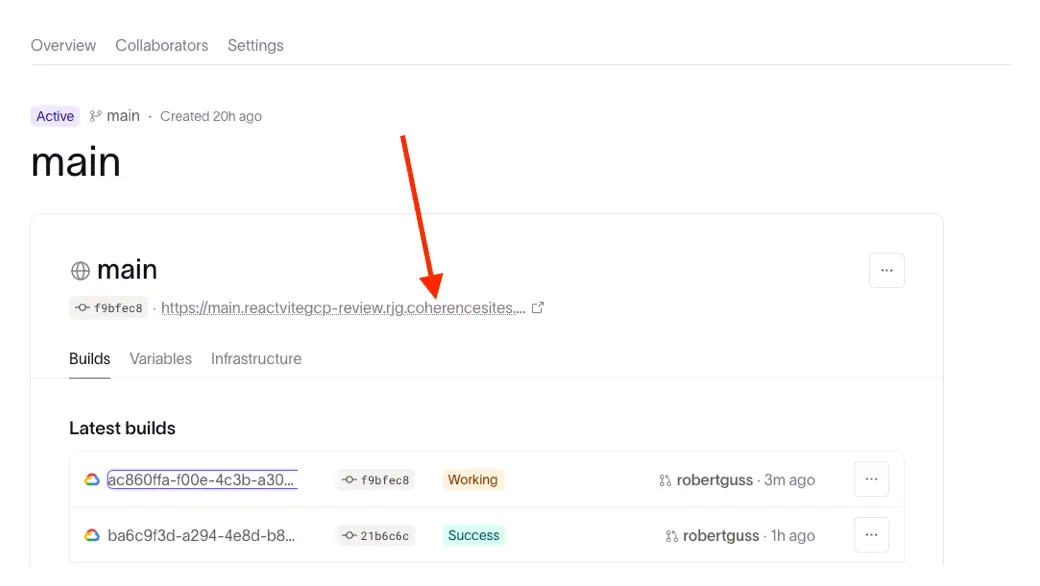
Next, you would open up a PR within GitHub and go through your teams code review process. Coherence will manage the CI/CD pipelines automatically for you. Once your PR has been approved and merged, Coherence will then create a new build for the staging or main environment.
Deploying to production
Once the new build on staging or main has completed, you can preview it by clicking on the preview link.
After stakeholders, QA and others have approved and signed off on the staging environment, it is now time to deploy to production. The beautiful thing about the Coherence dashboard is that deploying to production or rolling back a deploy from production can all be done with a couple of clicks.
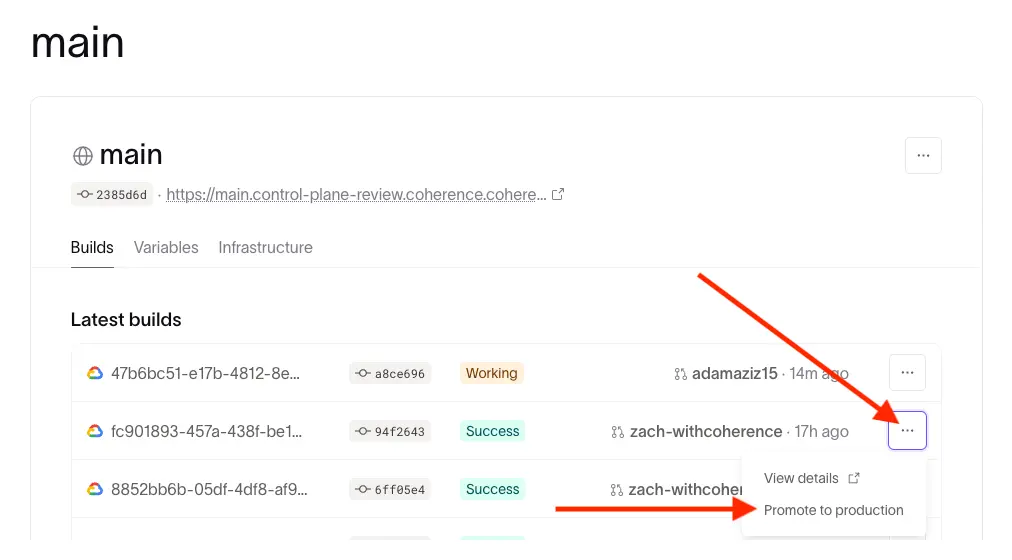
Each build has a promote to production option. If after deploying to production, you need to revert for any reason, you can deploy a previous build.
It’s that simple.